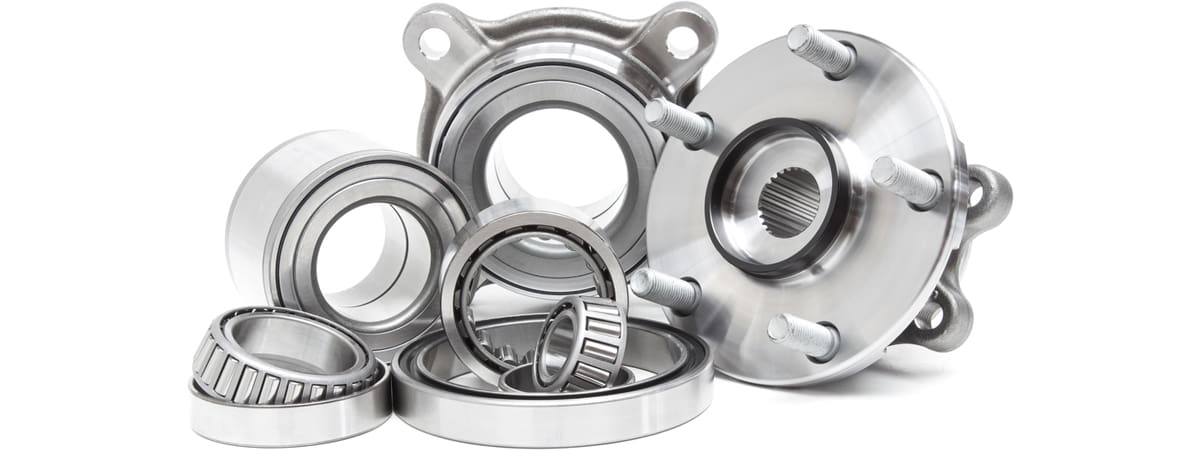
Whether it’s a track bike, a trials bike, a racebike, a dirtbike or your kid’s bike, many motorcyclists use a trailer to transport their motorcycles to and from riding areas. But anyone who has had a day of riding planned for weeks only for it to culminate in a long wait for roadside assistance knows it’s imperative to keep the trailer well maintained. A collapsed bearing is a common cause of a roadside drama but can be easily be avoided with a little bit of regular and preventative maintenance. Here’s how…
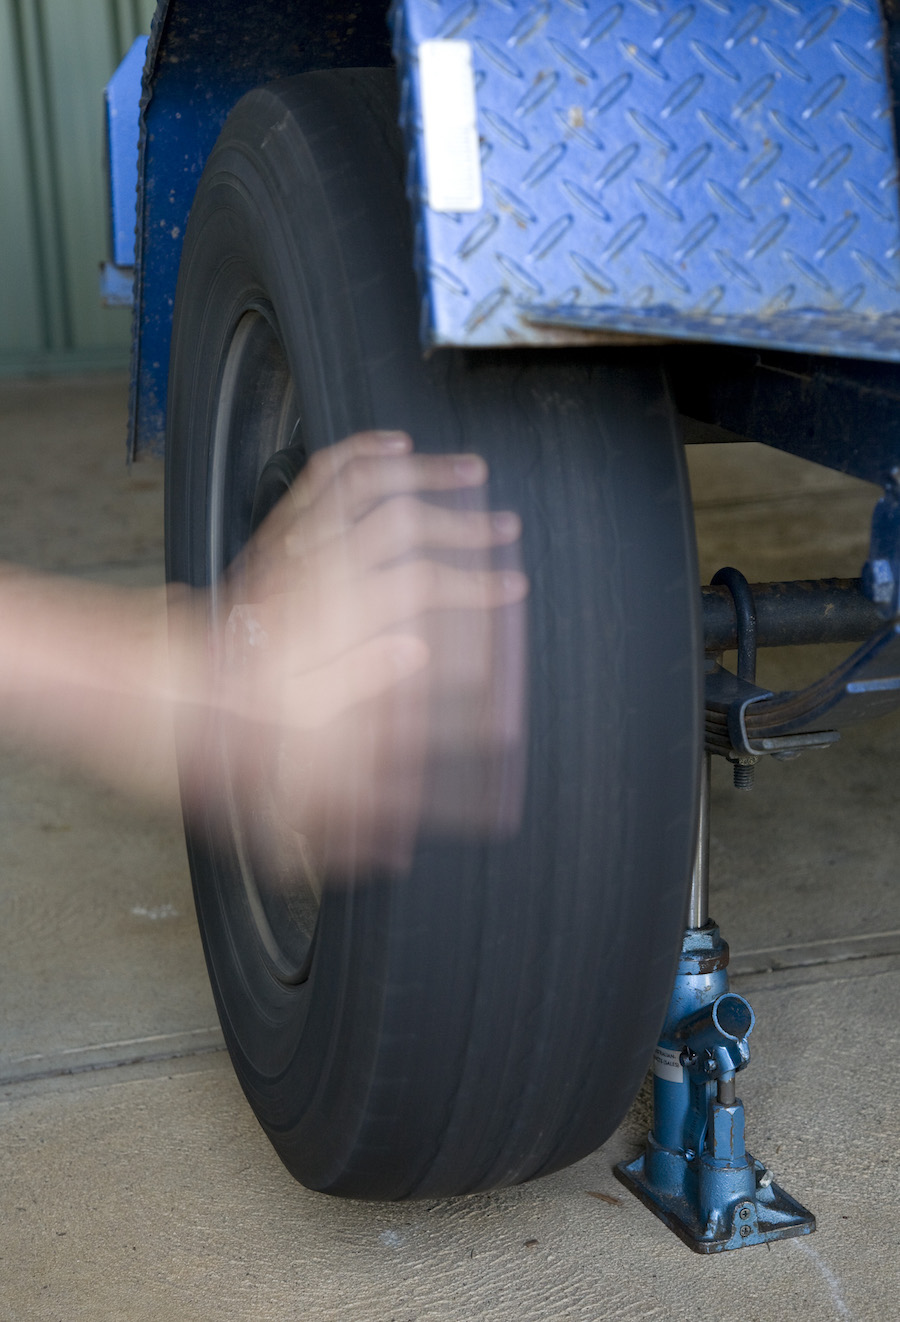
1 Check the wheel bearing regularly by jacking it slightly off the ground and rocking the wheel to check for any movement of the wheel on the axle. Spin it also to check that it rotates freely. If it is good, go back to your beer, if not go to step 2.
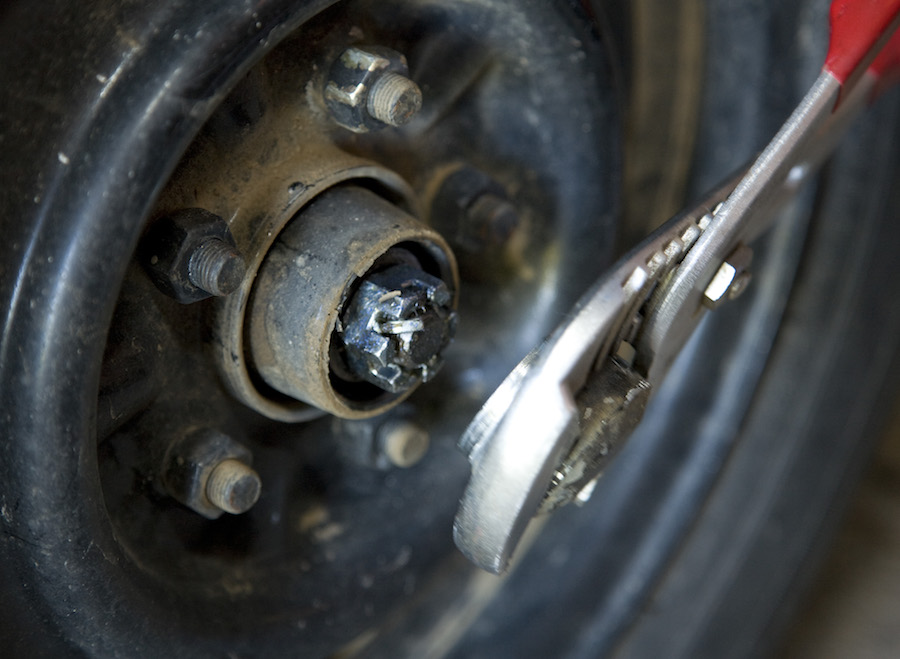
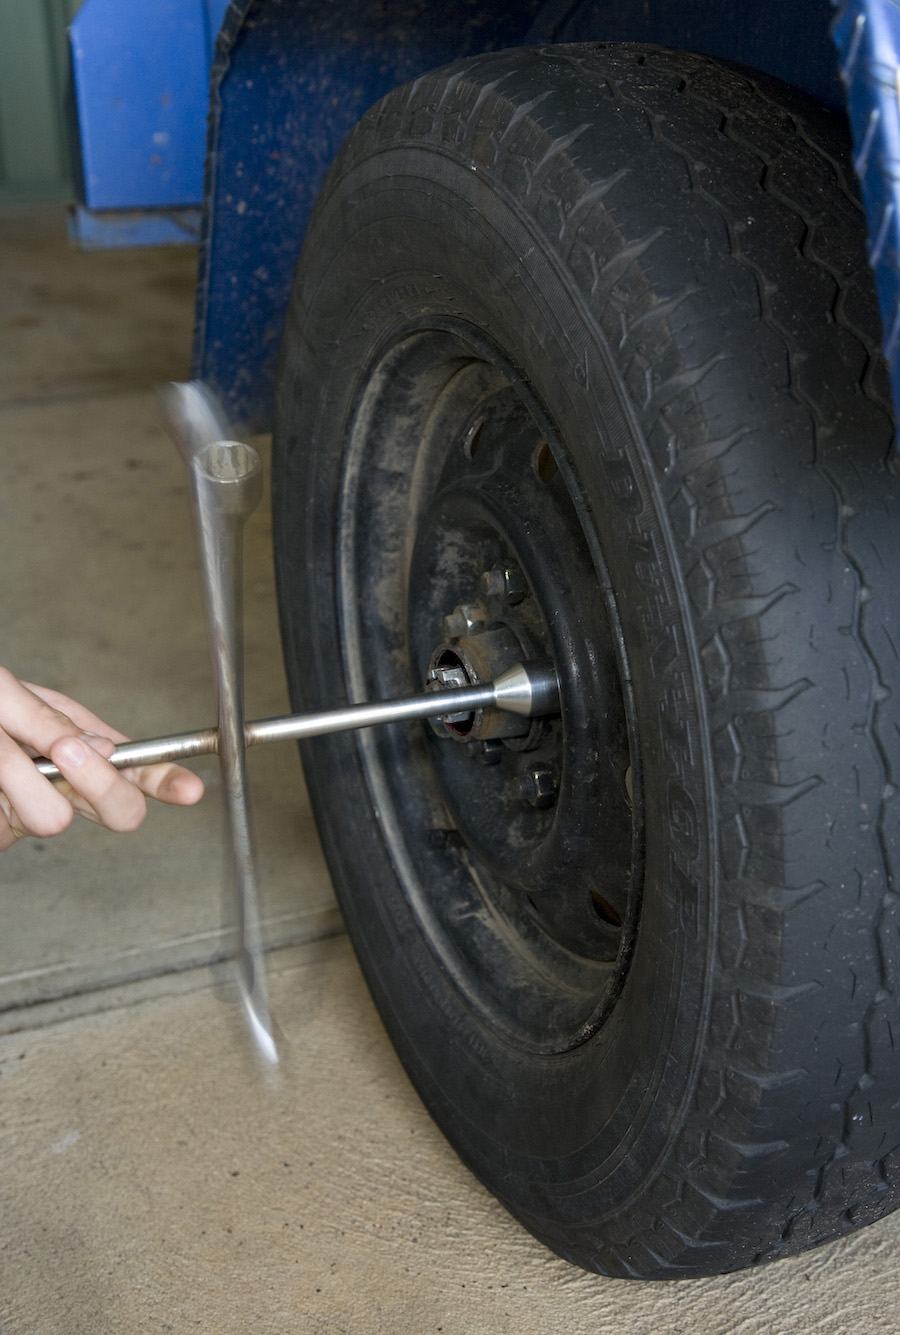
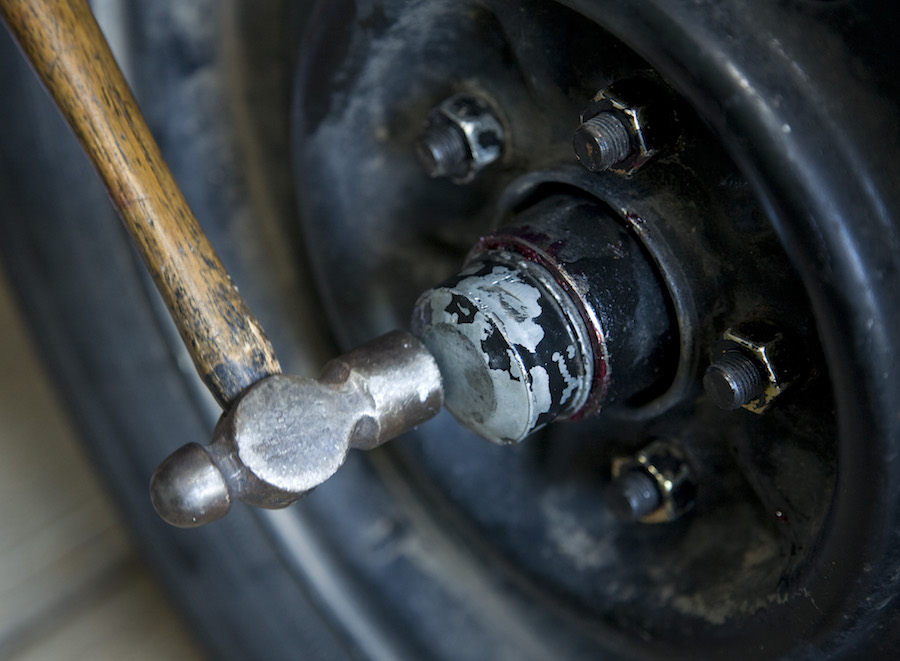
2 Remove the dust cover from the centre of the hub.
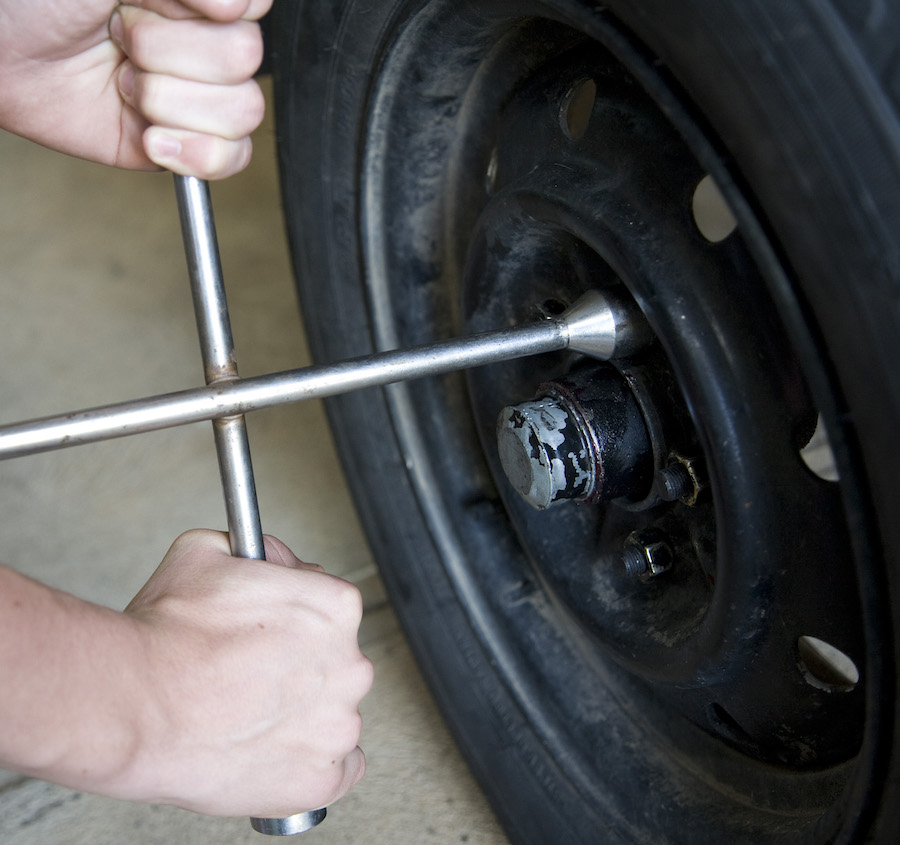
3 Undo the wheel nuts and take the wheel off the axle
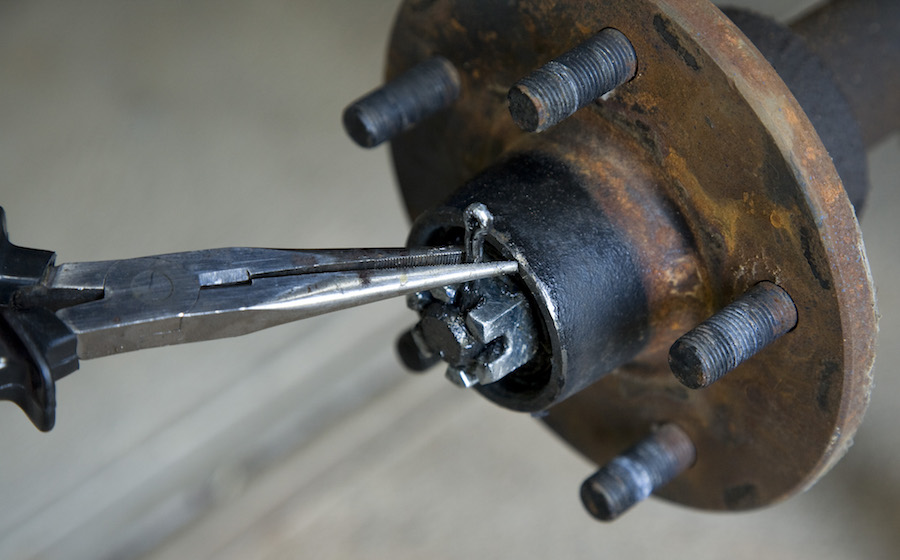
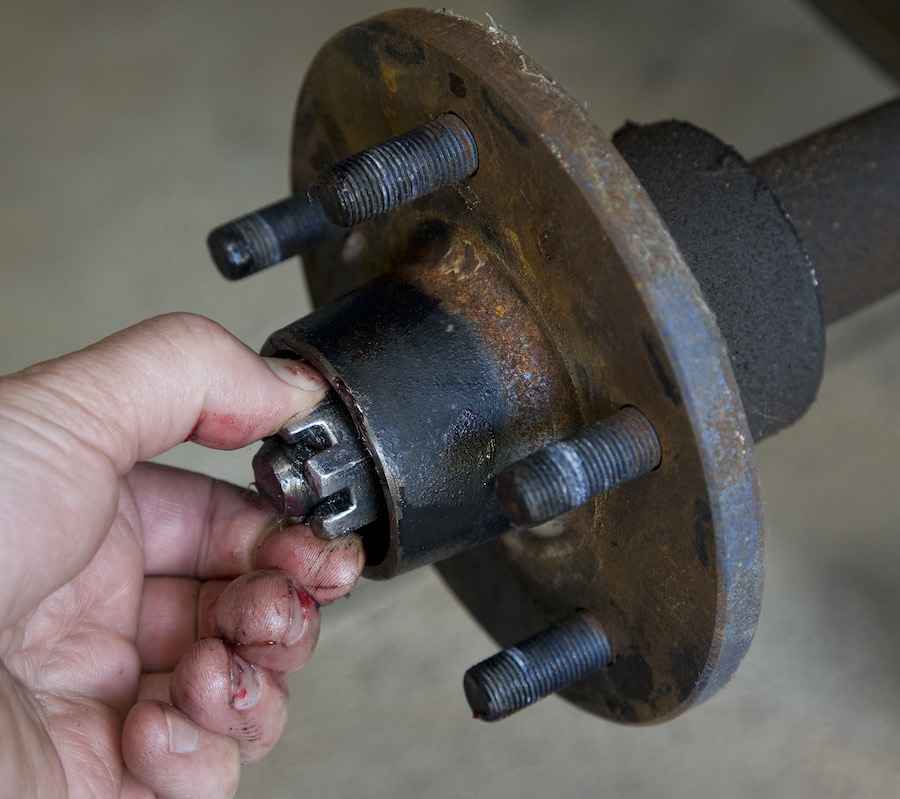
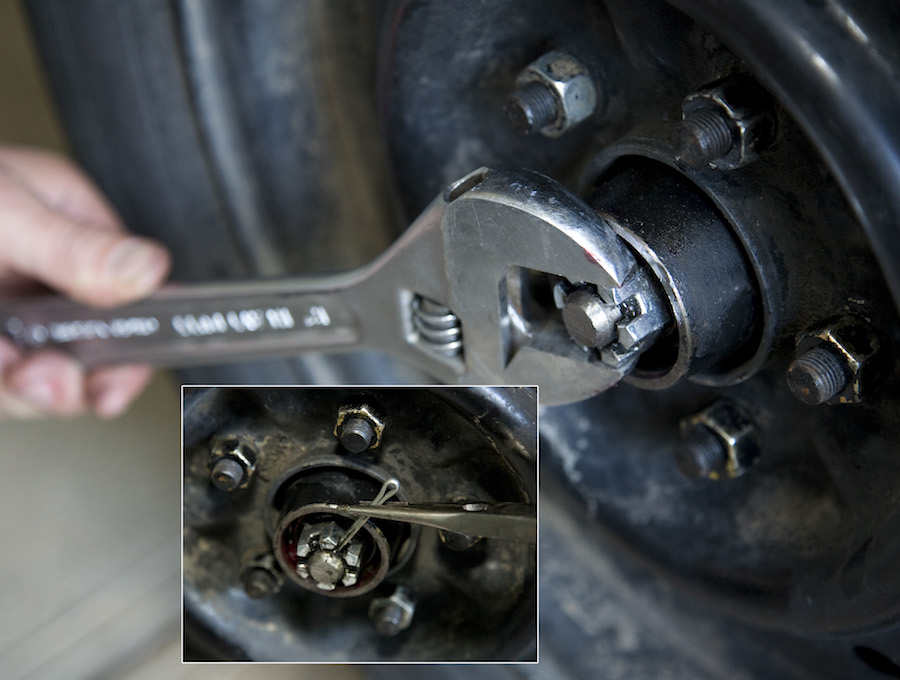
4 Remove the split pin from the axle nut.
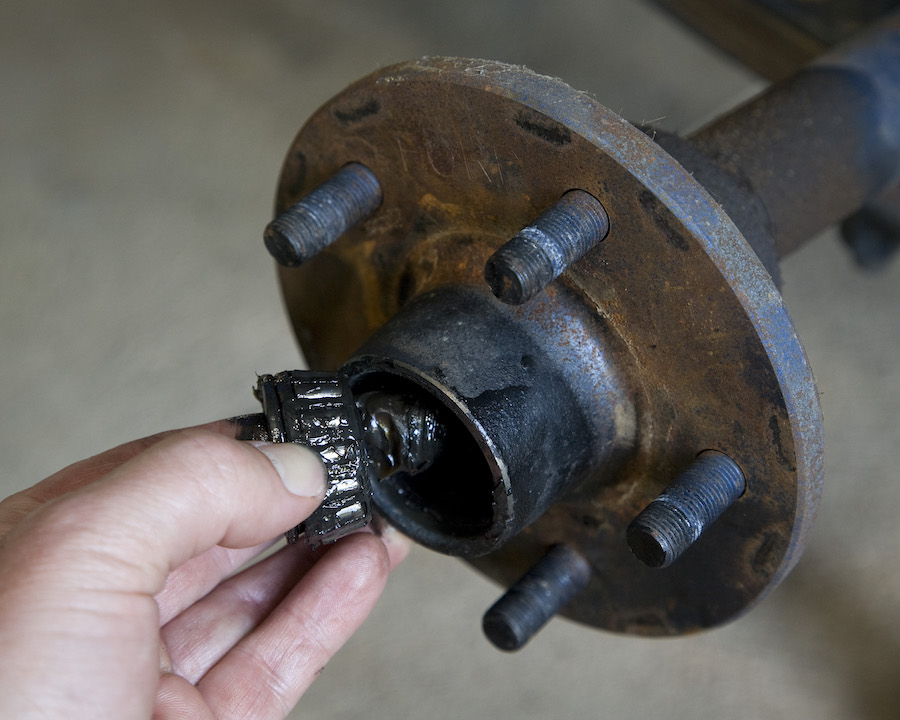
5 Unscrew the axle nut and remove the bearing and hub from the axle shaft.
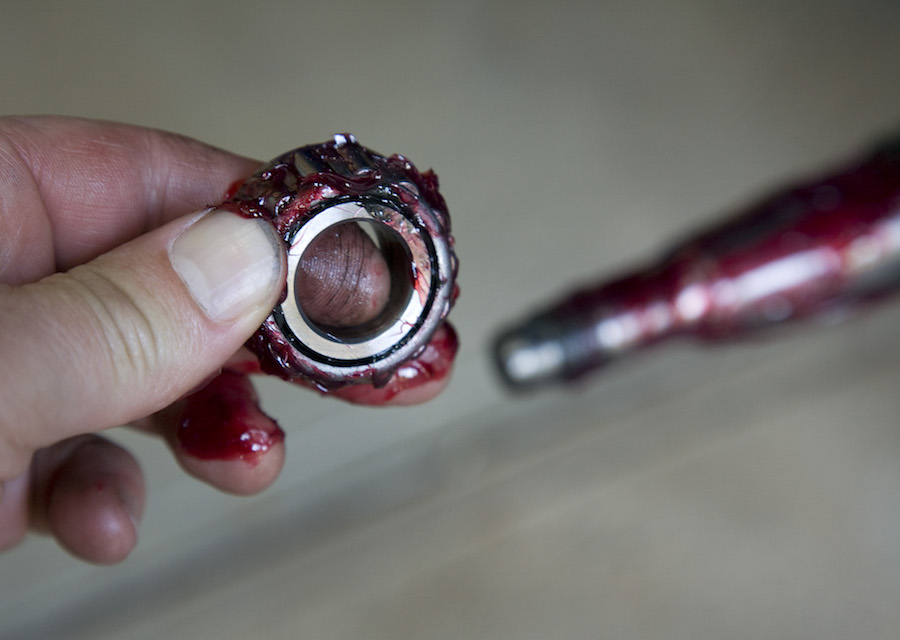
6 Clean off all the old grease from the bearing, hub, and axle, then replace with a liberal coat of fresh multi purpose bearing grease. Make sure you work the new grease into the bearing rollers thoroughly.
7 Slide the hub back onto the axle shaft then refit the bearing. Make sure you put the washer back in place before screwing the nut on and tensioning by hand.
8 Refit the wheel to the hub then tighten the axle nut incrementally as you slowly turn the wheel. If you go too far you will feel the resistance and the wheel will not spin as smoothly. Back it off slightly then fit a new split pin through the axle to lock the nut in place.
9 Fit the dust cover back into the centre of the hub.
10 Lower the wheel and fully tighten the wheel stud nuts.
WORDS & PHOTOGRAPHY tim munro