Many people would likely consider the prospect of a factory tour as an experience to be endured rather than enjoyed, but when the opportunity arose to see first-hand how Arai produces motorcycle helmets, I jumped at it.
I have always had a fascination with how different things are made, especially in the automotive world, but also the associated products and equipment that help enthusiasts get the most out of their passion. And for most motorcyclists, a helmet is much more than just a thing you throw over your noggin to protect it from impacts; a helmet is something to be coveted, cared for and appreciated every time you look at it, let alone every time you put your head in it.

If you’re anything like me, you probably have a decent collection of helmets. Even if they are well past their use-by date or, God forbid, they have been dropped or otherwise damaged, I still find it nigh on impossible to throw them out, instead putting them on display where I can view them and relive past rides and adventures.
After spending a few days in Japan being guided through Arai Helmet’s development and manufacturing facilities, one thing that stood out was the care that motorcyclists treat their helmets with is matched by the manufacturing process of these mostly handmade products.
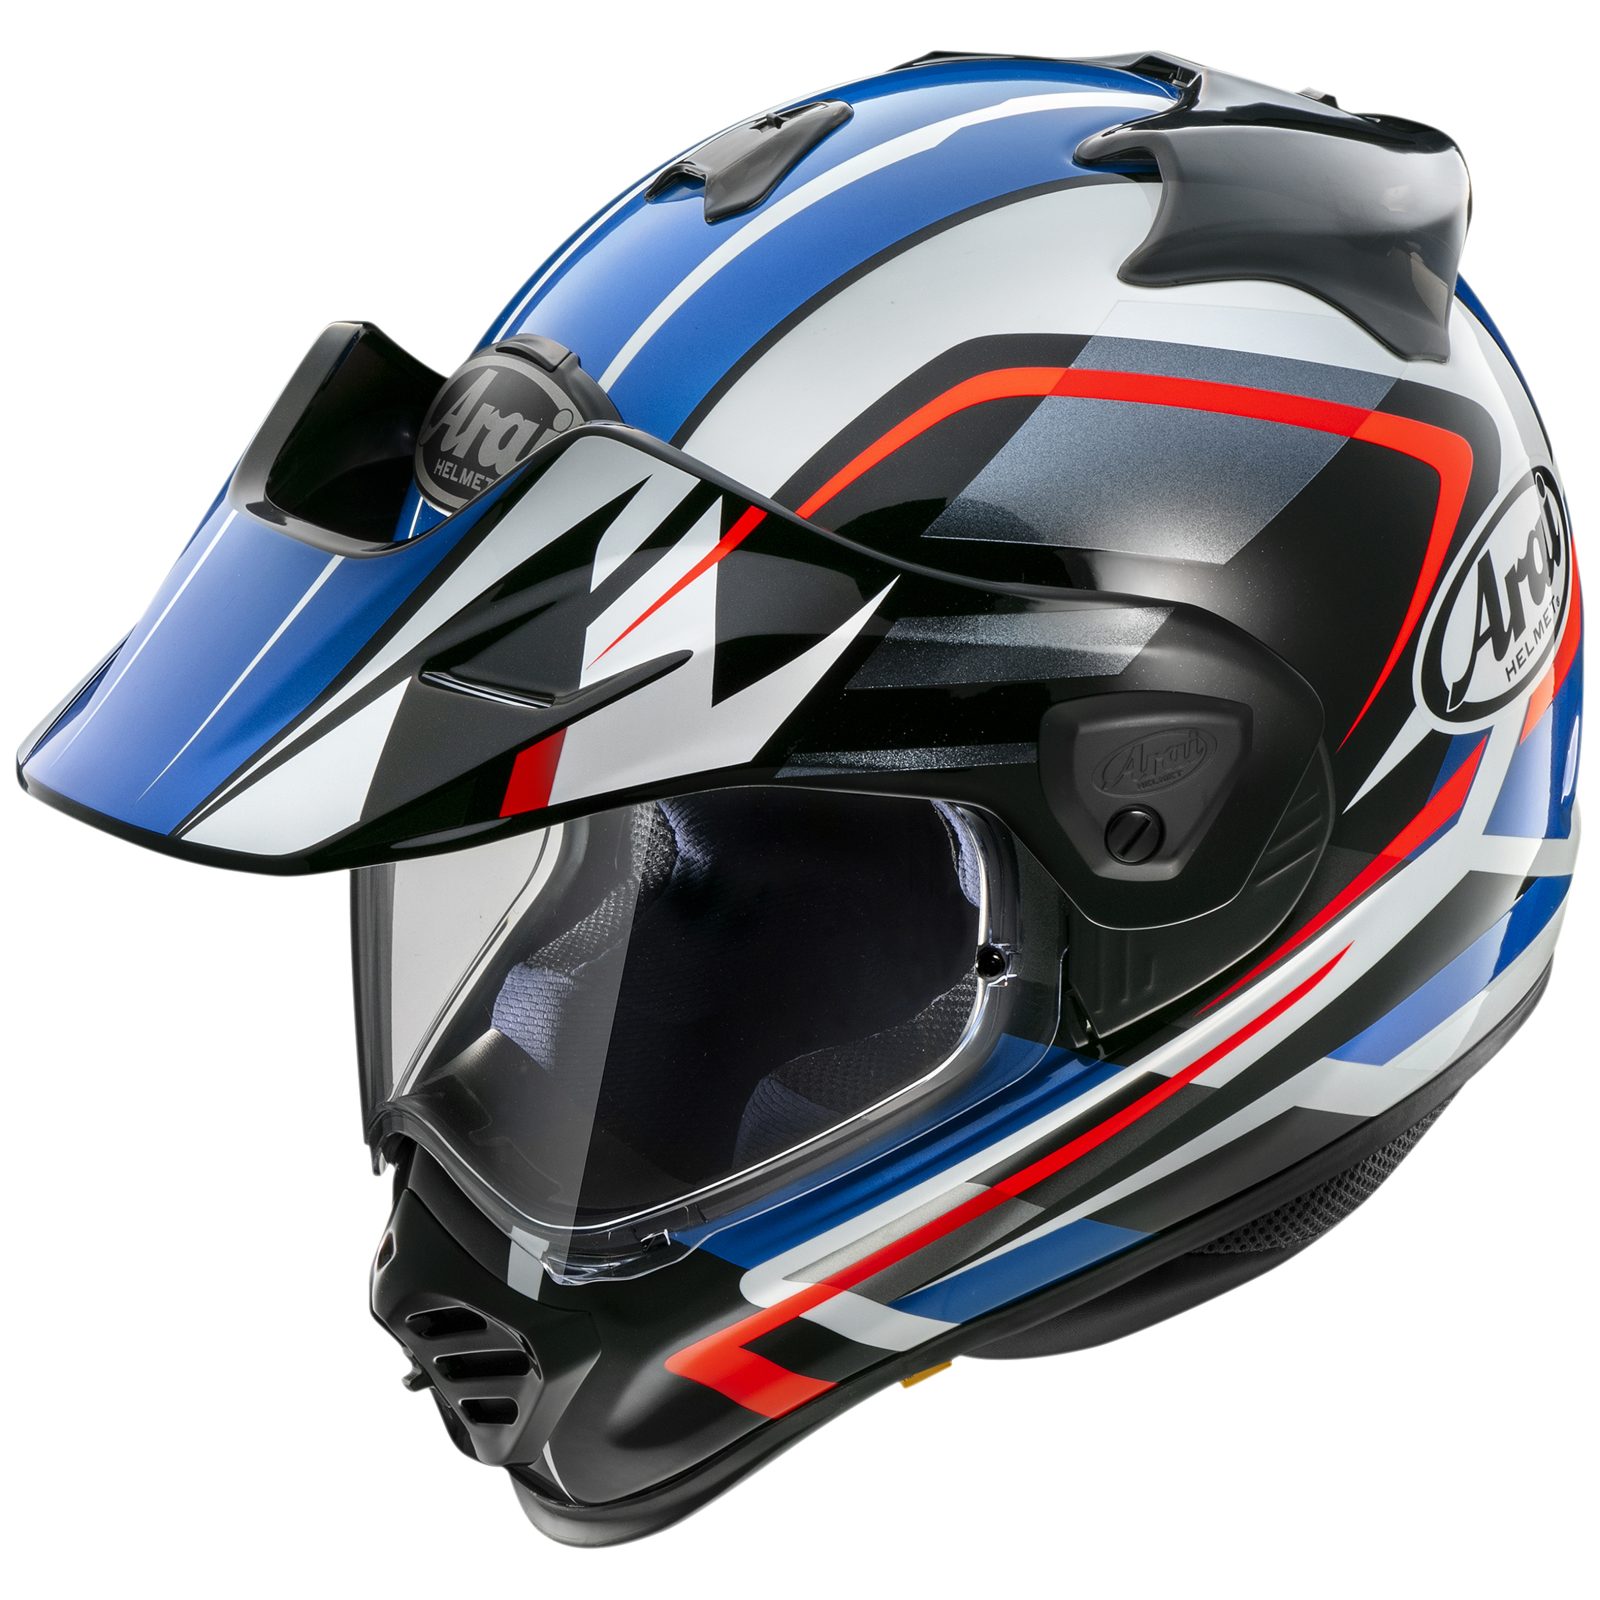
Yes, Arai helmets are still mostly made by hand, in four facilities dotted around the company’s Omiya HQ, which is about 40 clicks north of Tokyo. One of the main reasons for this trip to Japan was for the introduction of Arai’s all-new Tour-X5 adventure helmet, which is set to replace the XD4 when it lands in Australia in December.
We’ll have the full run-down on that a little closer to its local launch, but in the meantime I’ll endeavour to explain what makes an Arai helmet so special.
The Arai story
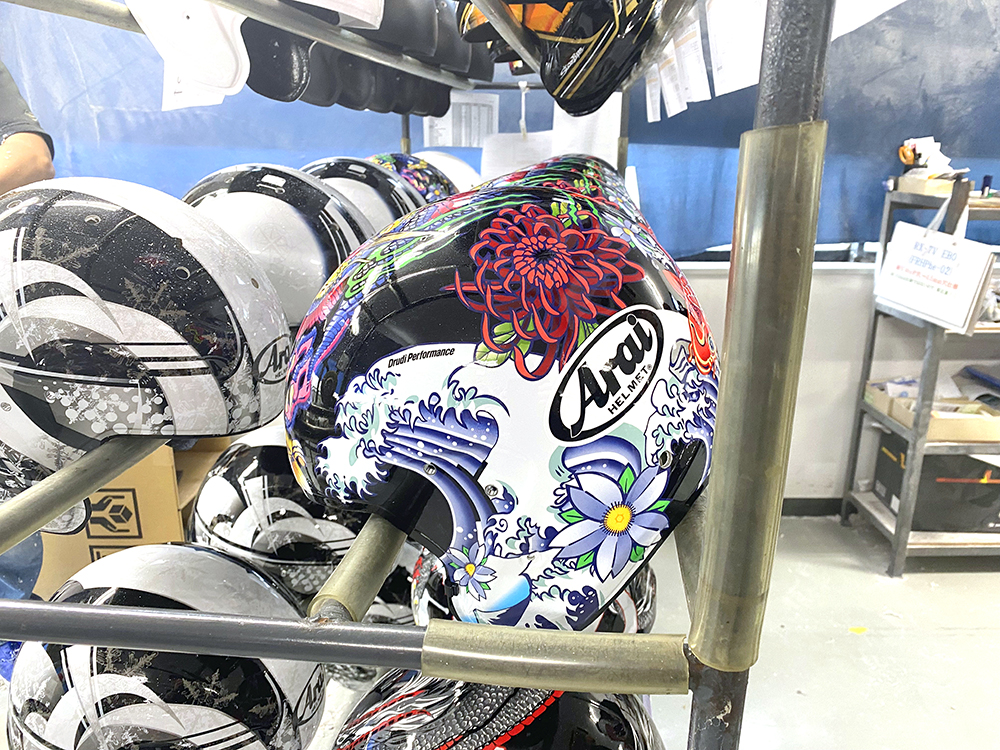
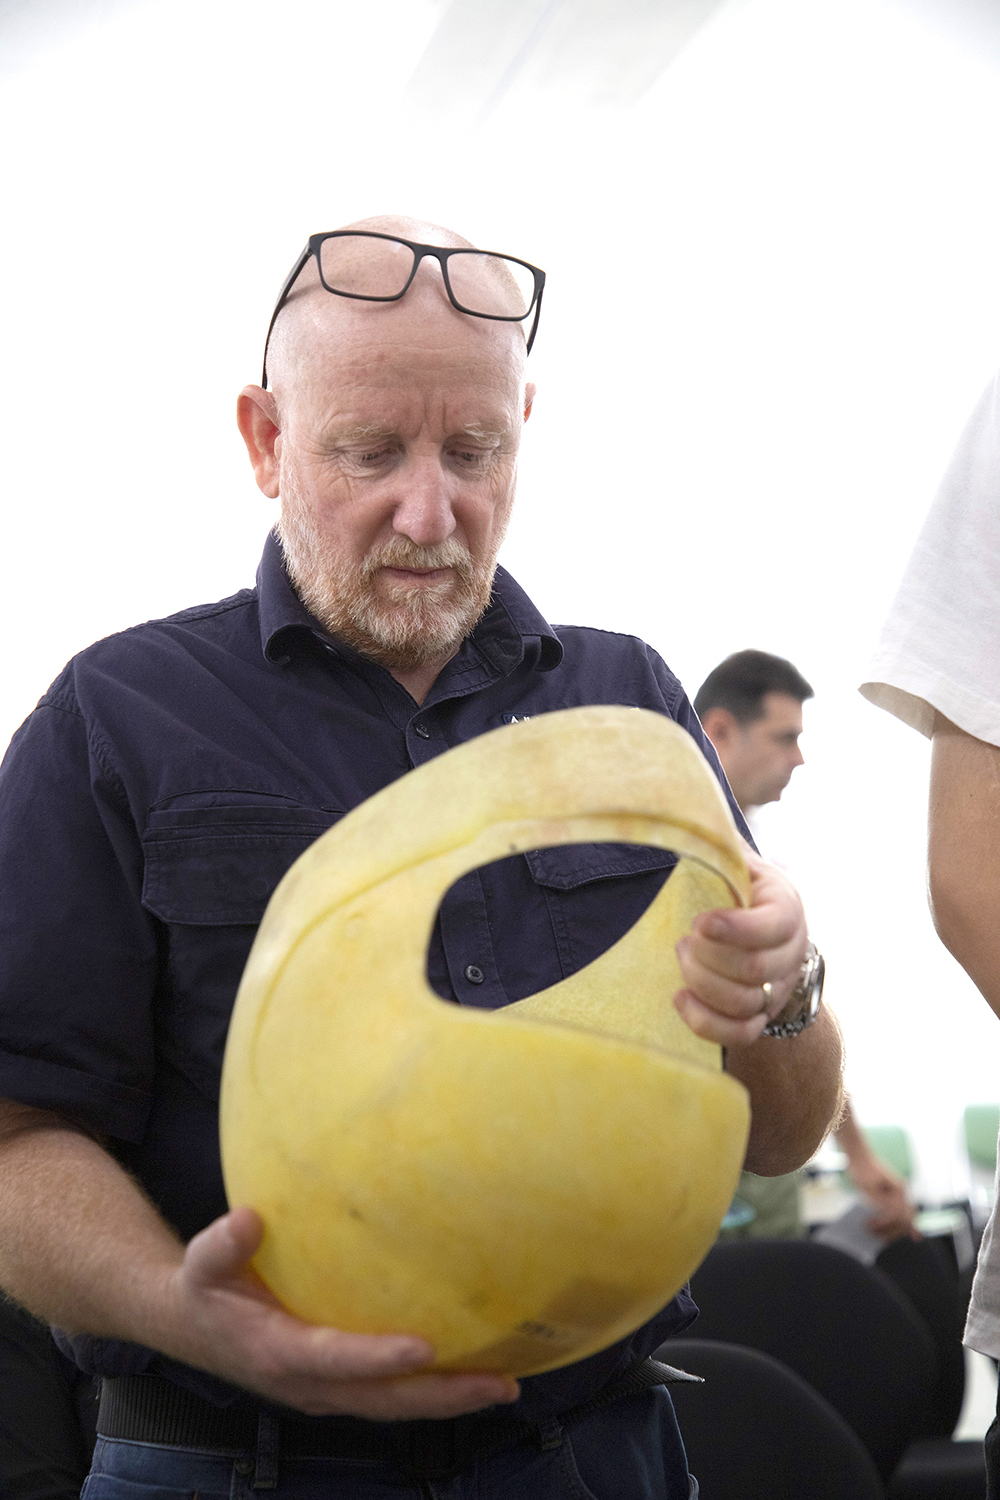
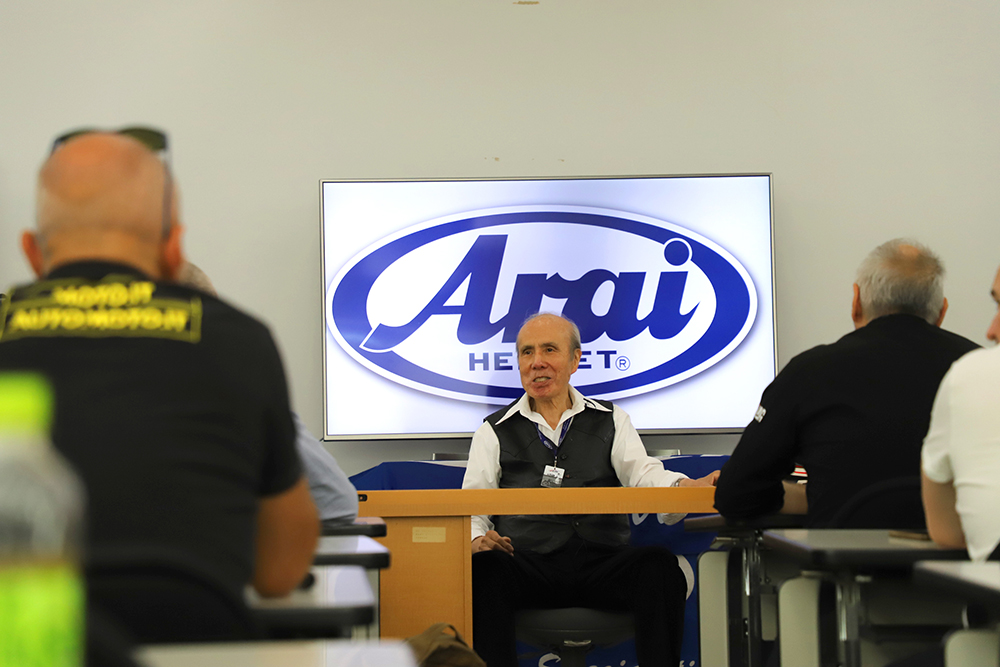
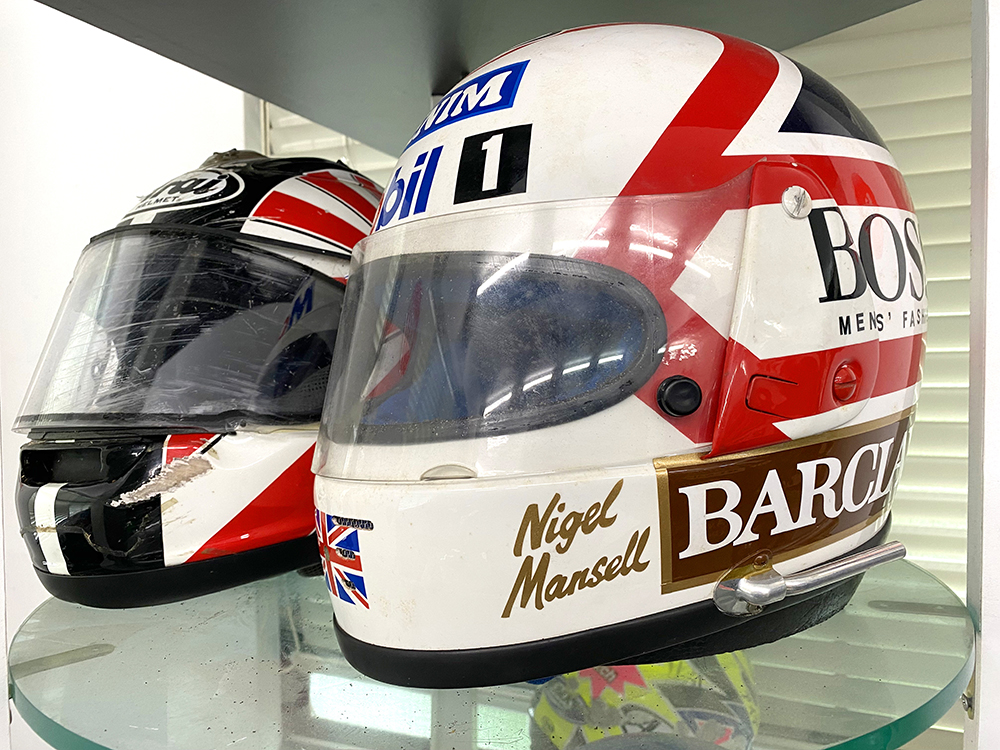
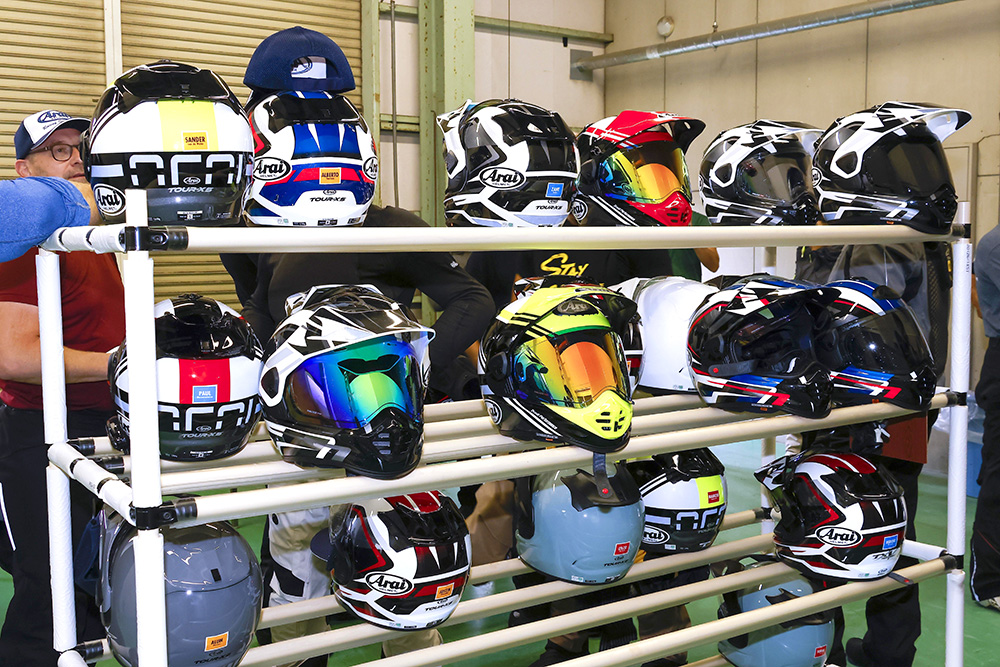
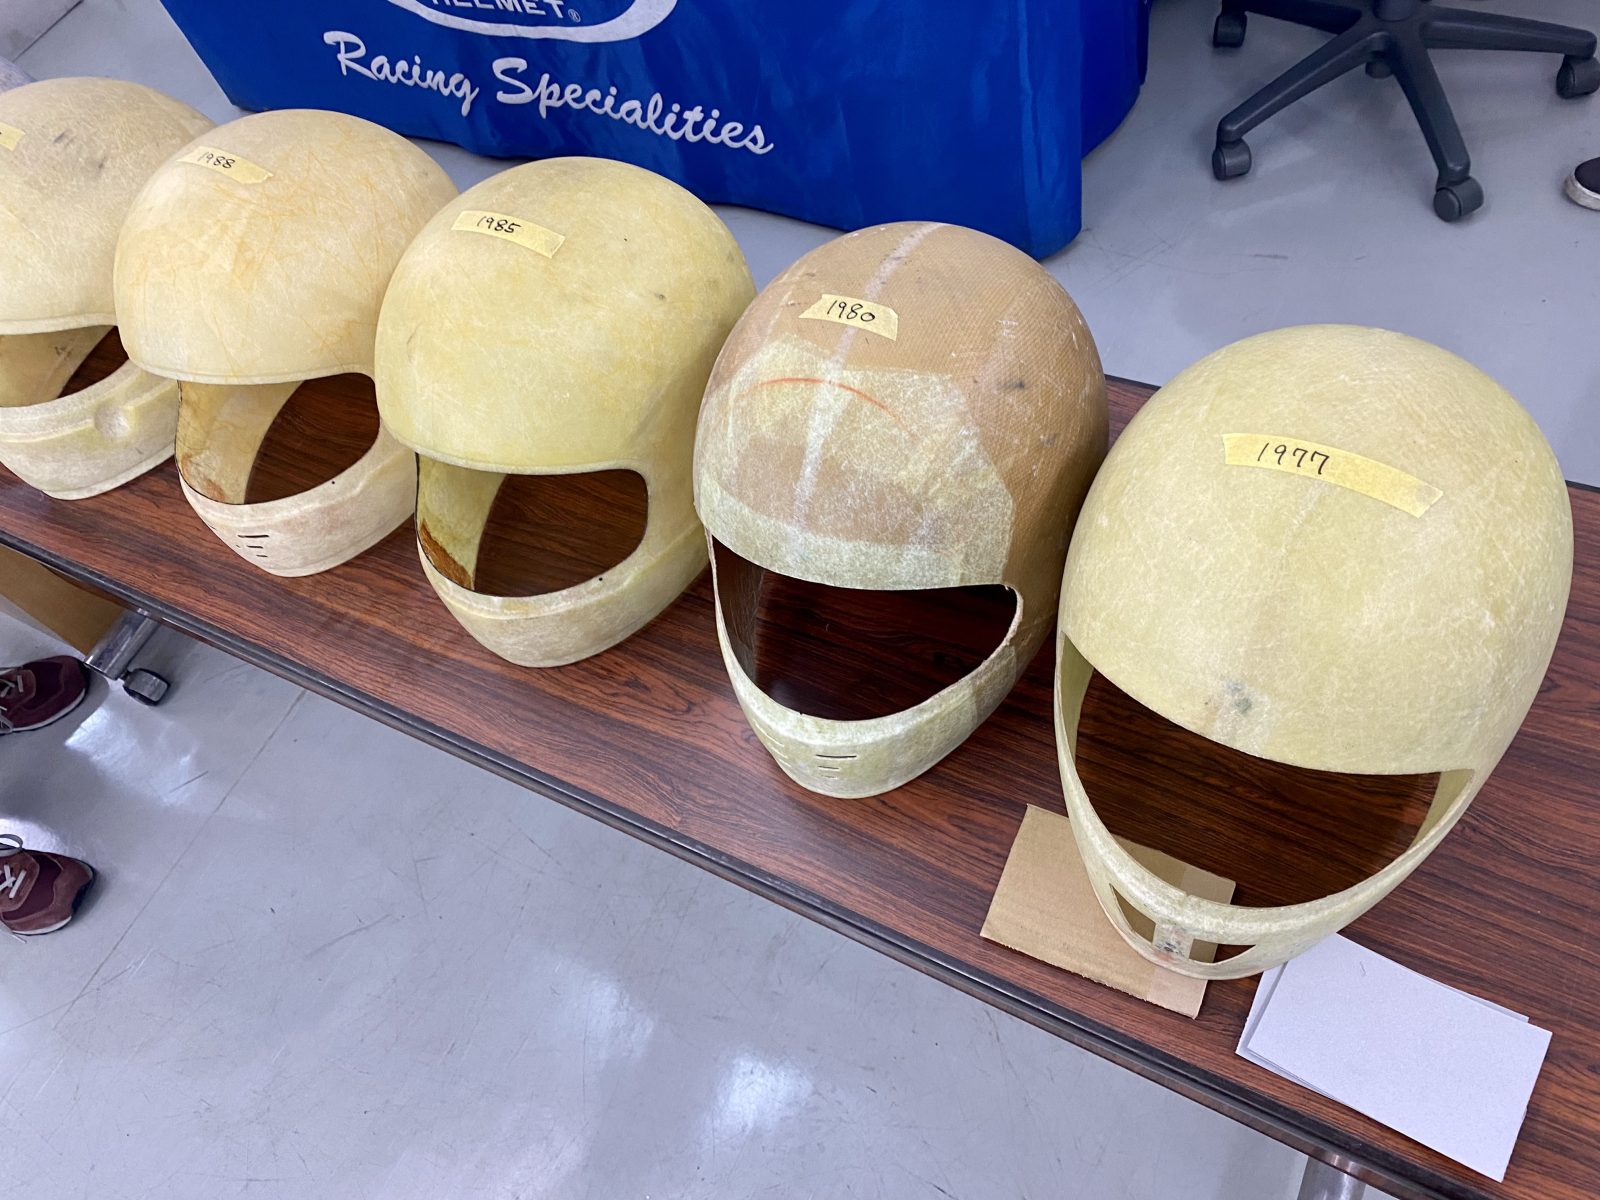
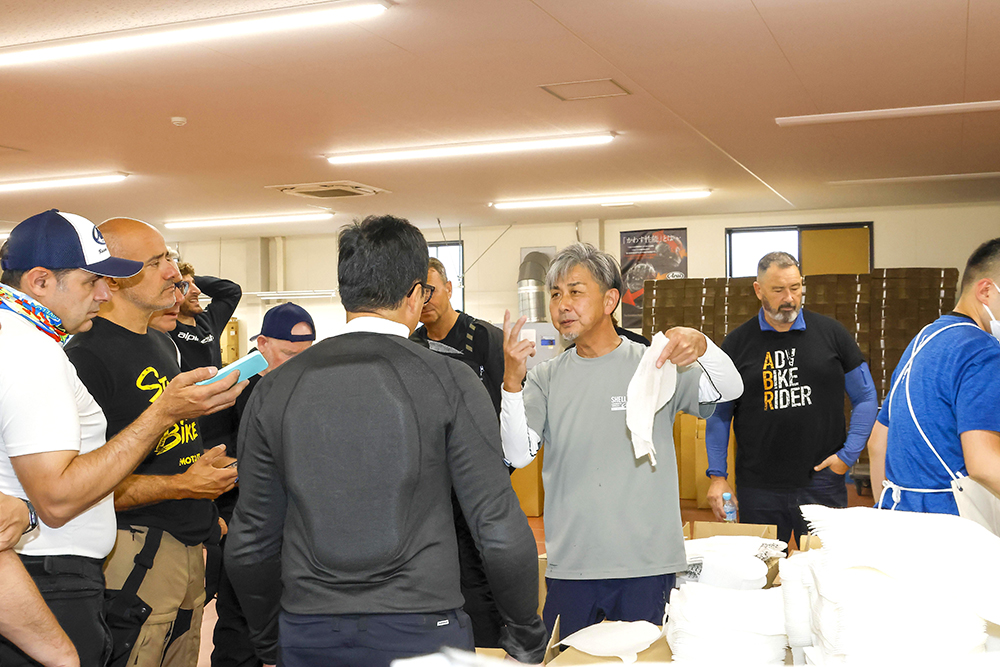
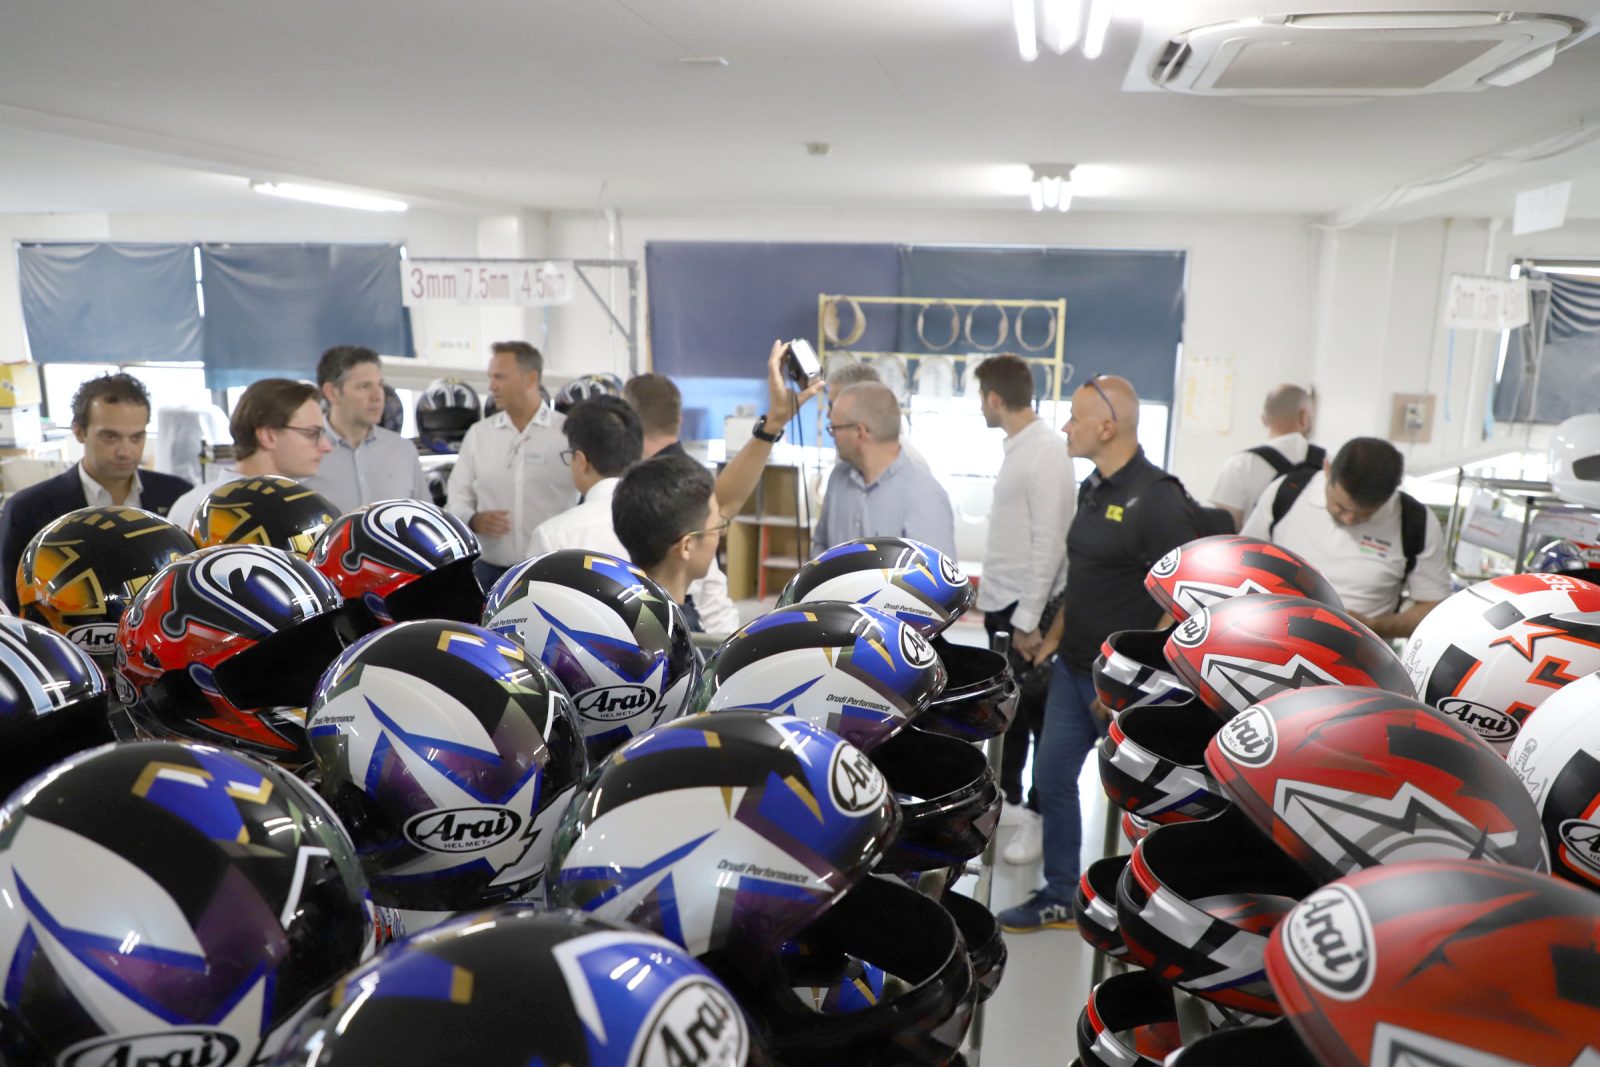
This Arai factory tour began in a meeting room at the company’s Omiya HQ, the walls of which are partially obscured by racks containing a range of current- and previous-generation helmets interspersed with helmets worn by legendary motorcycle and car racers throughout the years. A line-up of Arai shells dating back to 1977 was positioned on a desk at the front of the room, clearly showing the advancements in construction techniques and designs made throughout the years in a never-ending quest to improve safety.

It was in this room that current Arai president Michio Arai introduced himself. He is the son of company founder Hirotake Arai, who was originally a hat maker from Tokyo city, himself the son of hat maker Yuichiroh Arai, who manufactured hats for the Japanese government offices and authorities. Arai is very much still a family-run business.
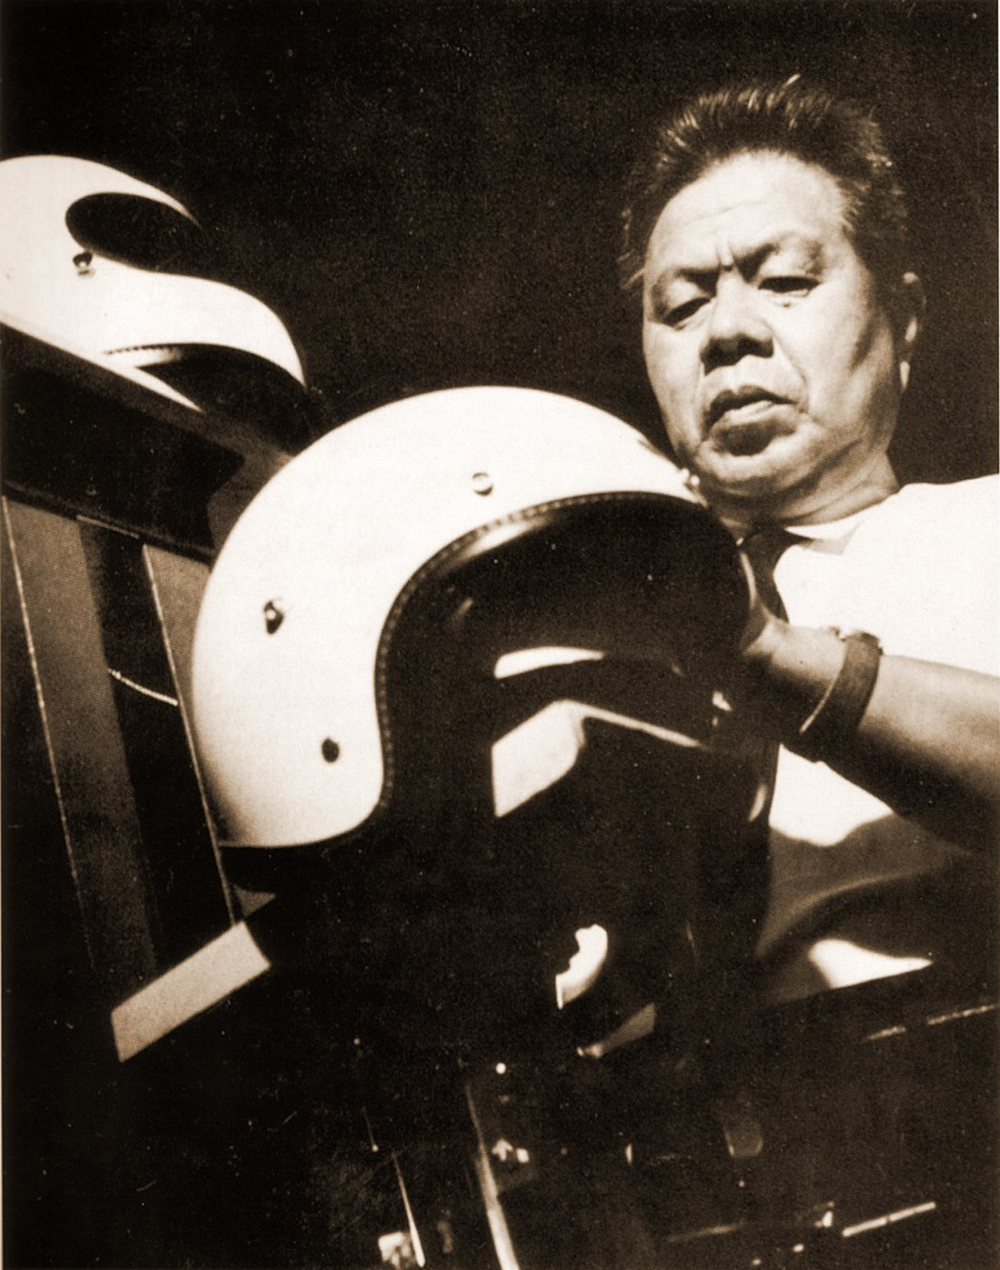
Michio explained how his father Hirotake was first engaged in making headgear for the Japanese army before World War II, and how he developed a helmet with a bamboo frame and covered in a fabric that would be suitable in hot climates.
The Japanese army couldn’t find anyone to manufacture this helmet, so they engaged Hirotake himself to make it. To do so, he would have to move from his small shop in Tokyo. “And so, he looked at this [location] in Omiya [in 1937], which was not a city then, just a shrine back then, so he acquired this location and built a plant to make that helmet,” Michio explains of how Arai Helmet’s current HQ came to be.
“That’s how Arai started,” Michio says, adding how happy he was that his father was engaged in making these helmets at the time rather than being drafted to fight in the ensuing war.
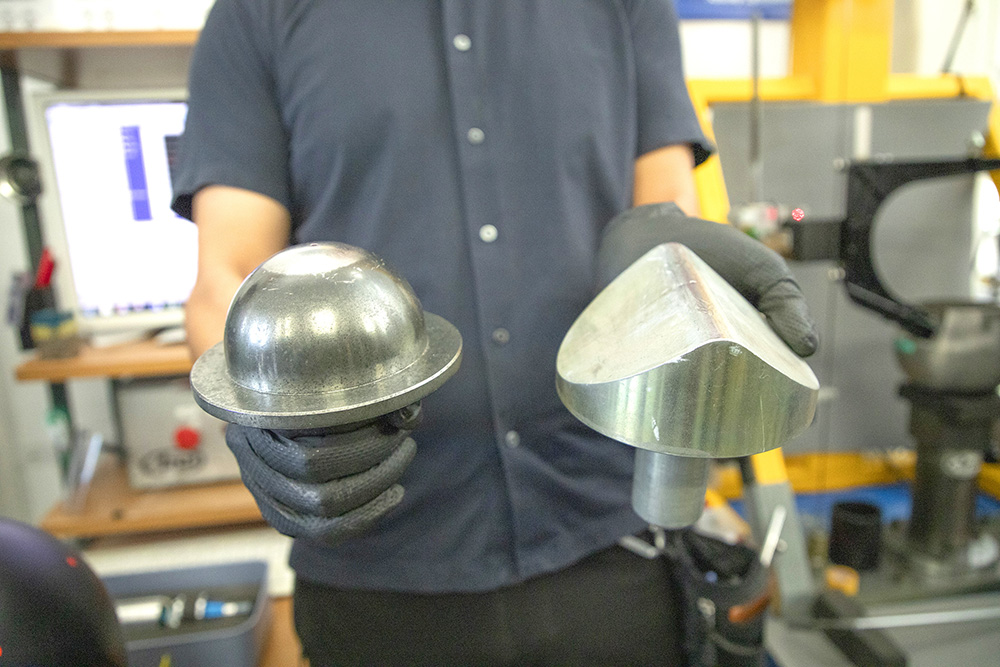
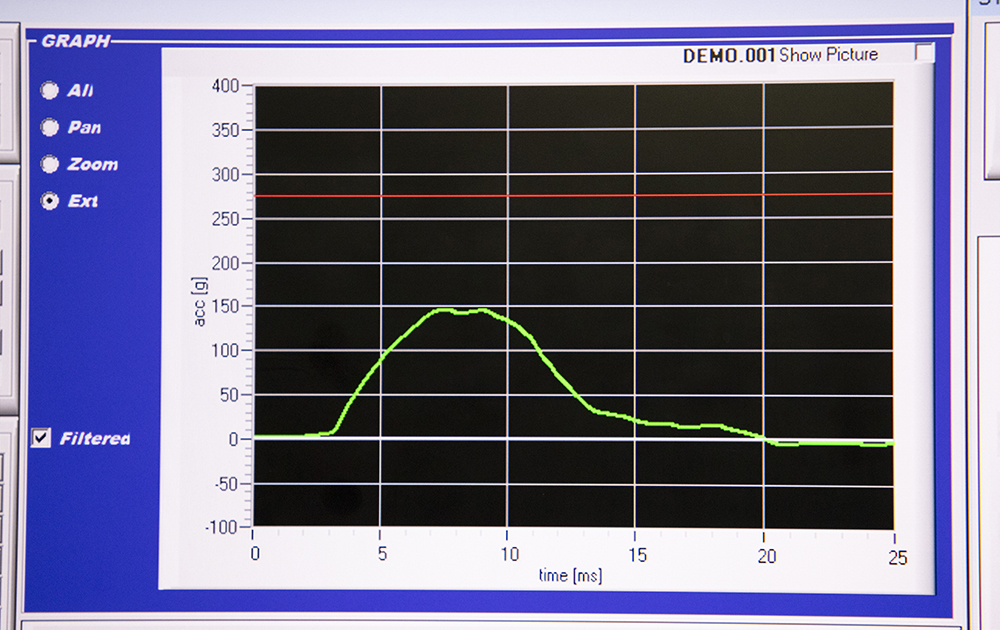
After WWII, Hirotake started manufacturing safety helmets for workers using heat-forming resin and then fibre-reinforced plastics (FRP). An enthusiastic motorcyclist, Hirotake found that it was nearly impossible to find a decent helmet in the immediate years after WWII in Japan, and so he set about producing his own, and developing his own testing standards and testing equipment.
By 1958, he was producing helmets with an FRP outer shell and an expanded polystyrene (EPS) liner, which is essentially how helmets are still made today.

Omiya HQ
Arai helmets are today manufactured in four facilities spread out across Omiya-ku, which is one of the 10 wards in Saitama. The current R&D centre and HQ are still on the original site set up in 1937, but added to this are three other manufacturing facilities nearby.
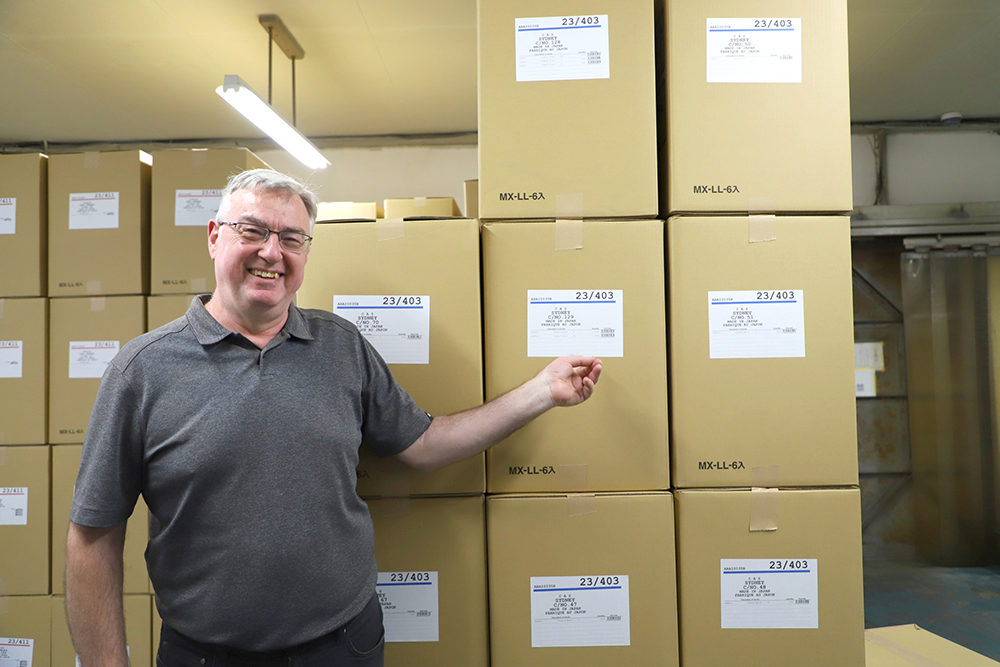
In addition to the Omiya HQ, there’s the Katayanagi assembly plant, the Minamidai paint factory and the Amanuma warehouse. This is a big business, with up to 900 helmets manufactured daily. Throughout the production process, some helmets at different stages of manufacture are transported between these facilities, which might not seem like the most efficient production method but, as Omiya itself grew from a place that was once just farmland and a shrine into a thriving urban metropolis, it became impossible to expand the original site.
Shell making at Shinto
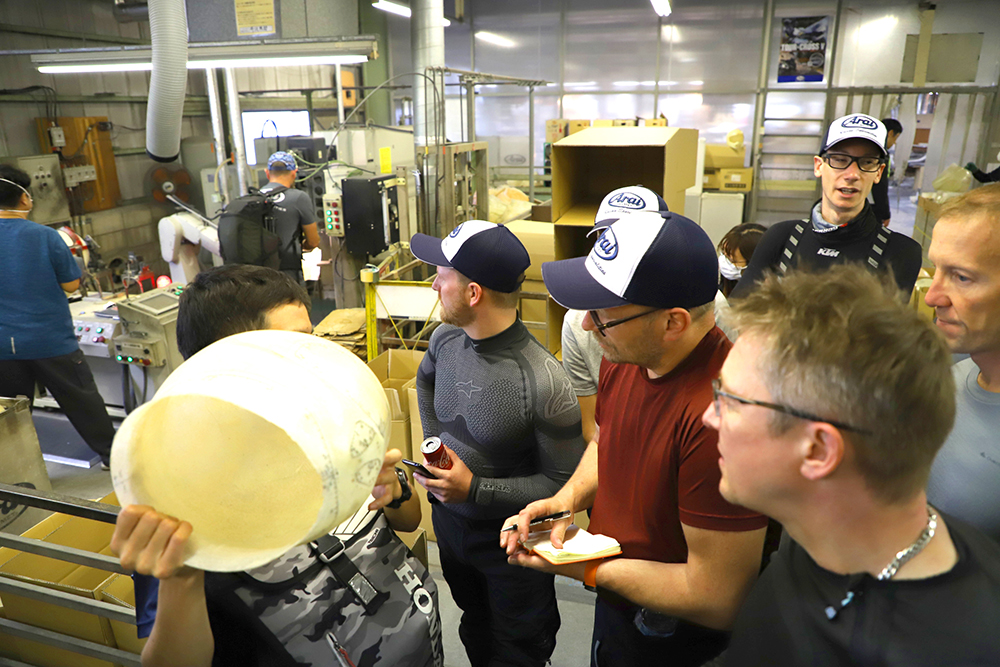
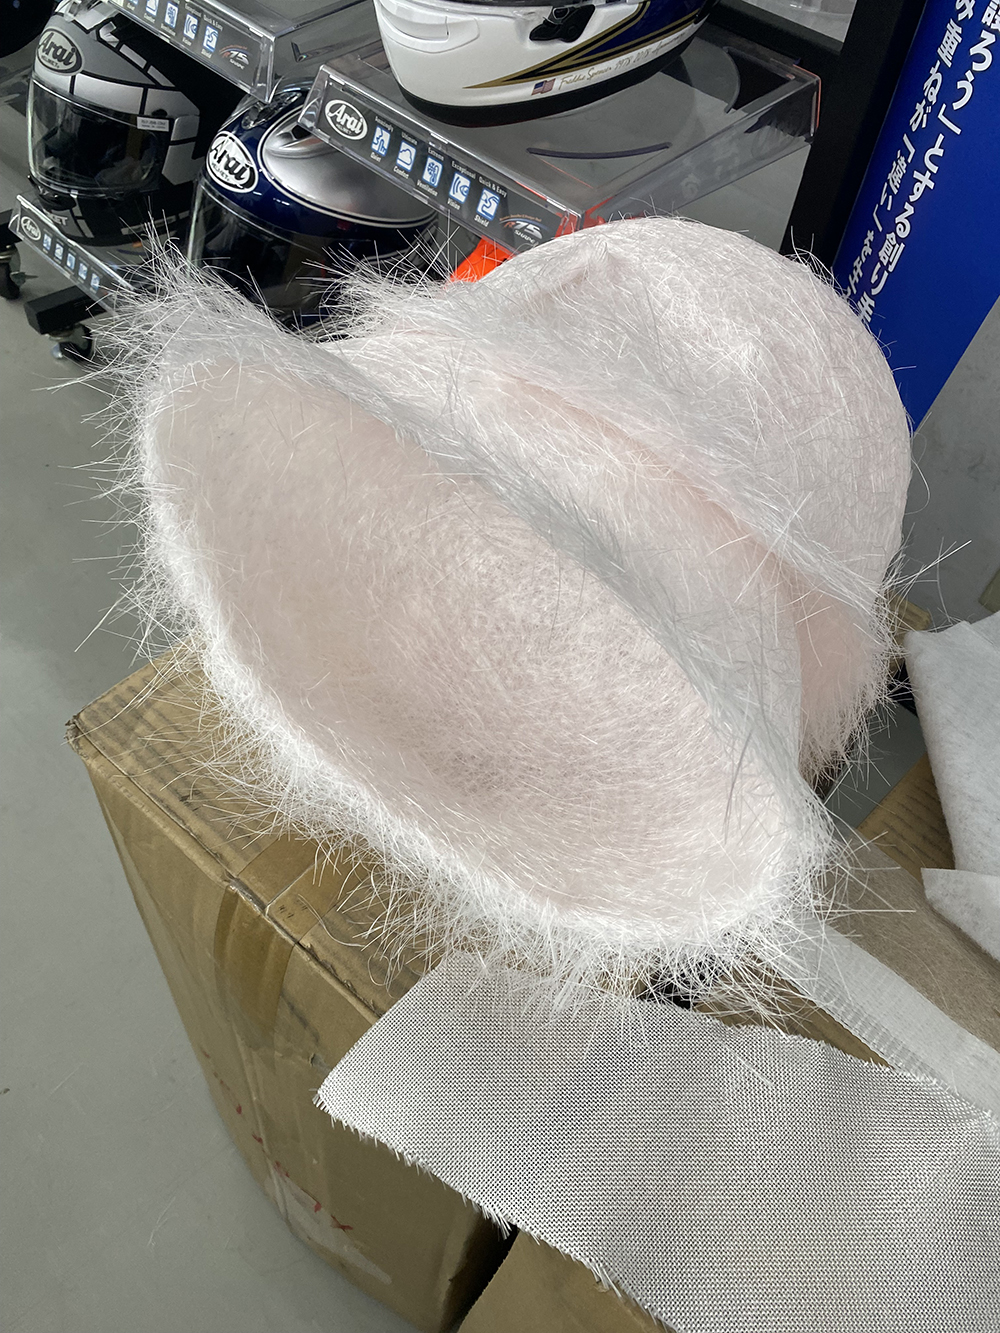
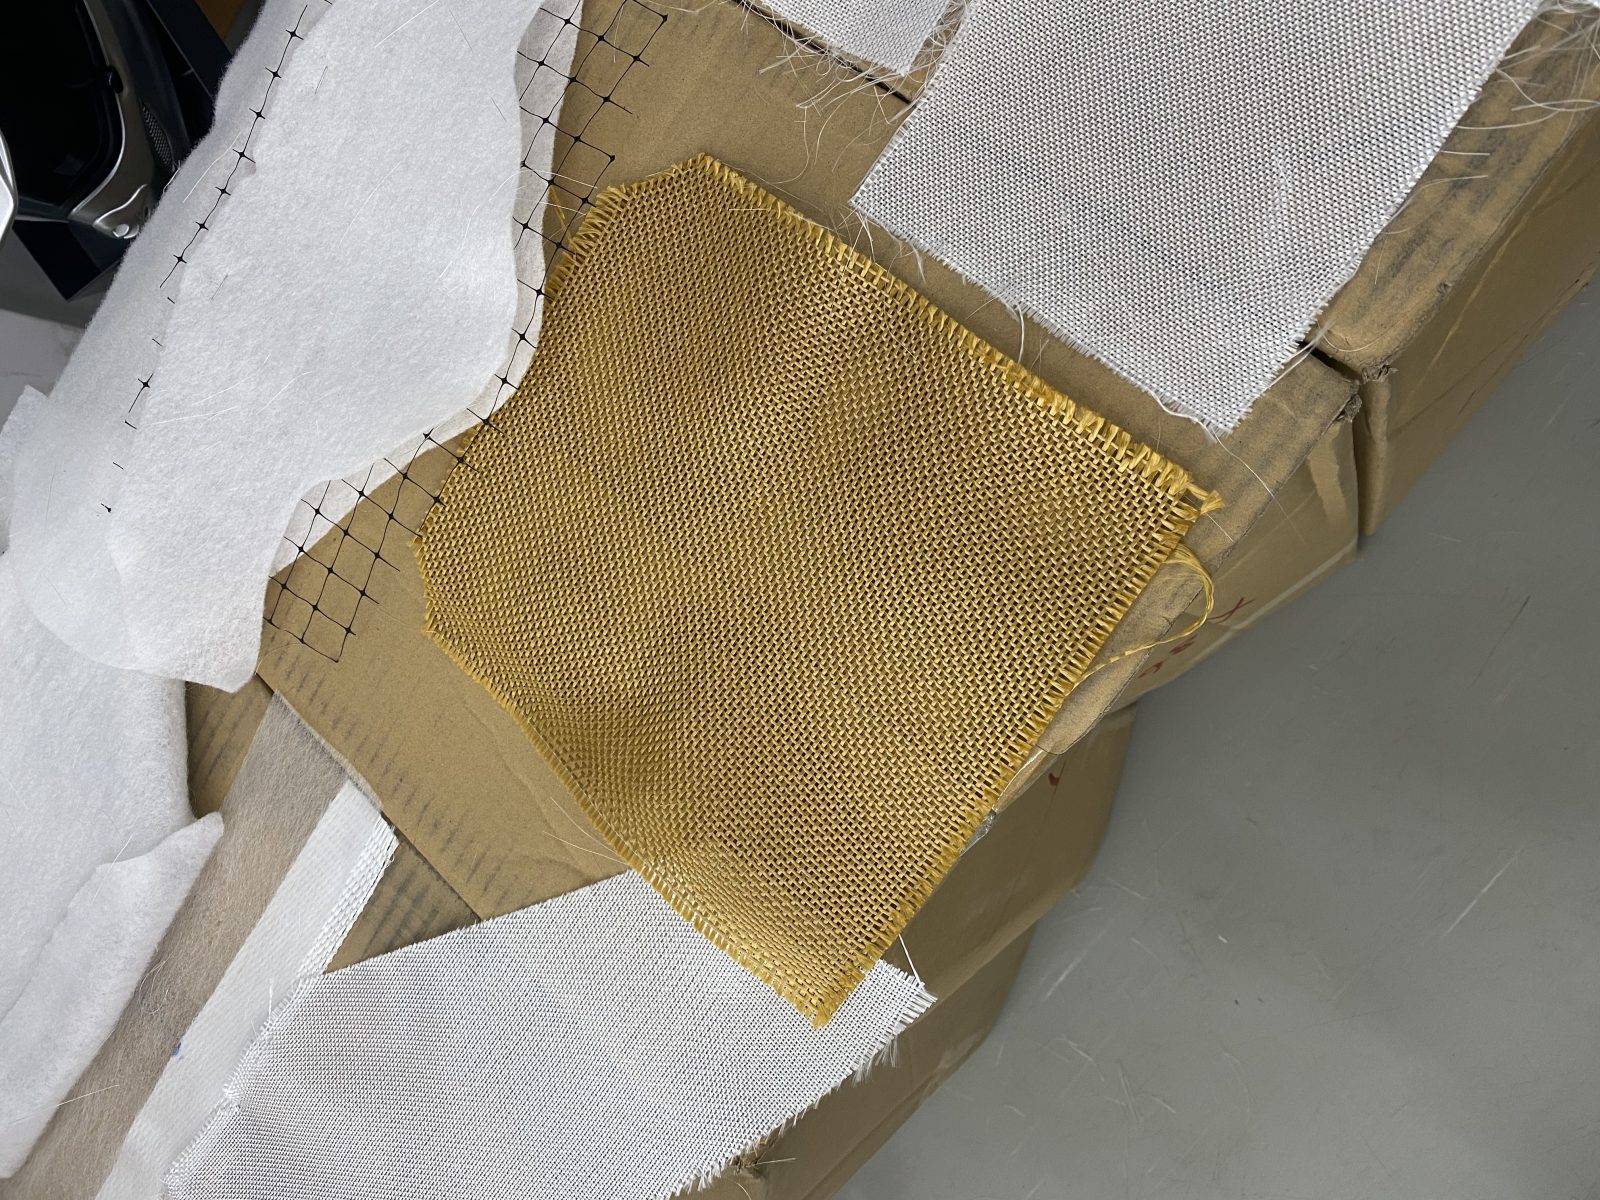
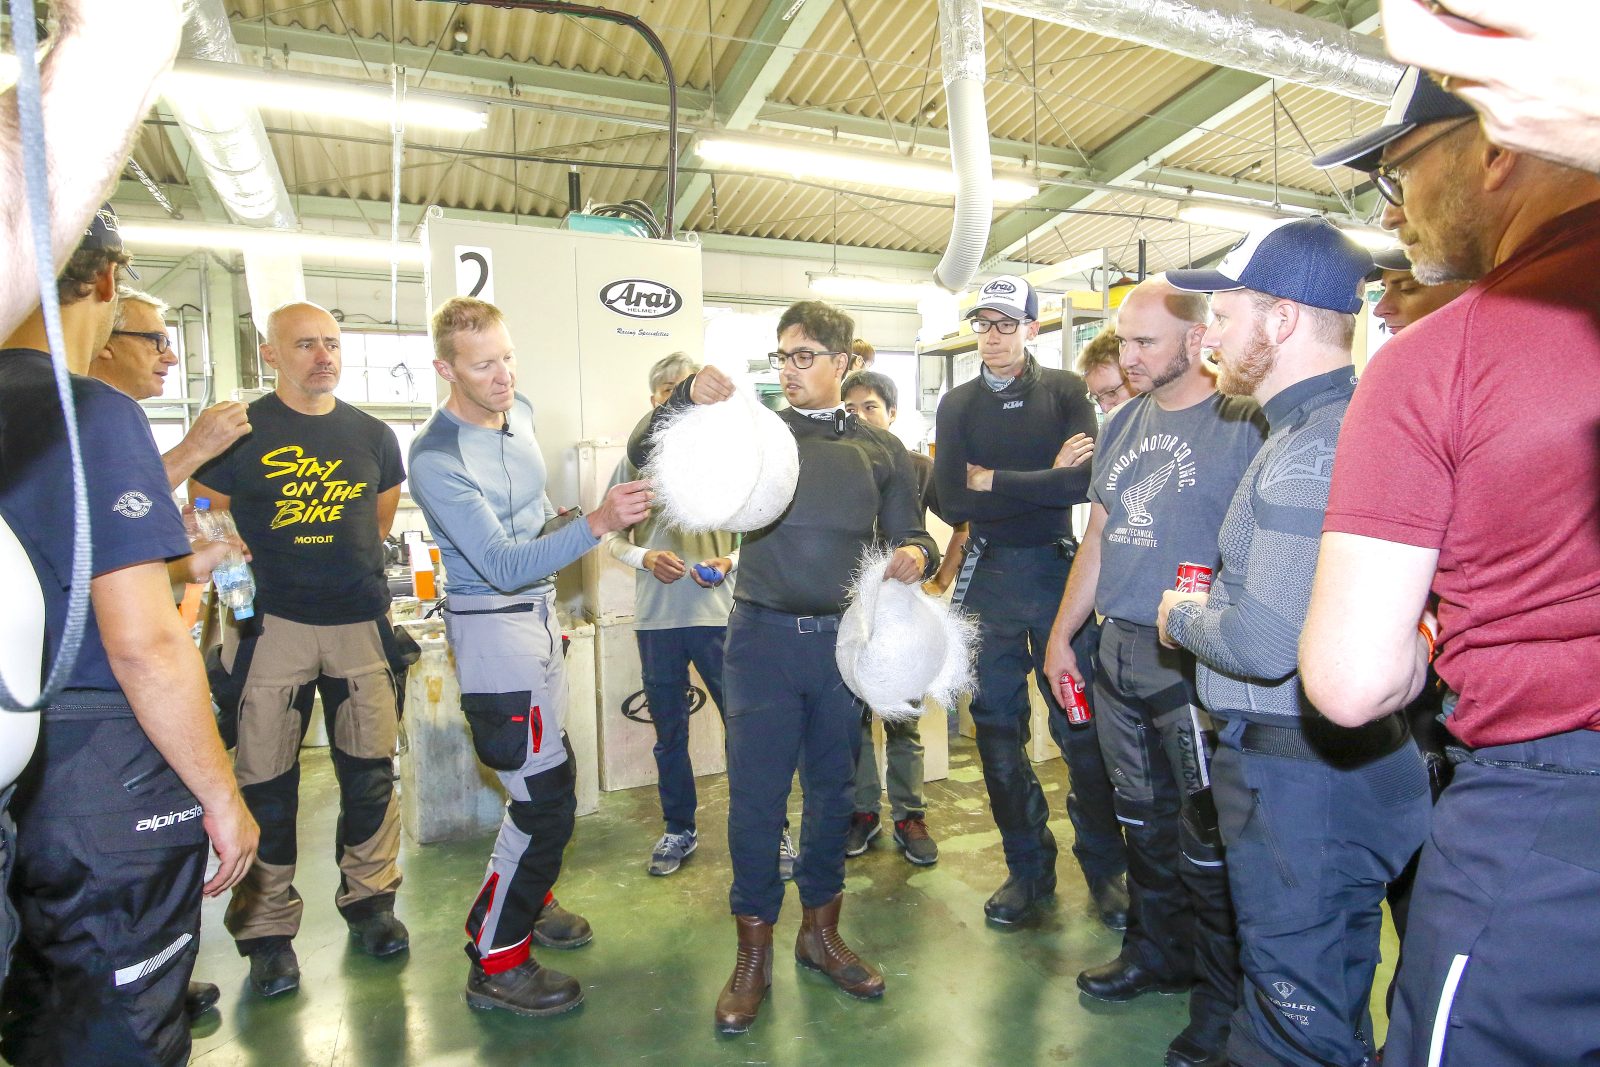
One of the main plants is the Shinto manufacturing facility, and here is where Arai helmets are born. One of the first processes is to make the basic shape of the helmet using a combination of fibreglass and Arai’s proprietary Super Fiber, both of which are blown on to a mould and sprayed with adhesive. Once removed, these “preformers”, as they are called, look a bit like a large bird’s nest. The Shinto plant makes 1800 of these a day, two of which are used in each Aria helmet, resulting in a production capacity of 900 lids per day.
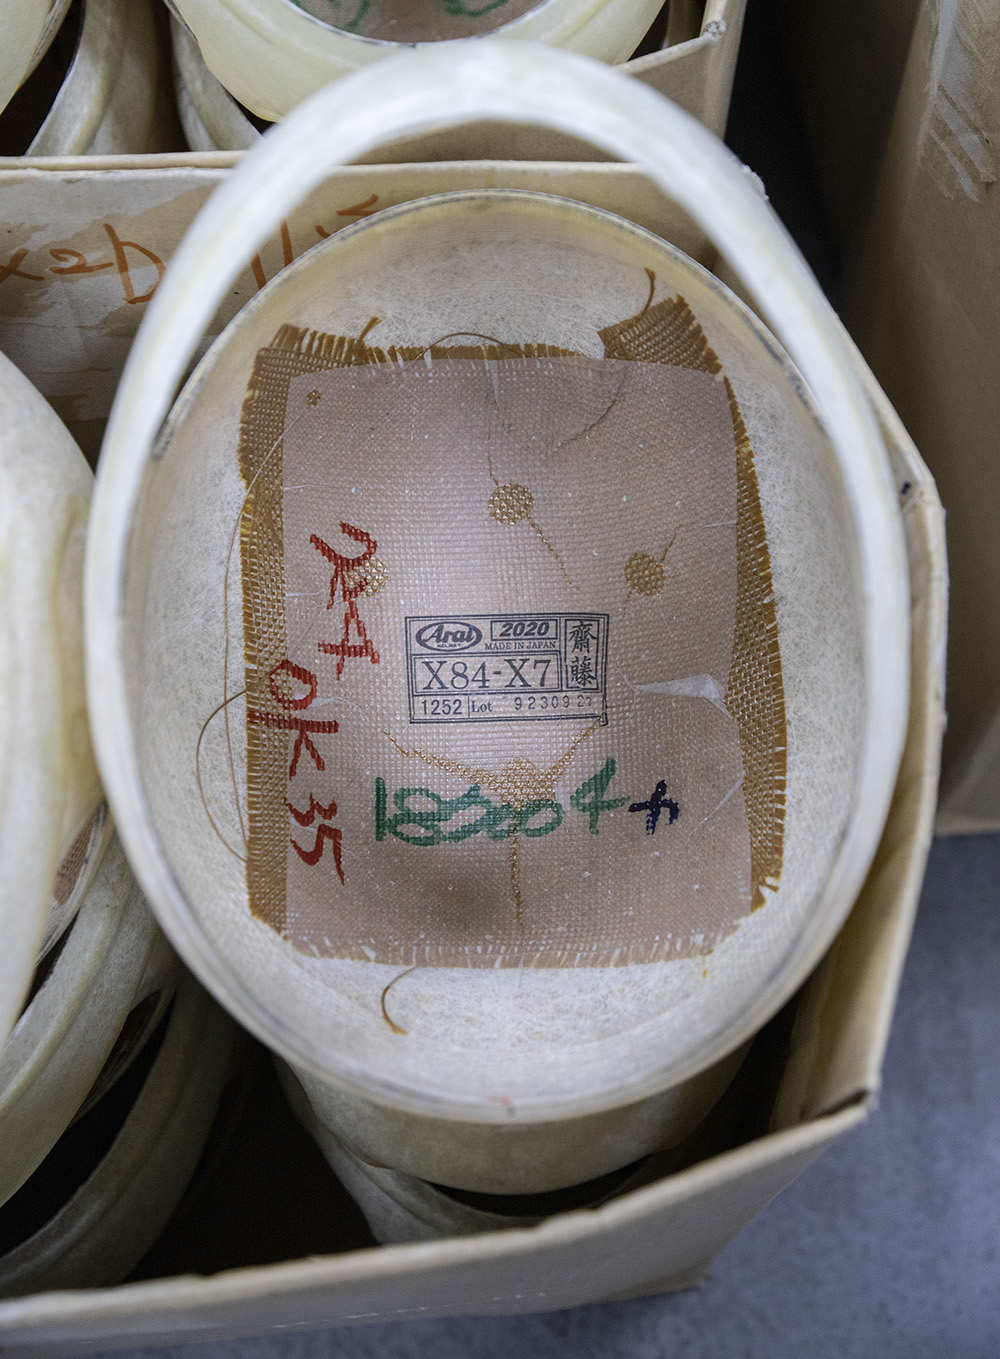
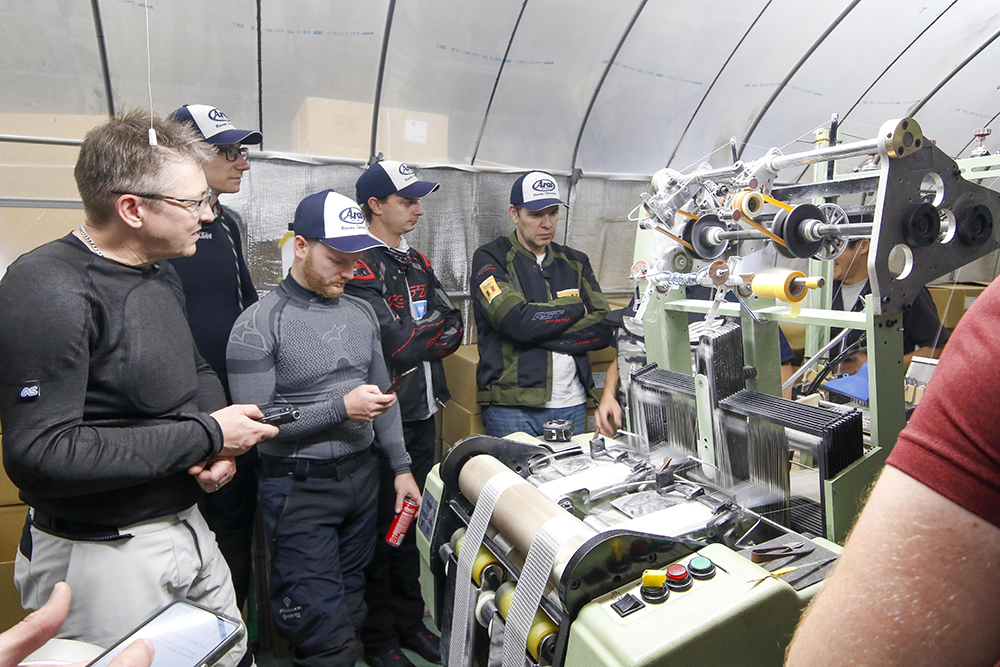
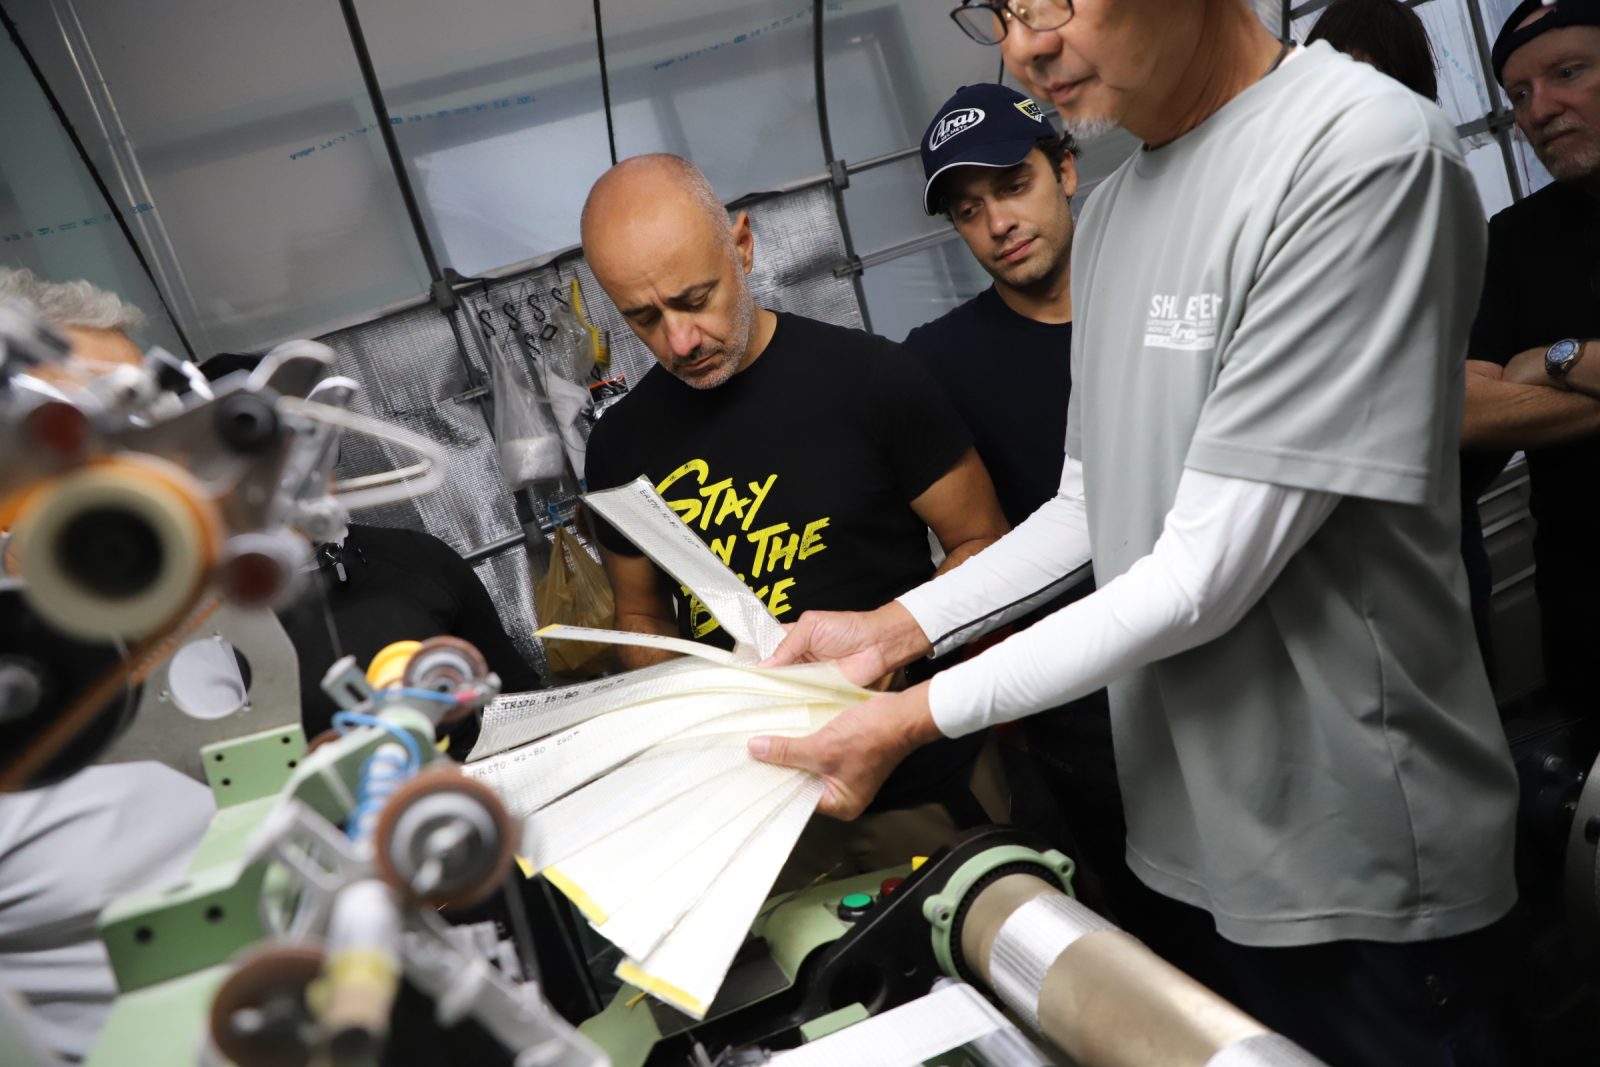
Other shell layers are also put together at this plant; strands of fibre are woven together here on a large loom to create different components which are then cut and stapled together in a specific pattern that will eventually be sandwiched between the two performer layers. These include Dyneema and Vinylon (called AR mat) sections that are used in different parts of the shell, such as peripheral belts across the forehead and extra fibreglass in the chin area.
The next step in forming a shell is for a preformer layer to be placed by hand into a 100°C hot mould by a “shell expert”, who then carefully positions the next layer of previously stapled components, and then the second preformer into the mould. A special resin is then poured into the mould and a balloon-like component is inflated, forcing the resin evenly around the shell.
After 13 minutes in the two-piece mould, it is split and the shell is removed. With up to 50 moulds operating at any one time, it can get extremely hot in this part of the factory – up to 50°C – and shell experts have to be careful not to brush their arms up against the hot edges of the moulds. It’s not easy work.
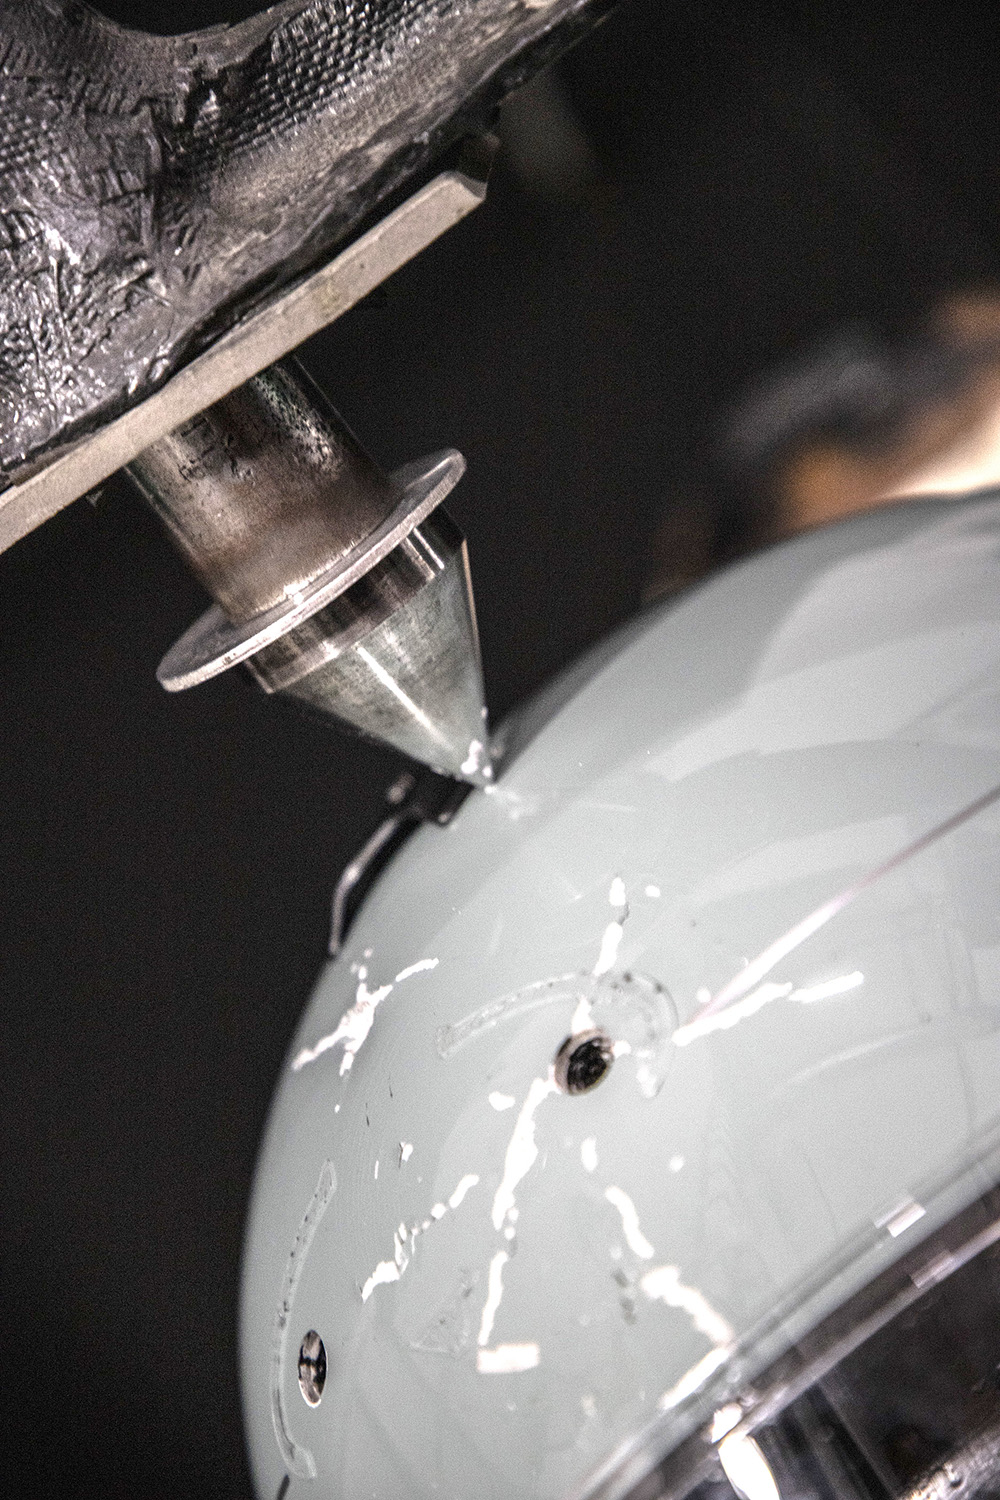
Once out of the mould, a robotic laser cutter is used to create the eye port and trim the bottom edge of the shell, which is then cured at 100°C for three hours. A seam across the top of the shell created by the moulding process is then sanded off by hand.
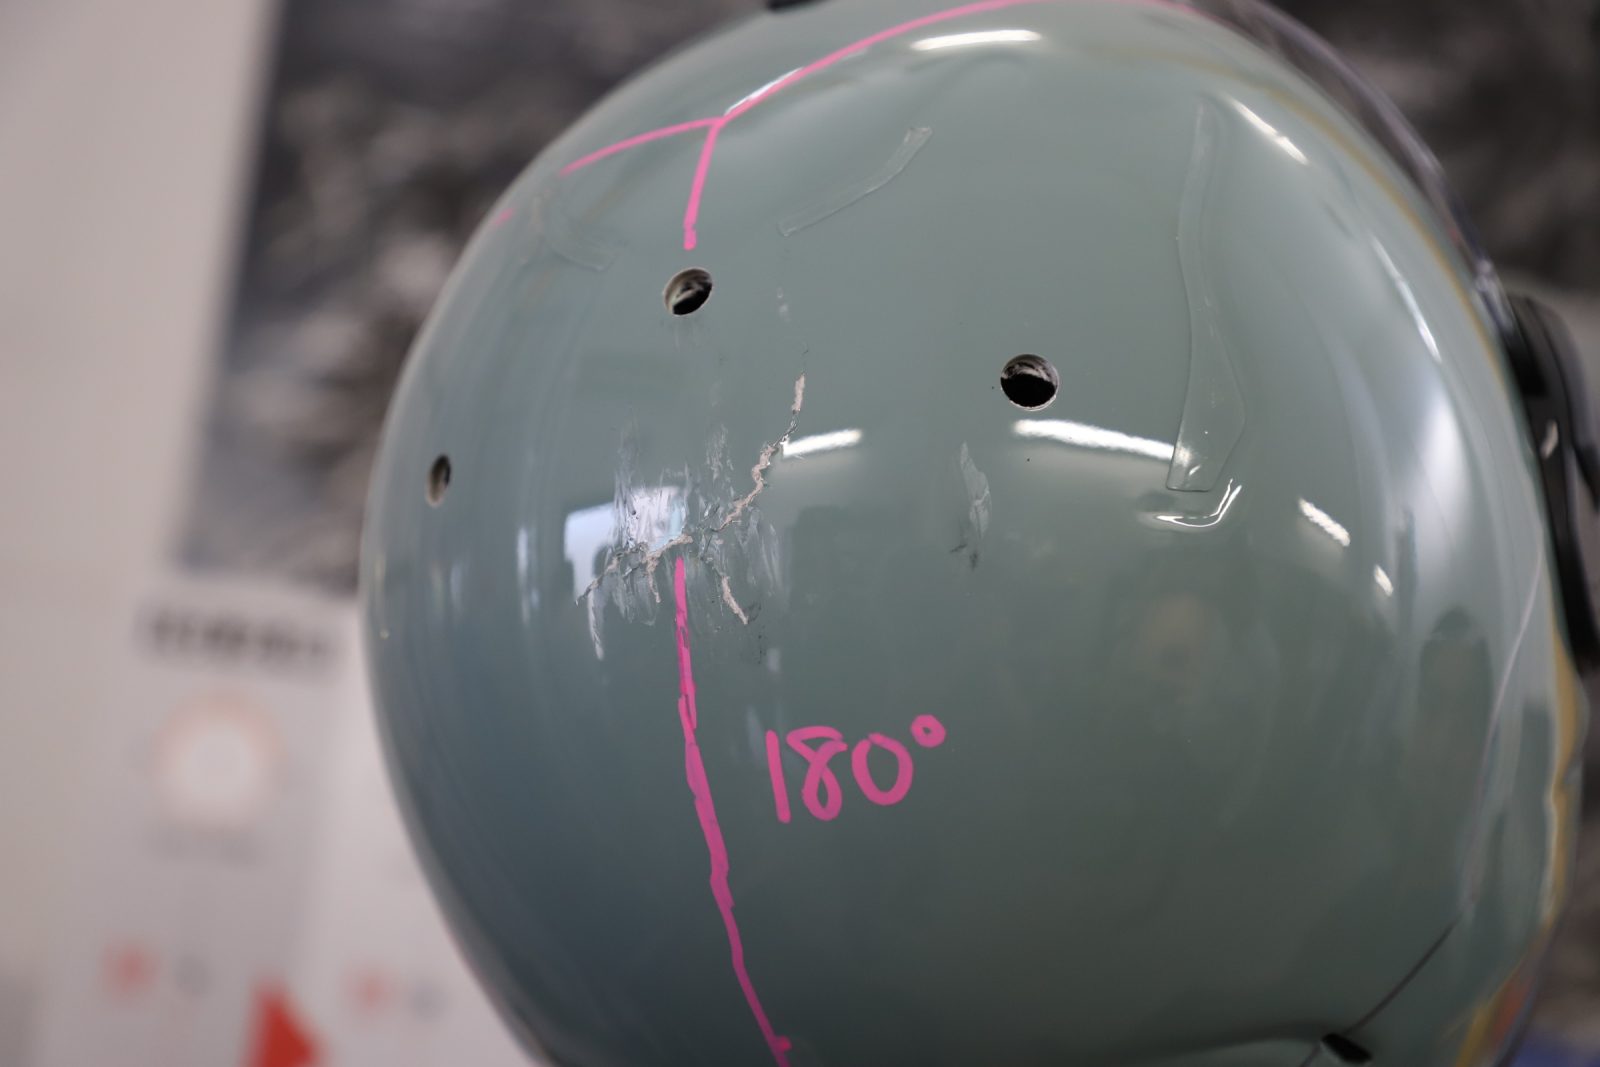
Each shell is carefully measured and weighed to ensure it has uniform thickness, and if any areas are found to be too thin they are marked so a Super Fiber patch and resin can be applied, again by hand.
The shell is then rechecked and weighed, and if it doesn’t fall within weight guidelines, it is discarded.
Paint and graphics
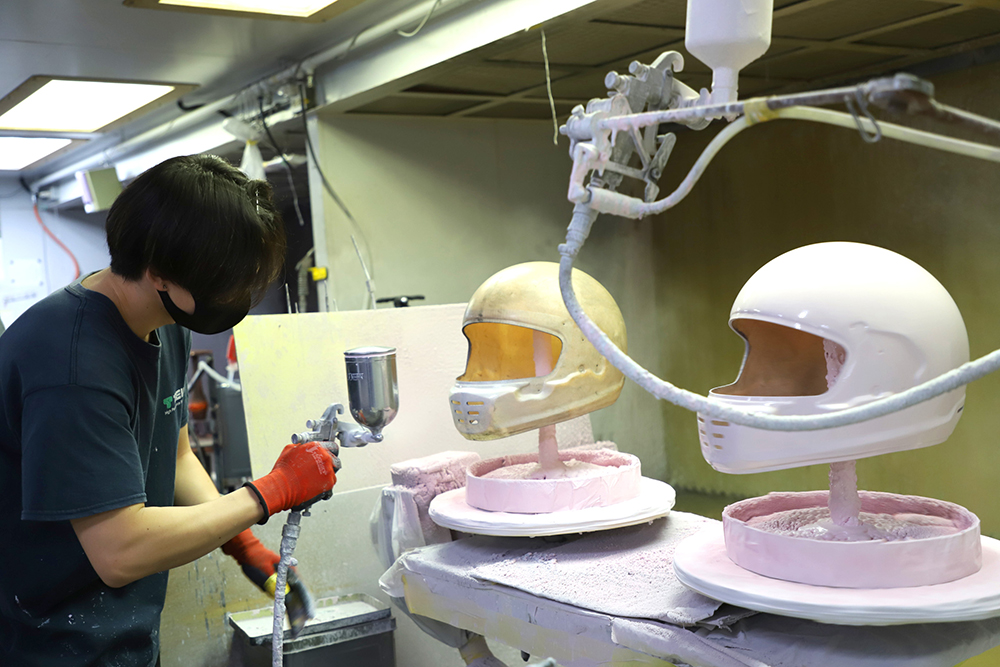
When the shells arrive at the Minamidai paint factory, the outer surface is quite rough. A special paste is rubbed into the shells to fill any pin holes, and then rather than apply a thick layer of paint, which would in turn add weight to the shell, a special “surfacer” layer is sprayed on carefully to ensure it adds no more than 25g to the weight. A second surfacer is then applied with the weight of both not exceeding 30g in total.

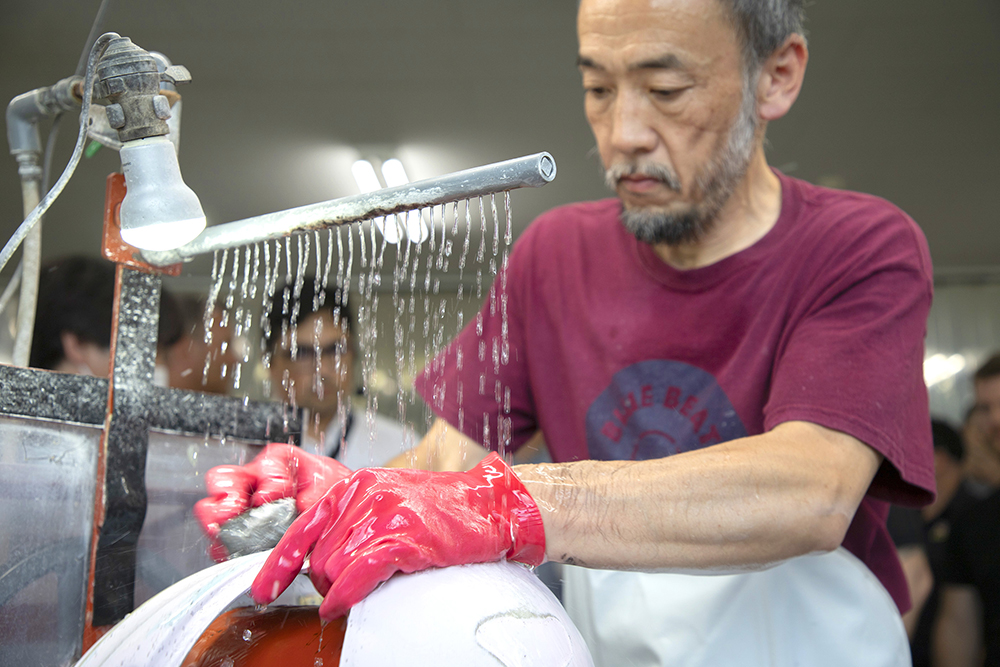
The shell is then sent off to be sanded (again by hand) using firstly 360-grit wet-and-dry sandpaper, and then 600-grit. You wouldn’t envy the workers tasked with this job; they spend their day performing this repetitive but critical task in wet-weather gear and gumboots.
The shell is then inspected again, and a special paste applied to any areas that need sanding. Each shell goes through a 10-step process that takes a week to complete. Once finished the surface layer is said to weigh just 23-24g.
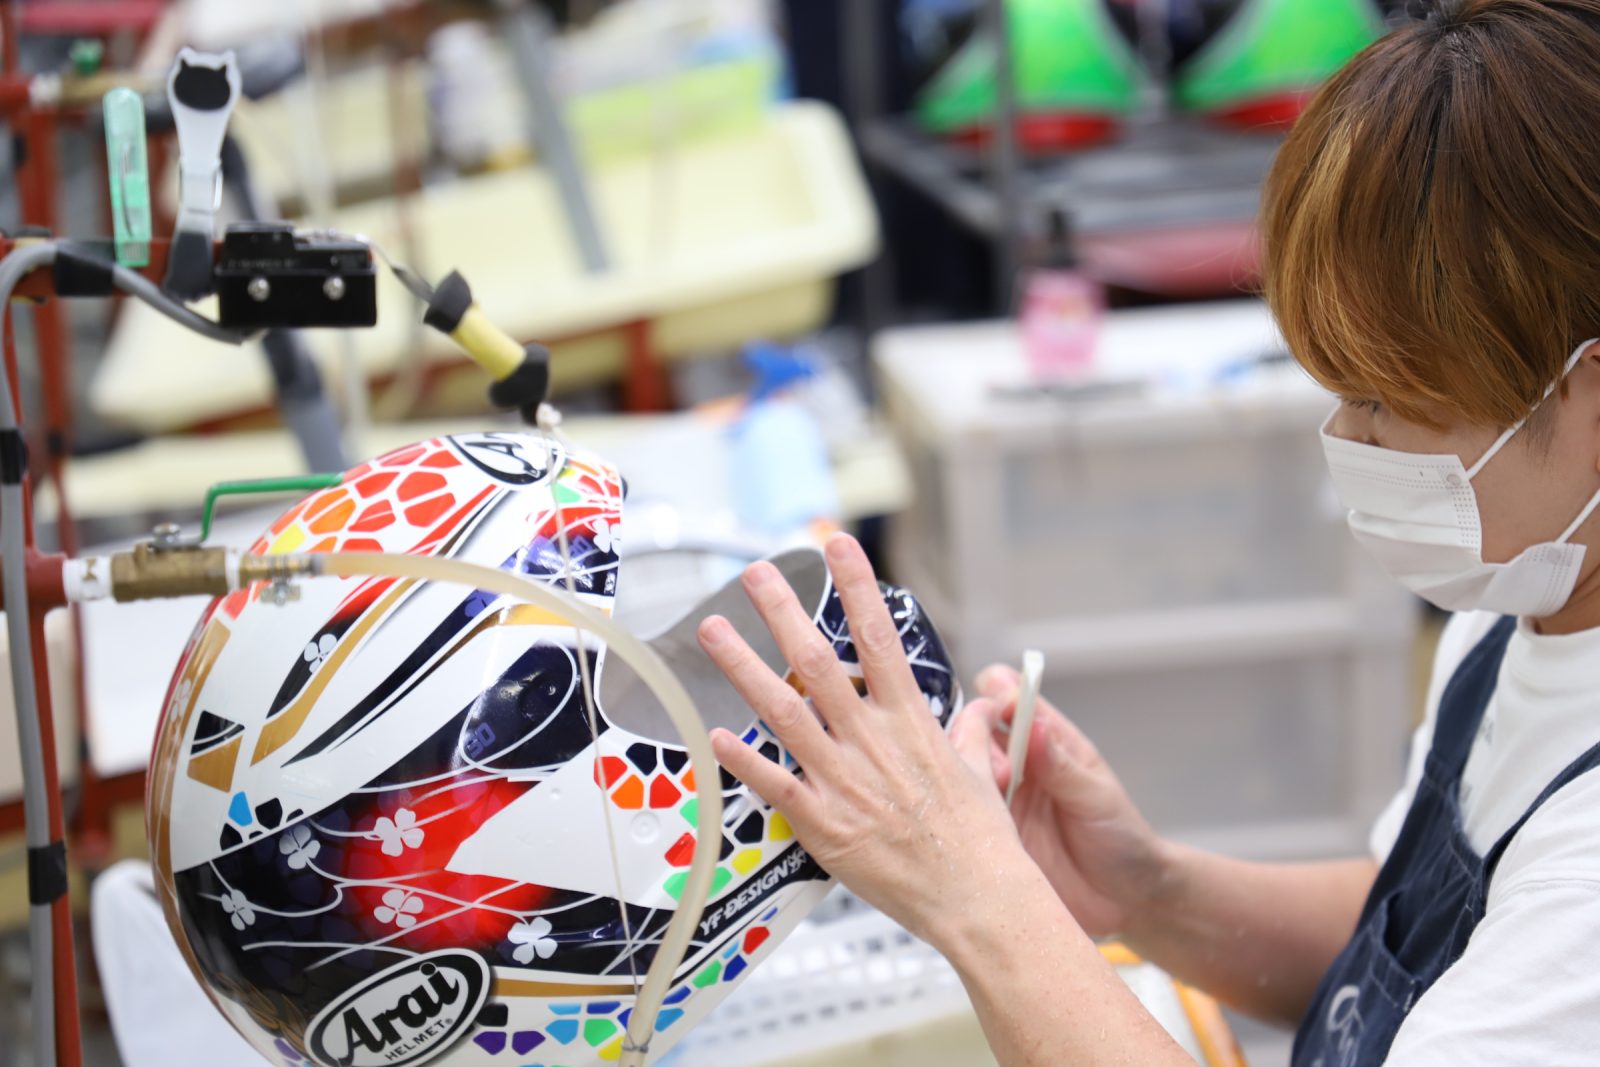
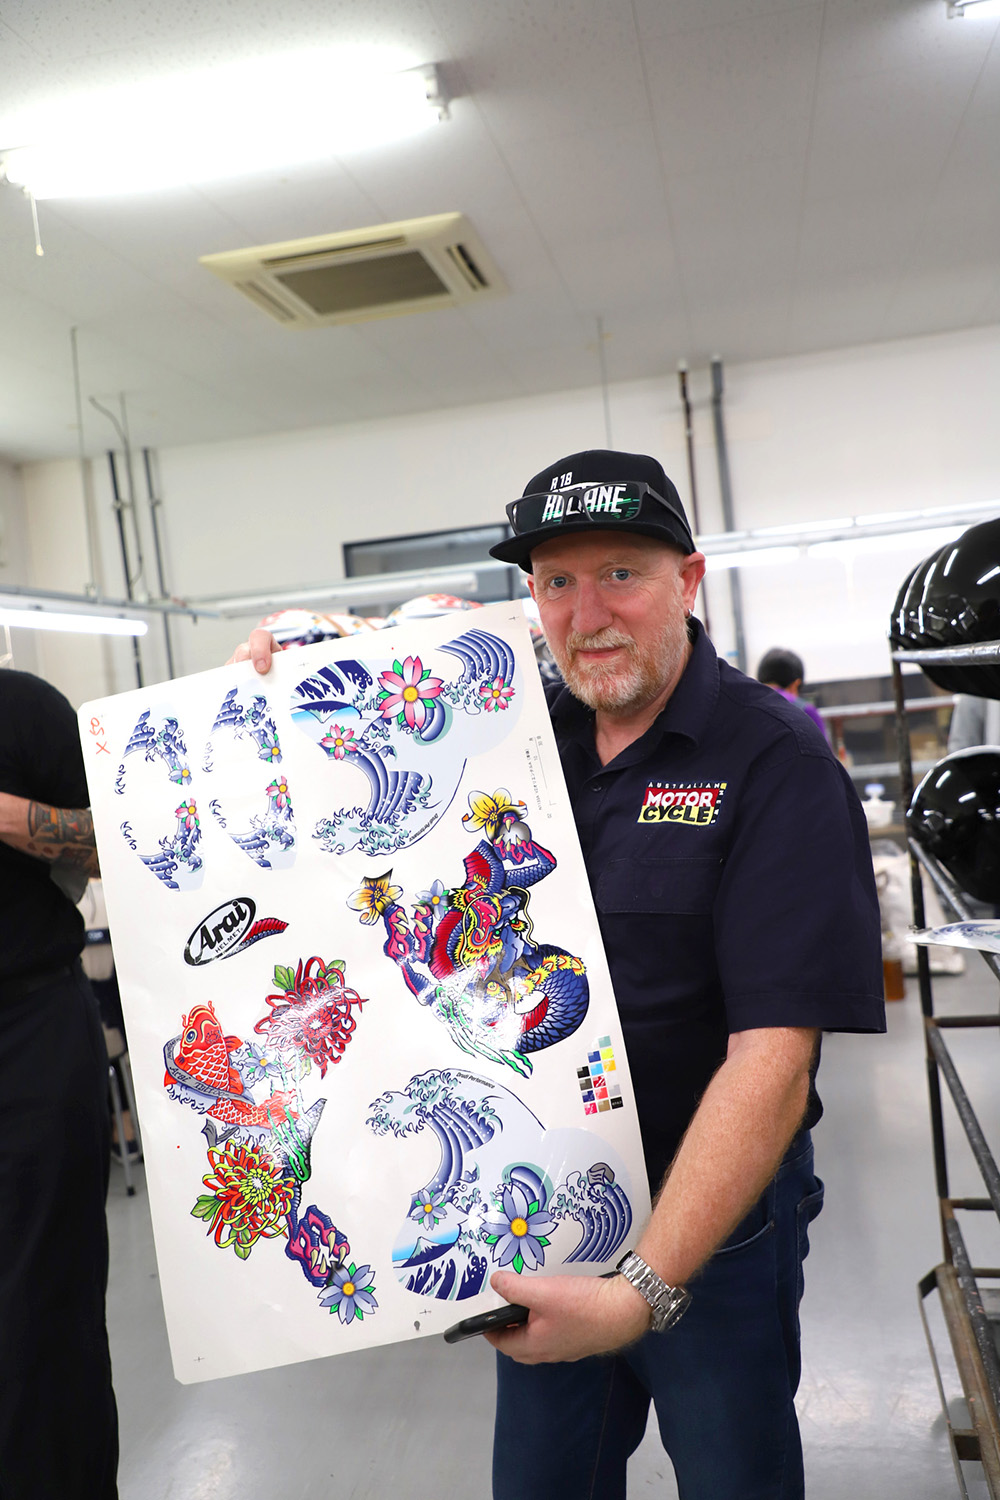
There are two ways to apply different designs and graphics to the shells; masking and decals. The masking process involves a design mould being placed over the shell, drawing lines on to it, applying masking tape, painting, removing the masking tape and repeating for the next colour, with each colour taking a full day to complete.
The decal process again involves the shell being placed into a mould and drawing lines on to it. Water transferable decals (tensha) are applied by hand, and water underneath is forced out using a spatula before the tensha are covered by a coating and the shell is placed in an oven to dry. After drying, the cover is removed, then the pencil lines are removed, the shell is inspected, dirt or imperfections are removed, and a clear coat is applied. Arai says it takes tensha-application workers around three to six months to master the job.
From applying the base coat to the final inspection at the Minamidai paint factory takes around 10 days for each shell. Shells that pass inspection are then sent off to the Katayanagi assembly factory.
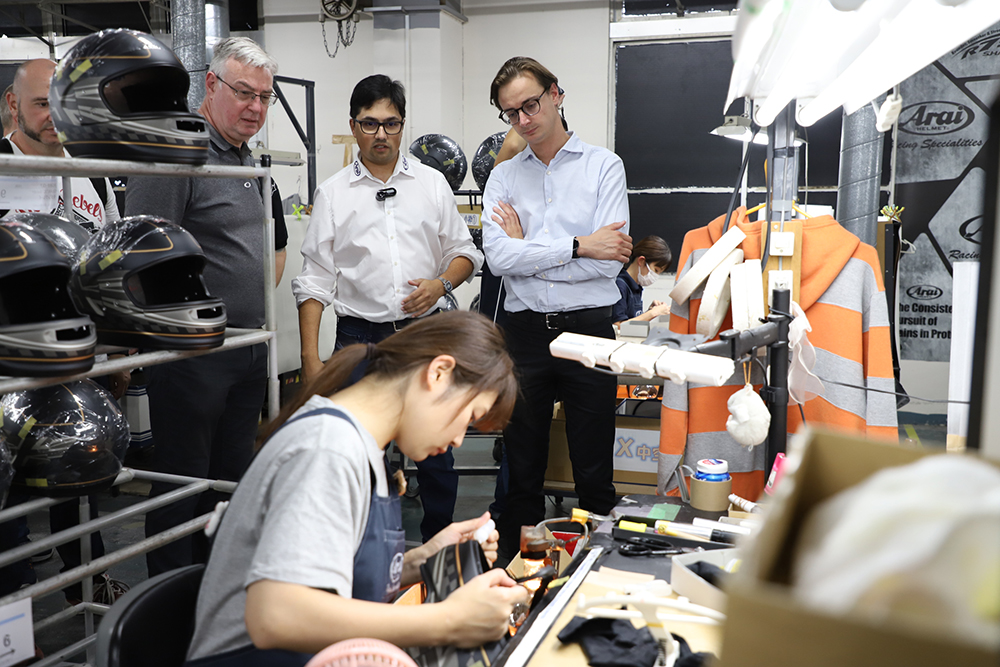
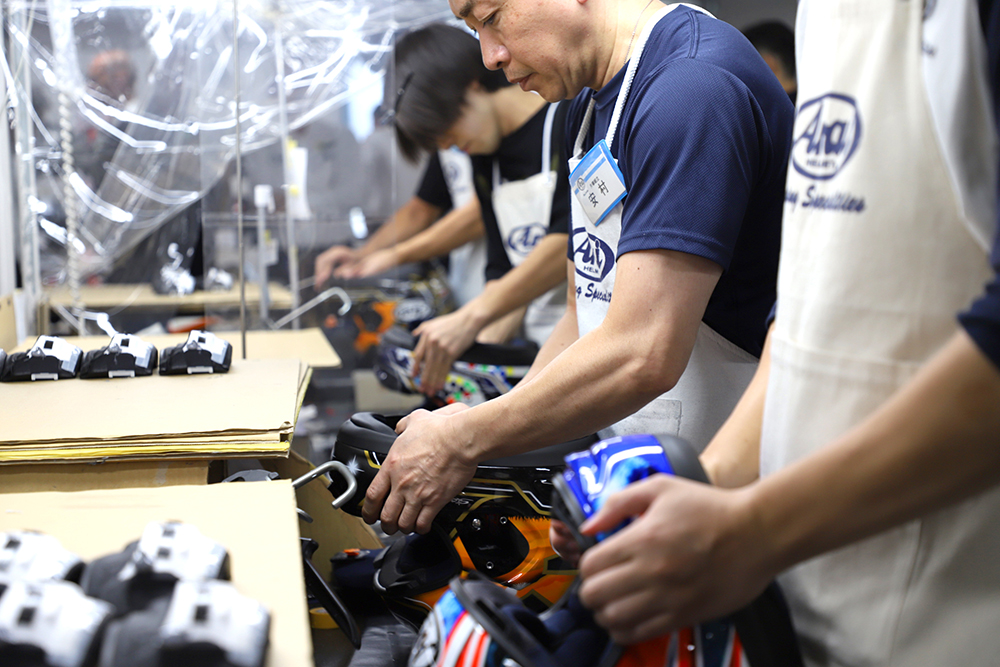
Helmet Assembly
When a shell arrives at the Katayanagi assembly factory it is inspected to ensure designs or decals are correct and that there are no colour deviations. It is also checked to make sure the paint properly adheres to the outer shell, and it is weighed again. If any area requires attention, the shell is buffed and retouched by hand.
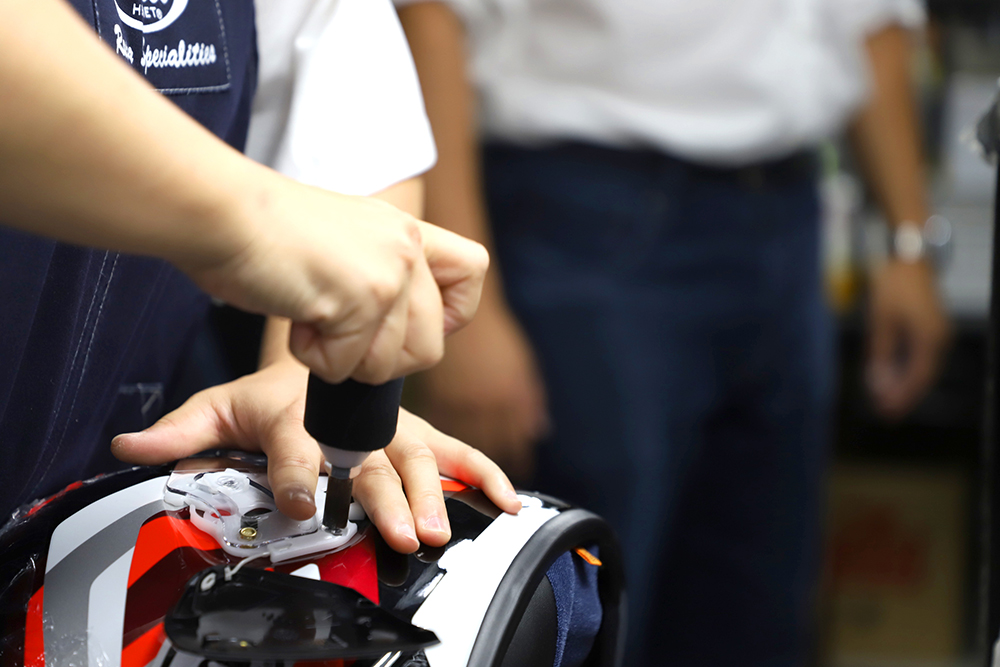
Once the shell is ready, the inner surface is painted black where a customer might see it when removing the liner, then it is sent to have holes drilled in it for the chin strap and visor base plates. Grommets are then inserted into the base plate holes, and these are then threaded.
The next step is to drill the ventilation holes in the top of the shell; no easy task as the drill bits must drill through extremely tough materials like Zylon and Dyneema that have been incorporated into the shells for added strength, and so the drill bits need to be inspected and maintained daily.
The next step is to pair up the shell with the correct-size EPS liner, the latter also manufactured by Arai using up to five different densities in the one component. The EPS liner is softest at top and harder at lower edges of forehead, especially at the front, which is the hardest part of the skull. The EPS liner is inserted into the shell by hand, then trim rubber is fitted to both the bottom edge of the shell and the eye port. The installation of the EPS liner is only entrusted to certified workers, to ensure the correct EPS liner size is matched to the correct shell size, and to ensure correct installation.
Inner ducts are then installed at the top of the helmet, above the point in the shell where the peripheral belt protects the rider’s forehead, and the chin straps are installed, again only by certified workers. The helmet’s liner is then installed, including the cheek pads and centre pad.
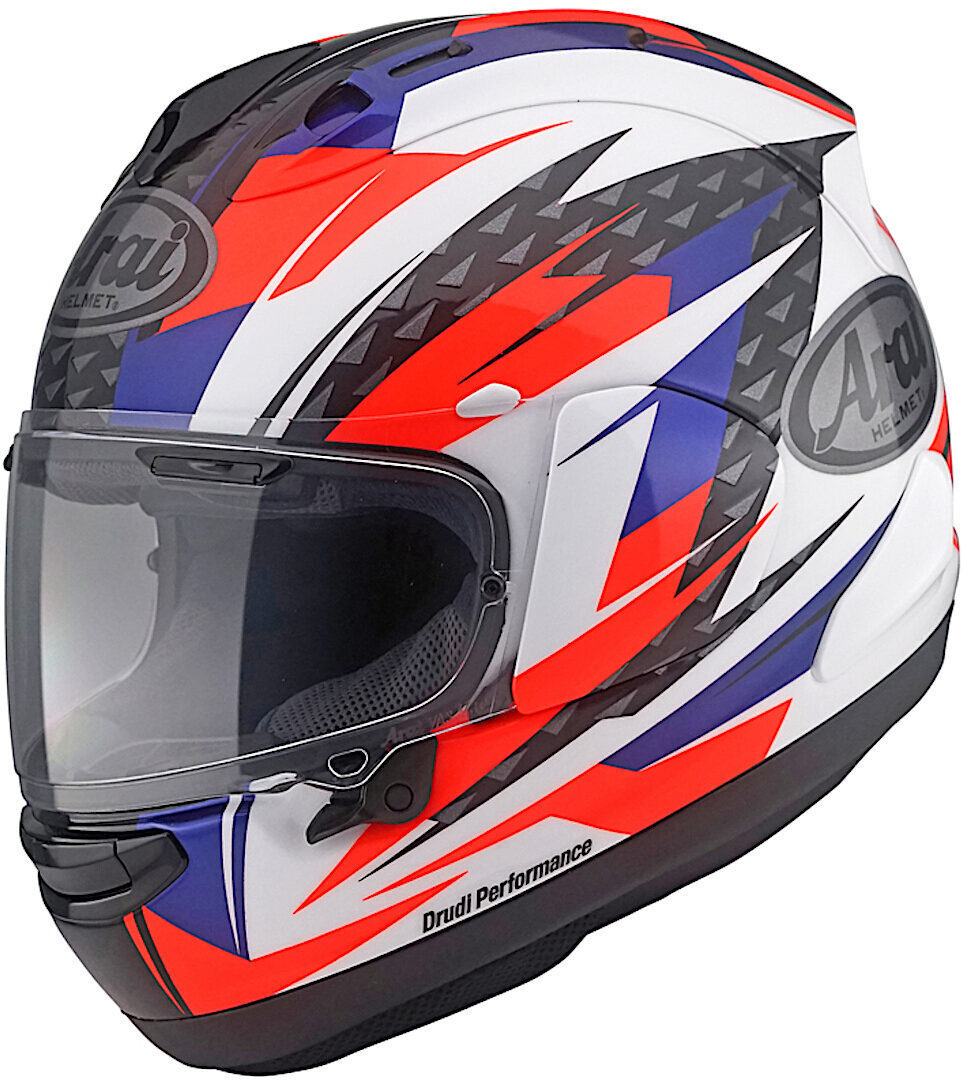
Next, the shield (visor) is attached, and then carefully inspected to ensure there is a good seal and to make sure the inner ducts and brow vents are aligned. Notably, Arai doesn’t offer a pull-down sun visor in any of its helmet models as it says this would weaken the area at the forehead and make it more difficult to absorb impact energy; instead Arai has developed its Pro-Shade System, which is a shield with an external pull-down sun visor.
One of the final steps in the assembly process is to install ducts and diffusers to the shell, all of which are designed to break away in an impact; Arai says a smooth round shell is vital for maximum protection. Once the helmet is complete, the Arai logo, model name and certification stickers are applied, the helmet undergoes a final inspection, and it is bagged and boxed ready for shipment.
Lesson learnt
One of the main things I got out of this Arai tour was the dedication and care put into the manufacture of each and every helmet, as well as Arai Helmet’s sharp focus on ensuring the highest levels of safety, from design, research, development and testing, and throughout every step of the manufacturing process.
Manufacturing helmets by hand is obviously an expensive and labour-intensive process, but Arai is still a family-owned company, with Michio’s son Aki Arai set to take over in the future. This means that there is no board to answer to, so Arai can focus on its commitment to safety rather than the pressures of always increasing profit.
The next time you balk at the cost of a high-end helmet such as those produced by Arai, have a think about what goes into making it and the level of protection it provides your head.
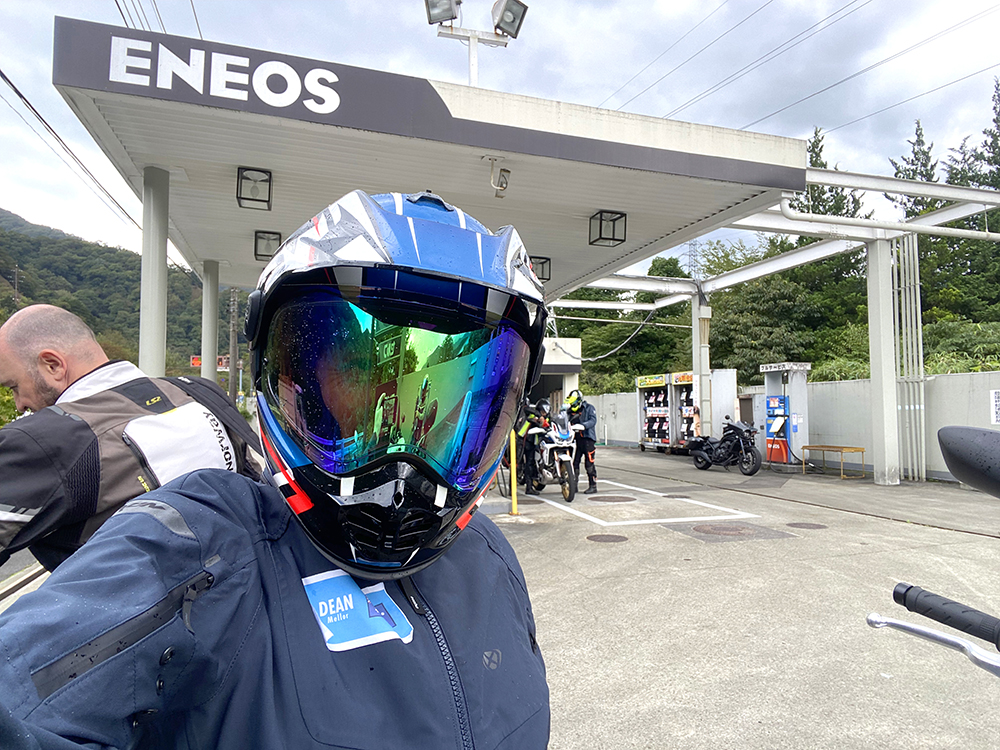
Words Dean Mellor + Photography Arai Helmet