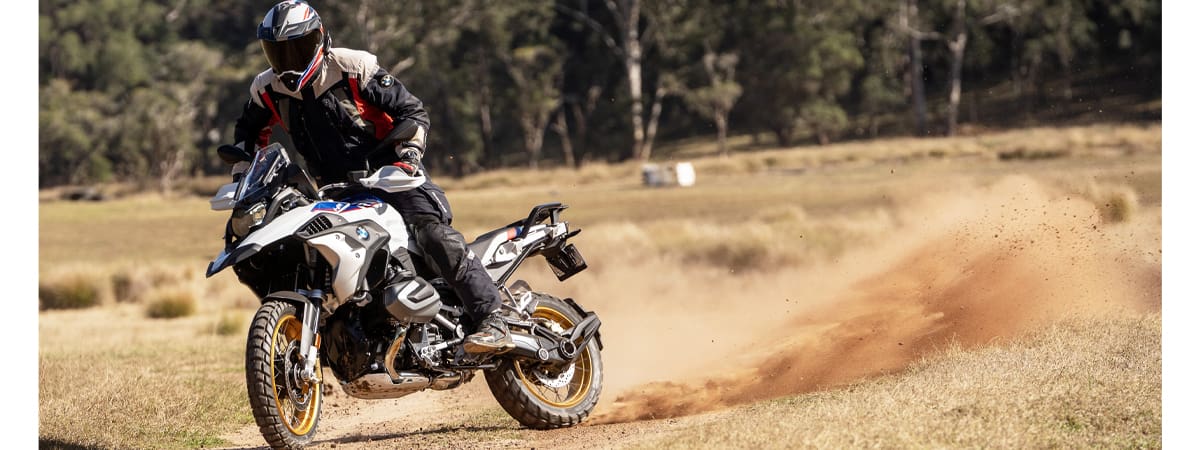
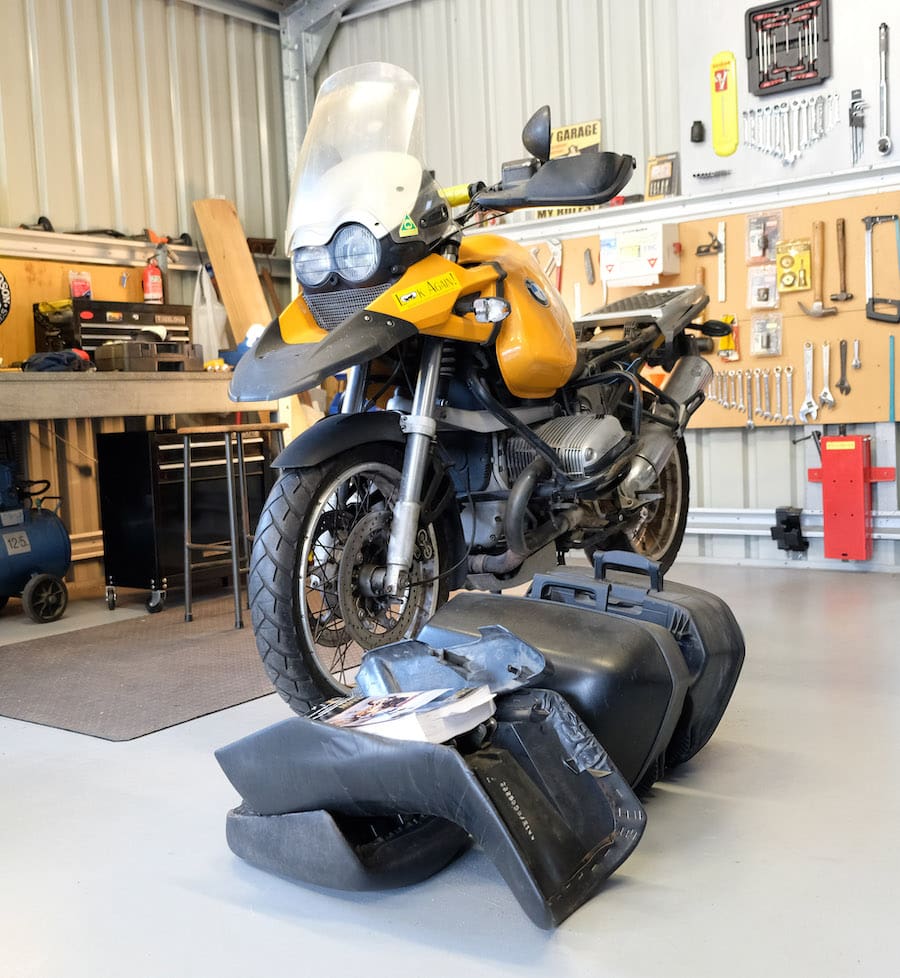
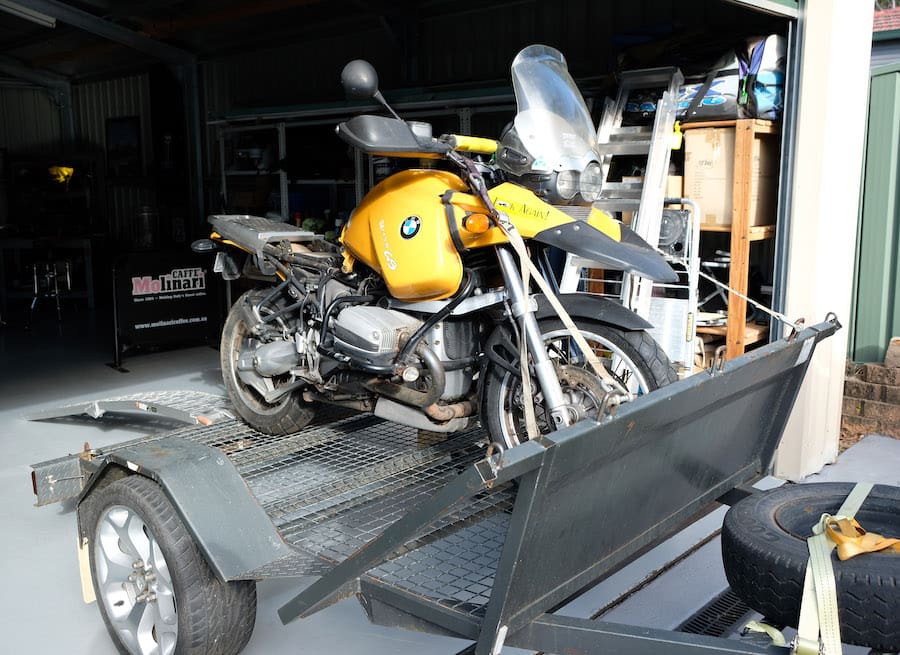
We’ve all eyed off a bike that needs a bit of work; whether it’s your own bike that’s been damaged, a bike that’s been stored for a long period of time, or even a bargain bike that you wish you could procure for a project but felt you didn’t have the know-how to overcome its state of disrepair. Here, we picked up a BMW R 1150 GS which was involved in a crash three years ago and, after initial and unsuccessful attempts to repair it, has been sitting under a tarp in the owner’s back yard.
If you are acquiring a bike in a similar situation there are a few things to confirm before agreeing to take the bike. Firstly, is the bike a statutory write-off? If it is you will not be able to re-register the bike so you should give it a miss. You should eyeball some paperwork to confirm you are not in the process of receiving stolen goods. Having established the BMW was neither of those, we loaded it onto a trailer and headed for the shed.
First decide on the required outcome and a rough budget before spending your money on a long parts list. You’ll first need to confirm the bike is salvageable and no major components need replacing. Our stated outcome is to end up with a decent old school adventure bike that owes us a little as possible, without compromising safety or reliability.
1 The fuel tank is half full of what will be contaminated or well out of date fuel so we will drain it completely for proper disposal
![]()
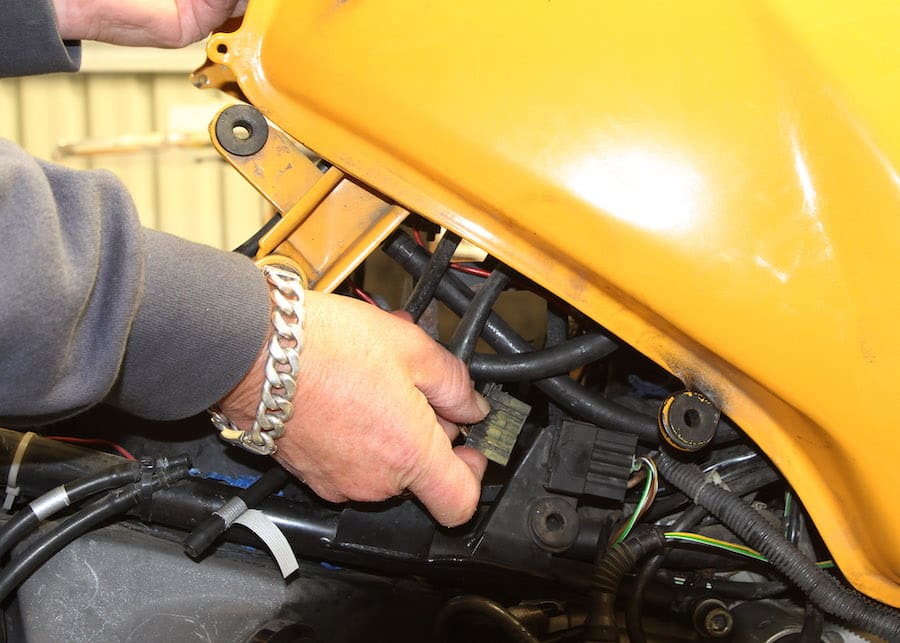
2 Now we can remove the petrol tank mounting bolts and disconnect the electrical connector to remove the tank from the bike, placing it on a soft surface to protect the paint
3 Blow out any crud or rust from the spark plug holes with compressed air before you remove the plugs, so it doesn’t end up getting into the cylinder heads
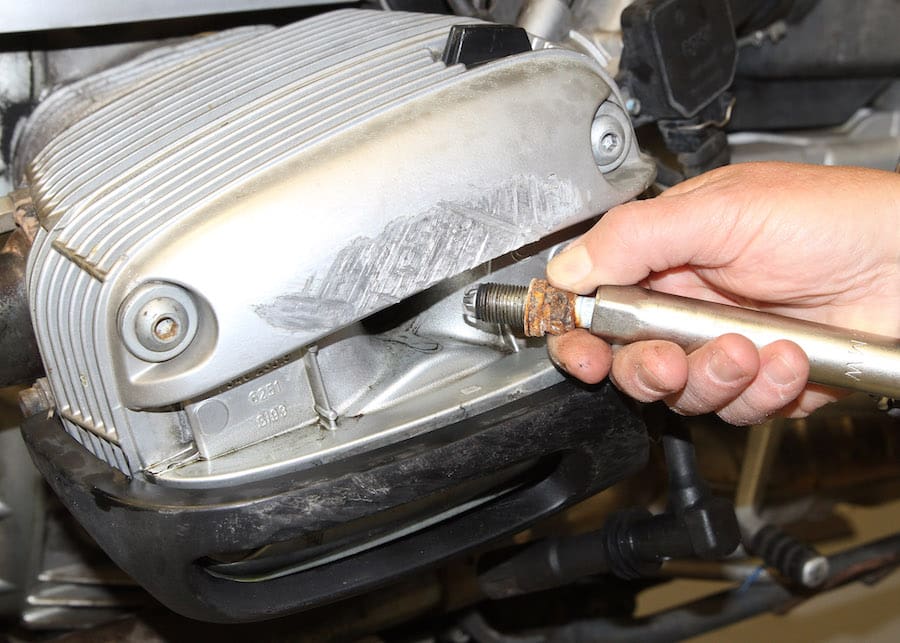
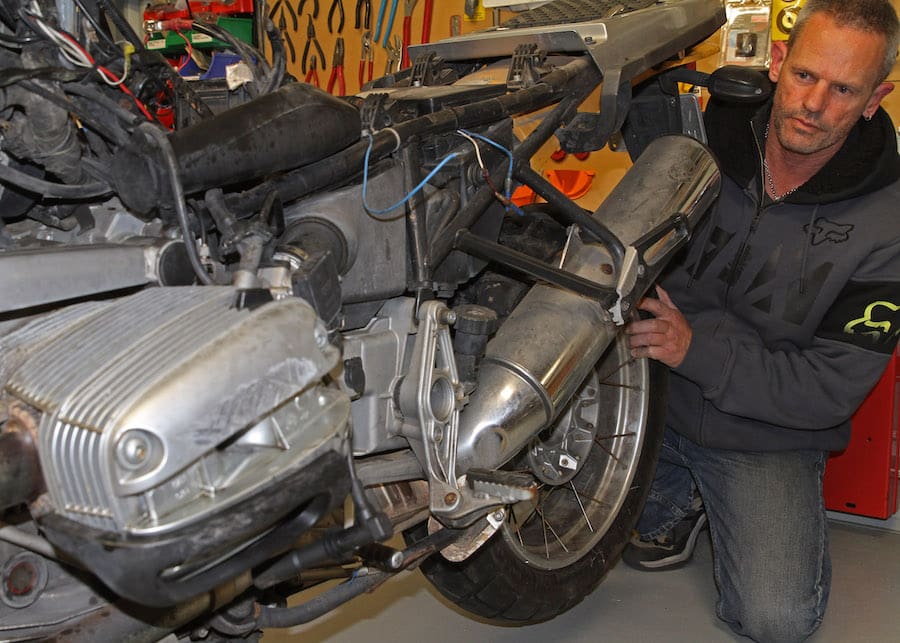
4 Next we removed the crash barsto gain clear access to the spark plugs so we can remove them – the weather exposure is obvious. We are doing this to reduce the cylinder compression which will help make it possible to move the pistons if they are not seized in the heads
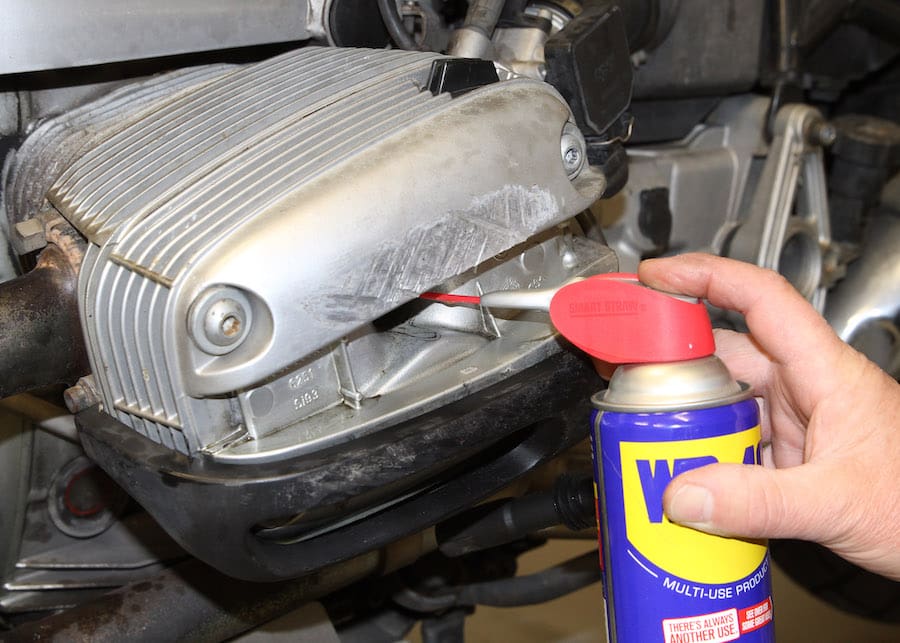
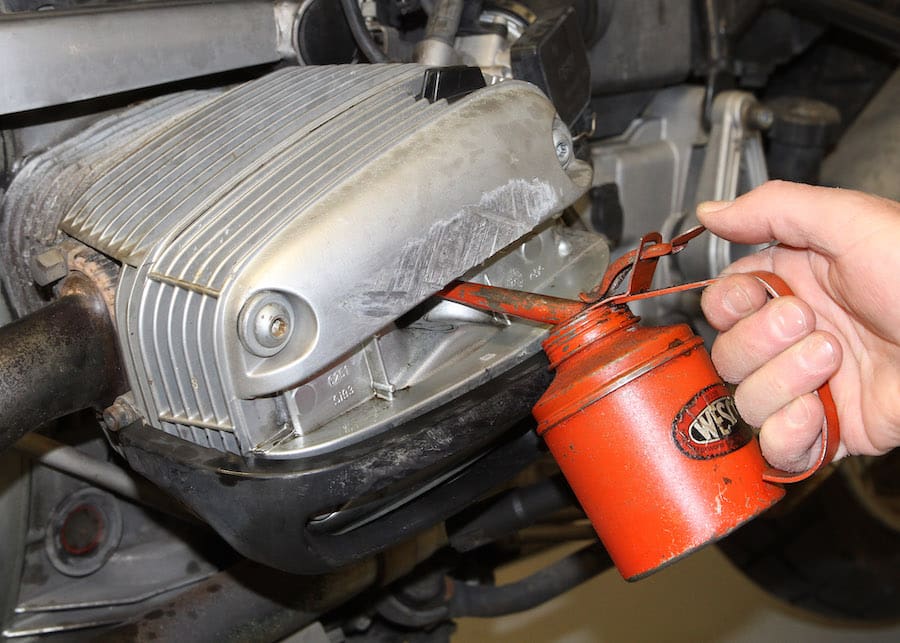
5 Here we are spraying a small amount of penetrating lubricant into the cylinder bores to help things start to move
6 There are several techniques to turn the engine over but in this instance we have selected fifth gear and will gently turn the rear wheel to see if things are going to move
7 After some initial reluctance we were able to work it through a partial stroke but there is significant resistance. Rather than try and force it we have sprayed more lubricant into the head as well as a small amount of thicker engine oil and will leave it to soak for a full day before trying again
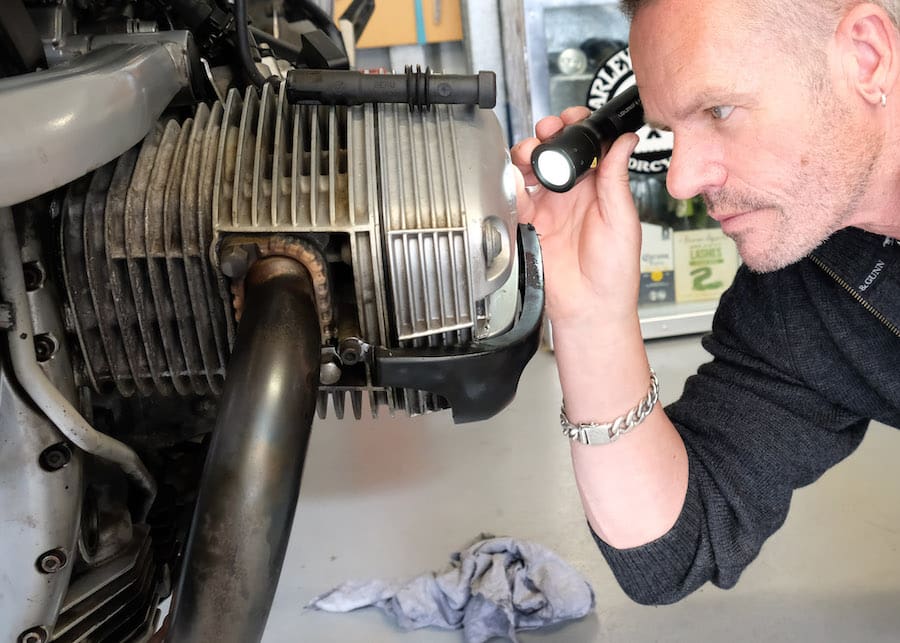
8 Success! After the longer soak the engine is now turning quite easily through multiple strokes. This is a big win and, after looking through the spark plug holes at the top of the pistons and part of the cylinder walls, we are going to assume that there is no rust or other damage in the heads and will continue with other work to see if the engine will actually fire up.
Tip – When you have a pair of similar hoses or wires in close proximity that could be difficult to correctly identify on reassembly we like to use a bit of coloured tape on either side of one of the the connections for any easy visible cue
Words & photography Tim Munro