We’ve looked at the fuel system and tank and we’ve made sure there’s clean and free-flowing air getting into the cylinders, so the last critical element in getting the bike to run is electrical – getting a spark to the cylinder heads to combine with the fuel and air to make the big bang. We’ve got everything crossed that the major components like the computer management system are still in working order as this could end up being a very big chunk of our very limited budget, and to be honest the prospect of troubleshooting electrical gremlins is far more daunting than the mechanicals. But first, there’s a handful of broken and unattached wires on the bike that need our attention. Now, where did I put that manual…
Start here
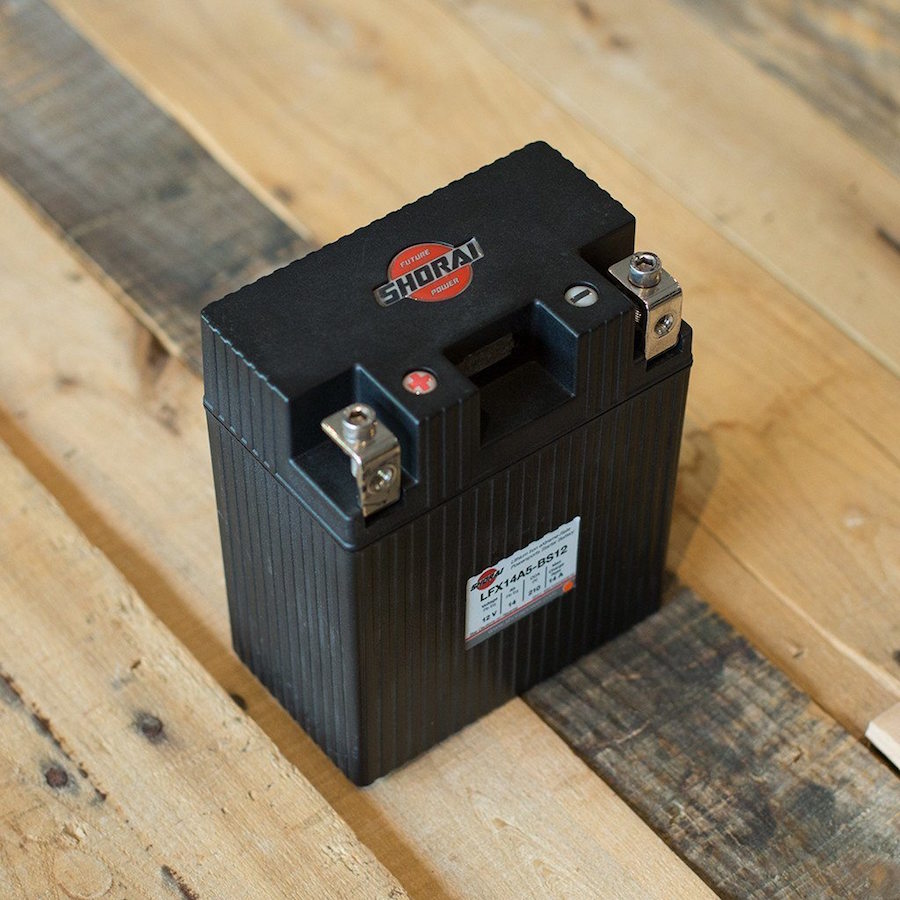
1 There was no battery with the bike so we have sourced an one from the guys at Lite Motorcycle Accessories to get us going. Always connect up the positive lead first and make sure the terminal connections are clean and tight.
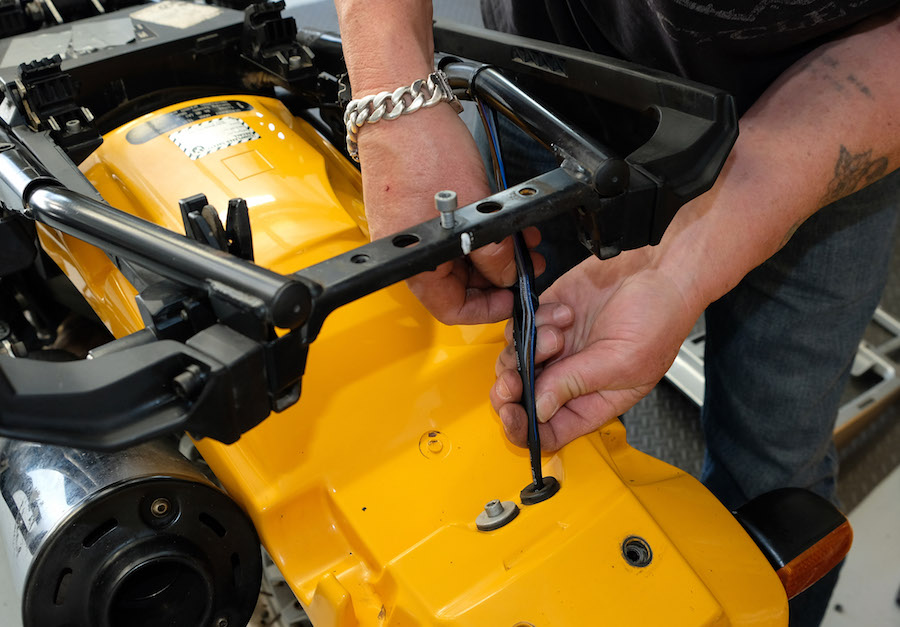
2 Several of the loose cables appear to have been for accessory items like spotlights so we are going to remove them all together to tidy things up, and ensure we don’t short out the battery with a loose power wire touching the frame
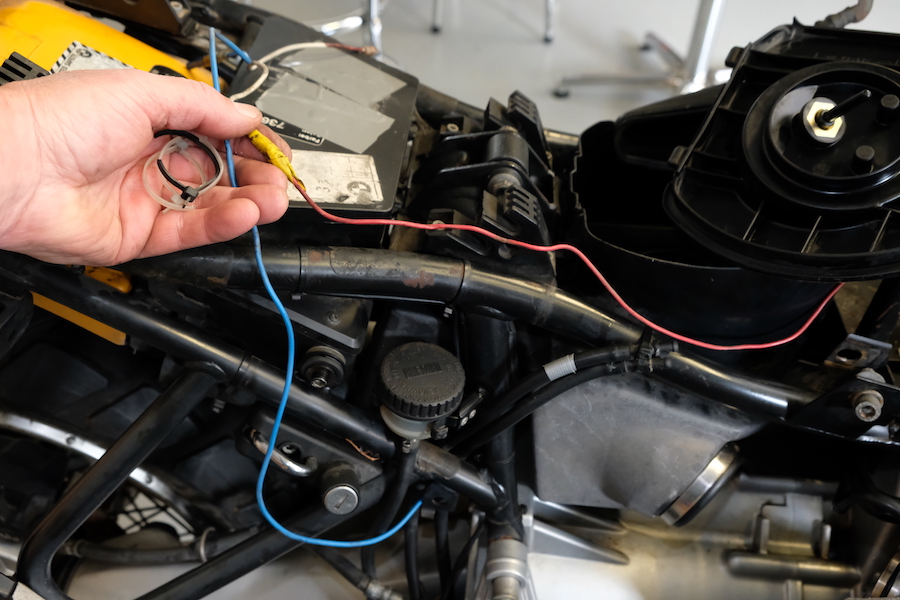
3 Some of the outer insulation on the wiring has perished so we are replacing that where necessary
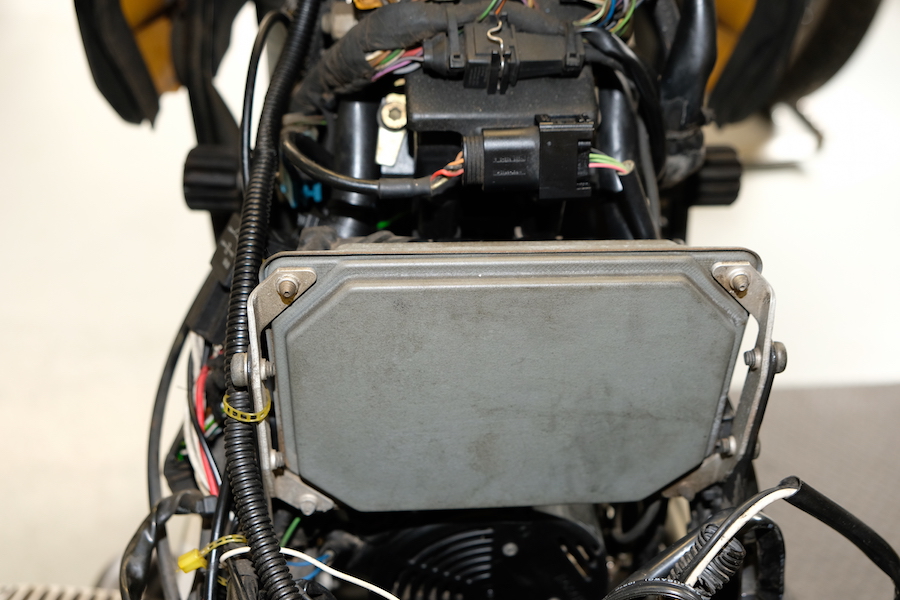
4 The Motronic Engine Control Module (ECM) is the brains of the system and we are keen to see if it is still alive and going to give us a spark
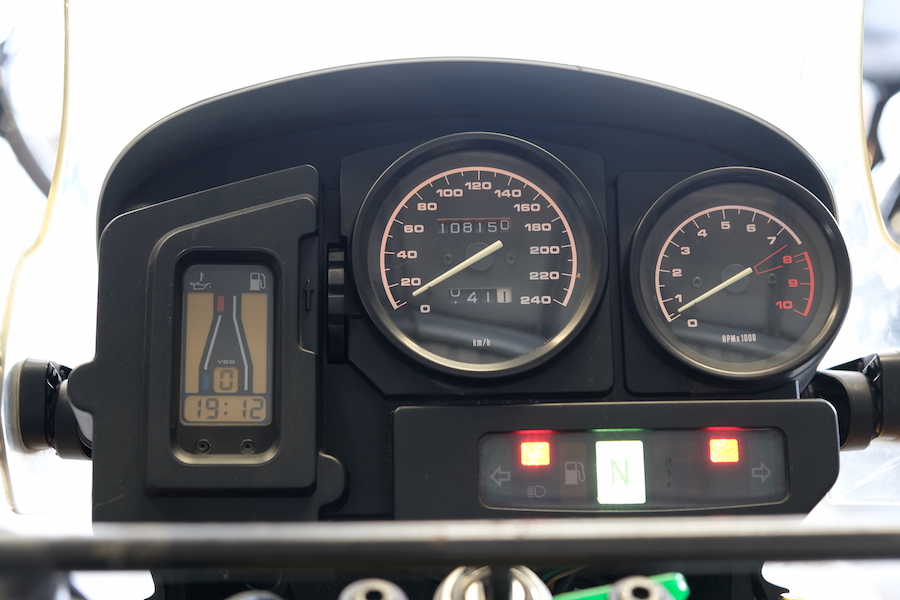
5 A quick turn of the key to see if we are on track and with lights and life on the dash, things are looking in order
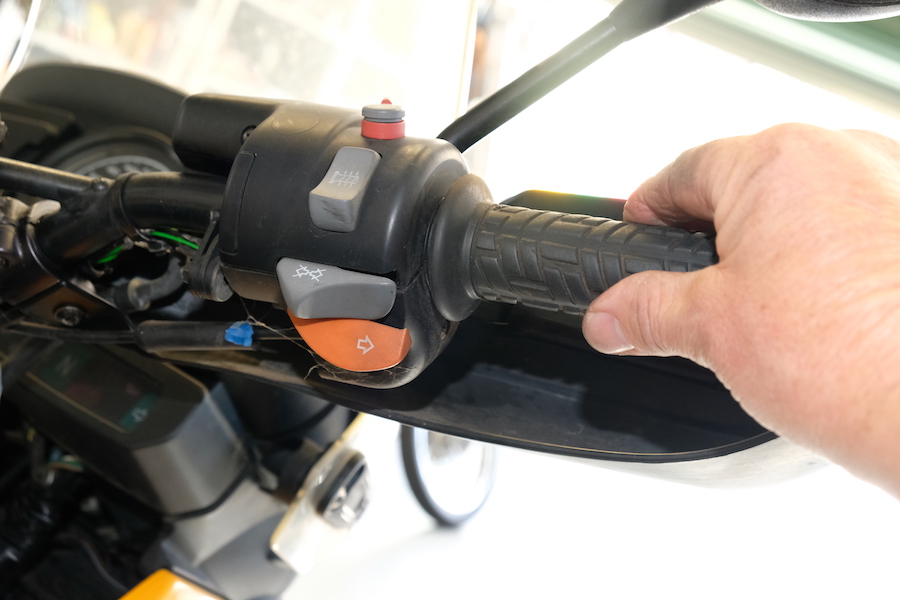
6 A few slow full twists of the throttle at this point is a good idea, just in case the ECM needs to reset the throttle position sensor after being offline for so long
7 We already have the old spark plugs removed and here we are just cleaning out the spark plug caps to make sure we get good contact
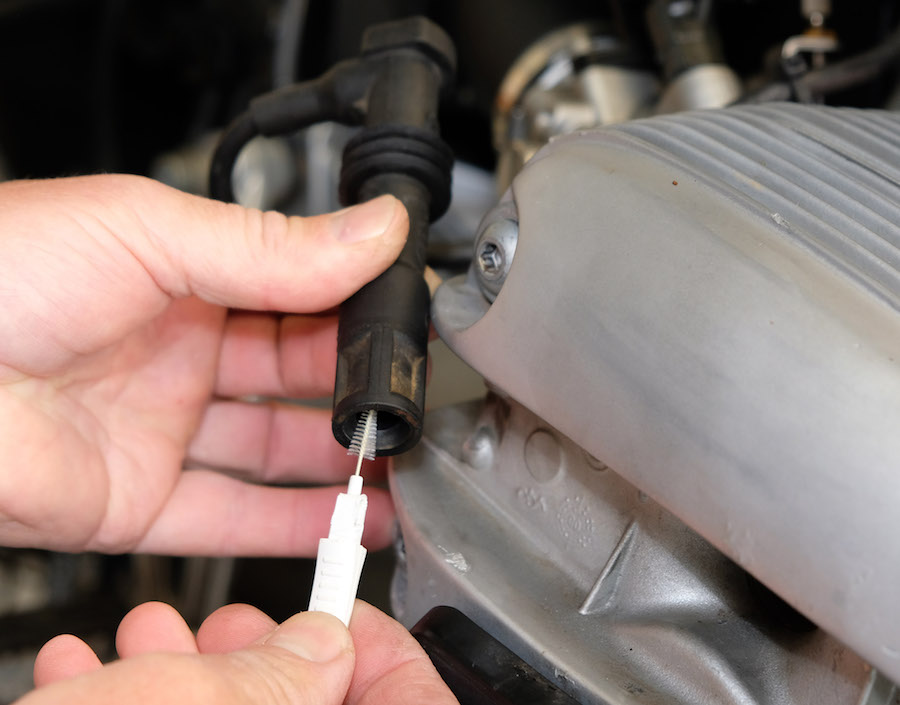
8 Now we are confirming that we can get a spark to each of the plugs by grounding it to earth on the head and hitting the starter button (when you do this just make sure you don’t accidentally touch the plug or head yourself or you will get a decent zap)
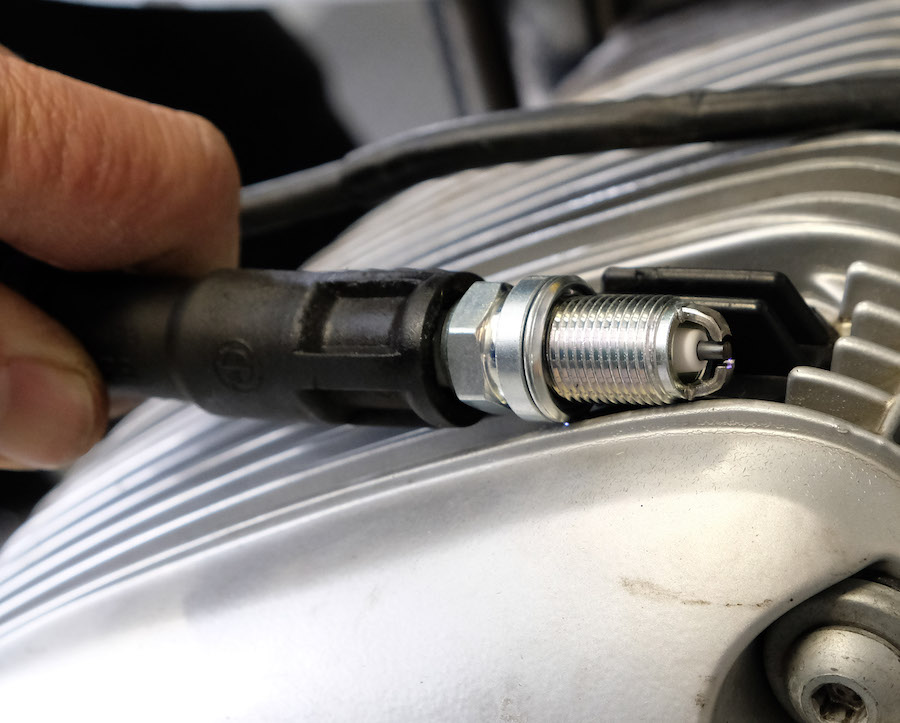
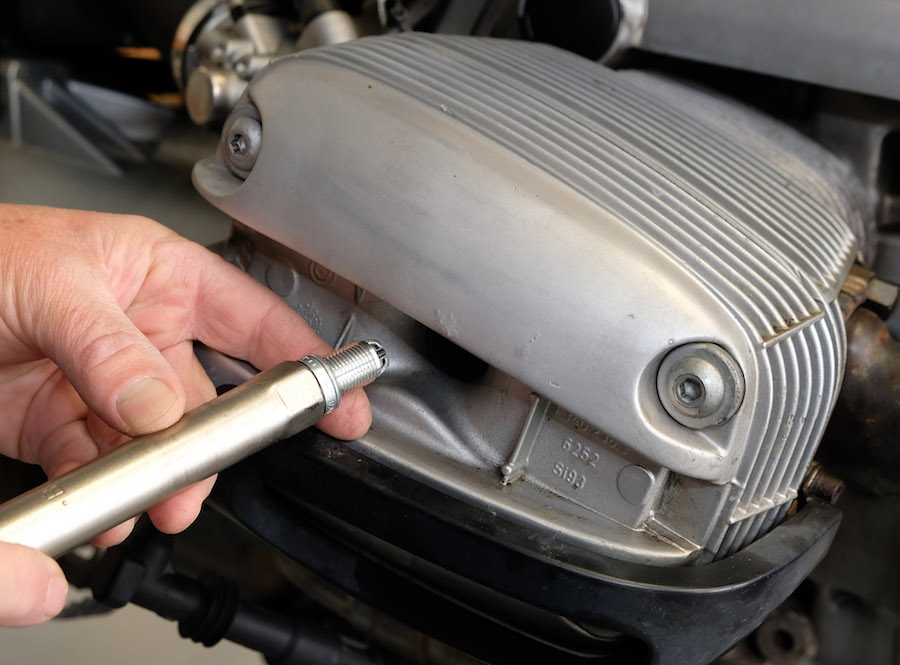
9 Having confirmed a spark on each side we can fit the new spark plugs and the caps to the bike
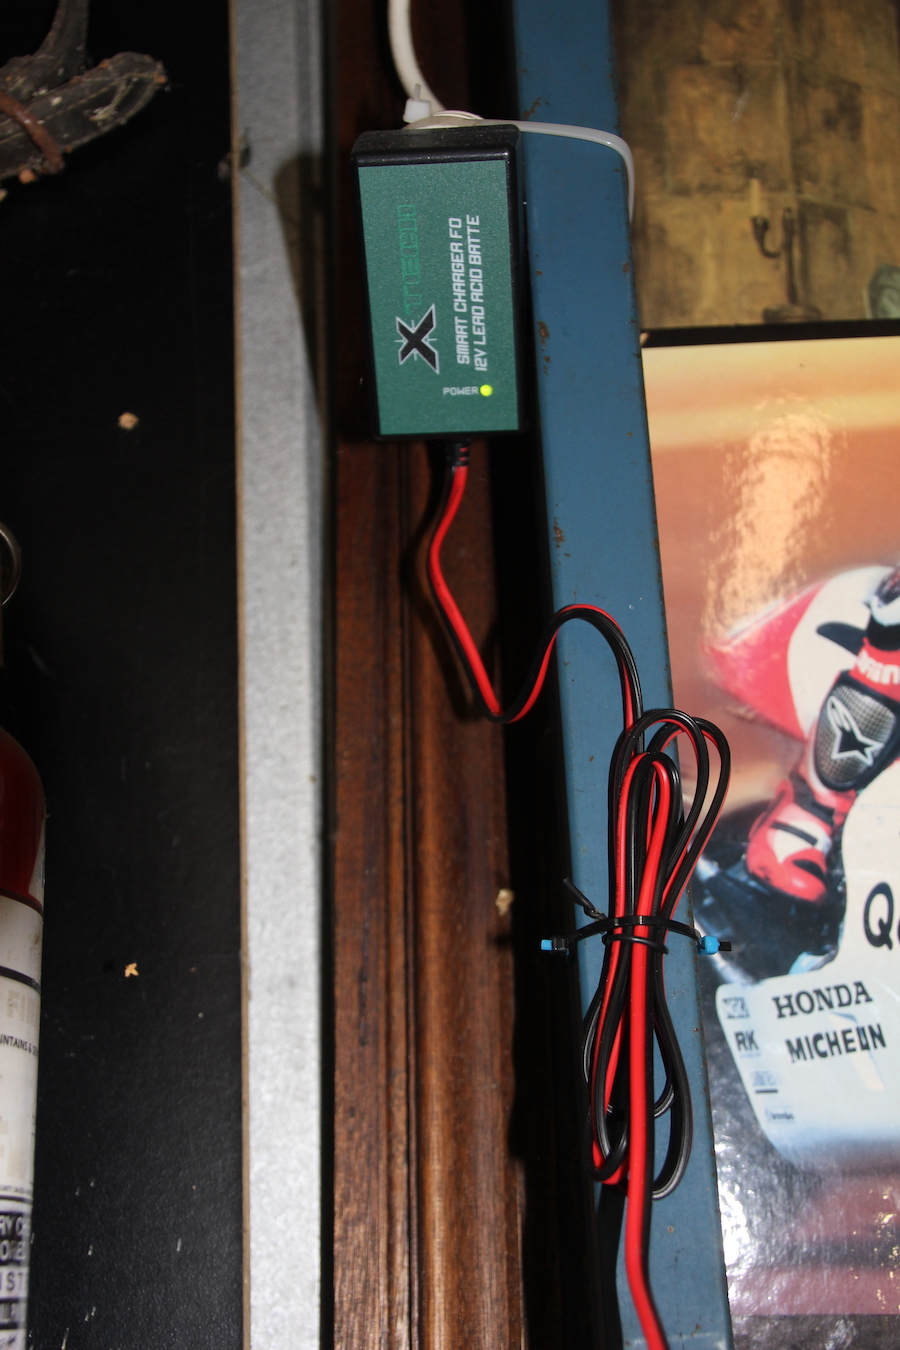
10 While we were fitting the new battery we also wired in leads for a trickle charger. This is not only great for keeping our new battery in shape but you can also get plug in adapters to tell you the actual voltage, as well as an adapter to charge USB devices like your phone while you are travelling
TIP
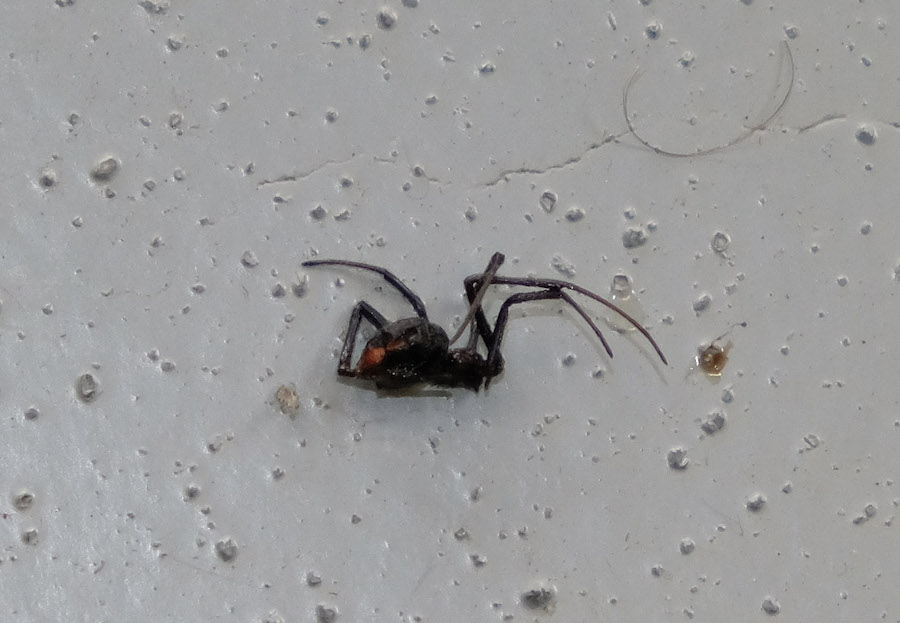
Here is a strange mechanical tip, but worth noting on bikes that have been stored for a long period of time – be careful where you stick your fingers as this is one of several red back spiders we encountered on this project that had made their homes in various parts of the frame, and exhaust
Words & Photography Tim Munro