Incase you missed it, check out Part 1
We started this project last time with an emphasis on ensuring the basics of the bike we are resurrecting were workable before spending any money on other items. We found the pistons weren’t seized in the heads and they are still moving well now. We now need to identify what other items need to be addressed before we can actually see if the engine will run.
We will need to look at the fuel, air, and electrical systems, but before we do that we are going to give it a belly full of new oil – by sighting the old oil, we can garner some useful information, too. And we’ll replace the filter. Both of these are an element to giving a motorcycle the best possible start at a second life.
Next time we will get into the air delivery system and see what it required to get a breath of fresh air into things and get a bit closer to being able to actually start the engine
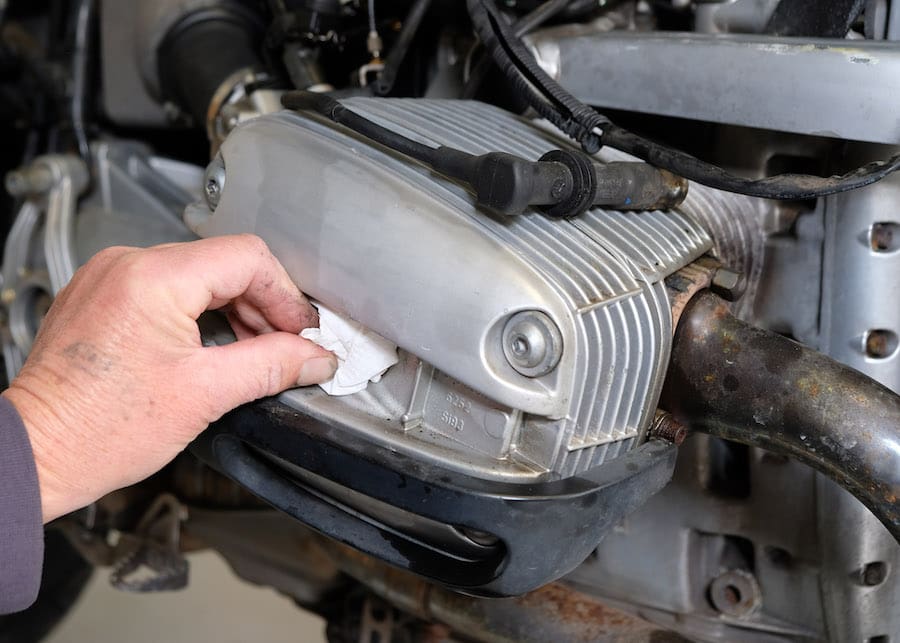
1 Rather than fit the new spark plugs at this point we are just going to cover the holes so that nothing gets into the cylinder heads while we are working around the bike.
2 Having identified the engine sump plug we have removed it to drain the old oil.
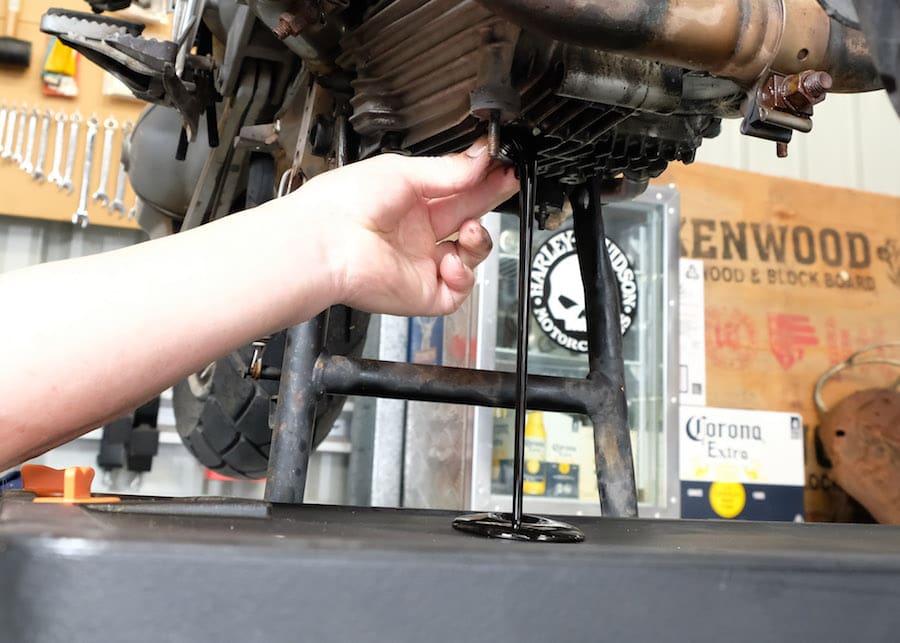
3 We have also removed the oil filter using the correct tool and will let the oil drain completely before cleaning around the sump drain and filter housing with a rag. Check the magnetic end of the drain plug to see if there are many metal fragments captured there. Luckily we didn’t find much at all.
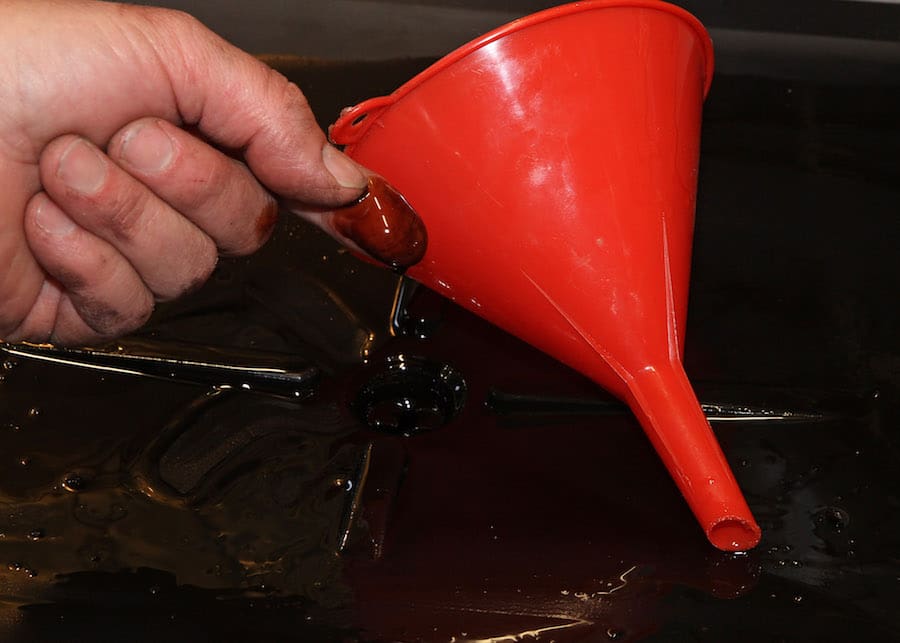
4 While we wait for the oil to drain we also checked the oil that came out of the sump to see what we can learn from it. While it is black and was very much in need of changing, there is no sign of a milky white tinge to the oil which would be a tell-tale sign of water contamination. This is good.
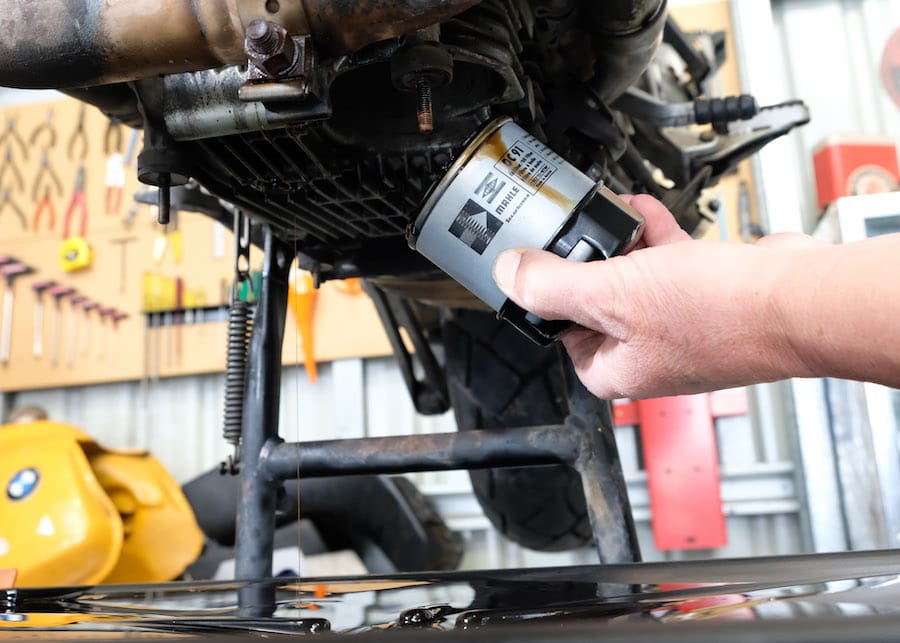
5 We have refitted the sump drain bolt and are now partly pre-filling the new oil filter with fresh oil before fitting it. Smearing a small amount of fresh oil on the rubber O ring is also recommended before you screw the filter in.

6 We generally use fully synthetic oils in our bikes but, as we are still trying to ascertain whether this bike has any major issues – and also will most likely change the oil again after a reasonably short period of time – we have opted for the less-expensive semi-synthetic oil.

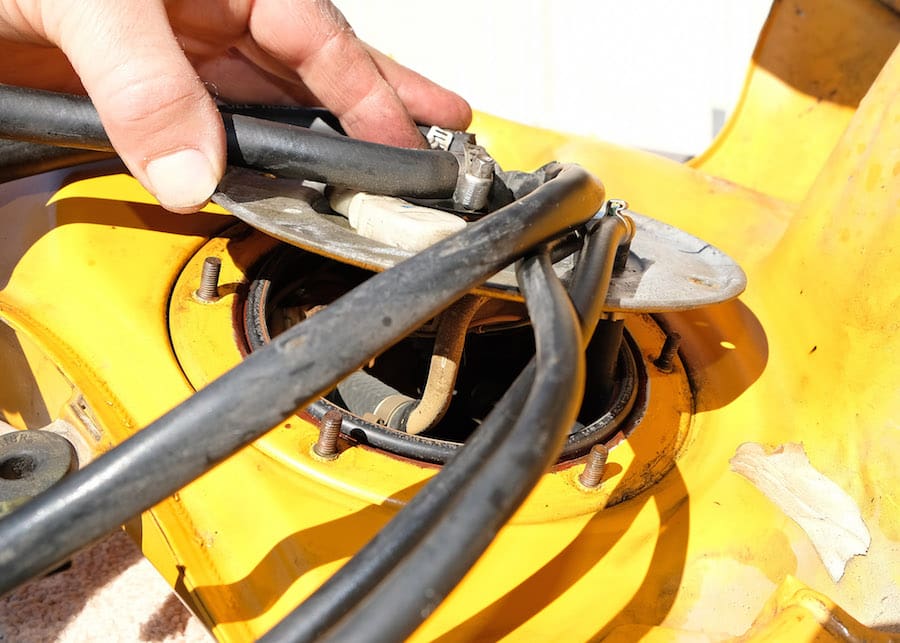
7 Next we are taking a look at the fuel system. After removing the top filler assembly to get a better look inside, it is immediately obvious that there is a significant corrosion build up inside the petrol tank.
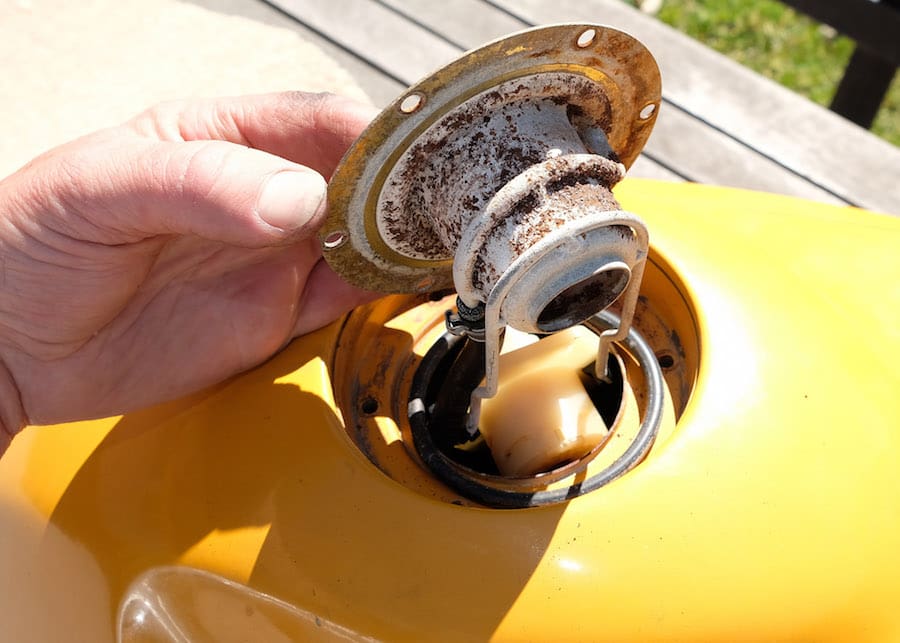
8 We have also removed the petrol pump and filter assembly to confirm our diagnosis and this leaves no doubt that the tank cannot be used in this condition. This bike uses a pressurised fuel system to get petrol to the injectors so there is no option but to completely strip the hoses, etc, and flush the tank before we can use it. This is a job in itself so we might get a bit of help on this one and come back to it later.
Tip
If you haven’t done so already, we recommend getting a workshop manual for your model of bike as there are often things that are not entirely intuitive, or sometimes even logical, that the manual will be invaluable to guide you through. It will also provide the information you need on torque settings for bolts, lubricant quantities, etc.

WORDS & PHOTOGRAPHY TIM MUNRO