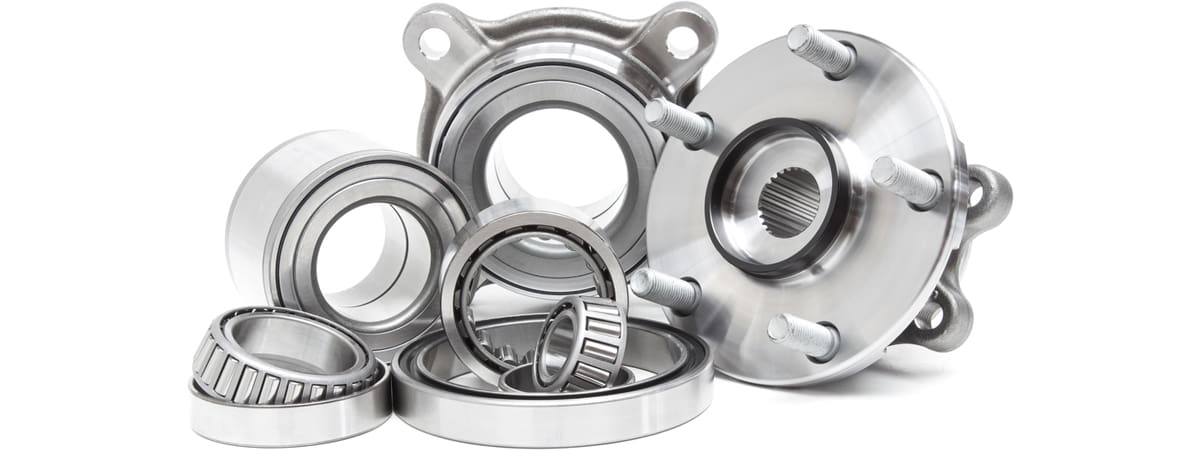
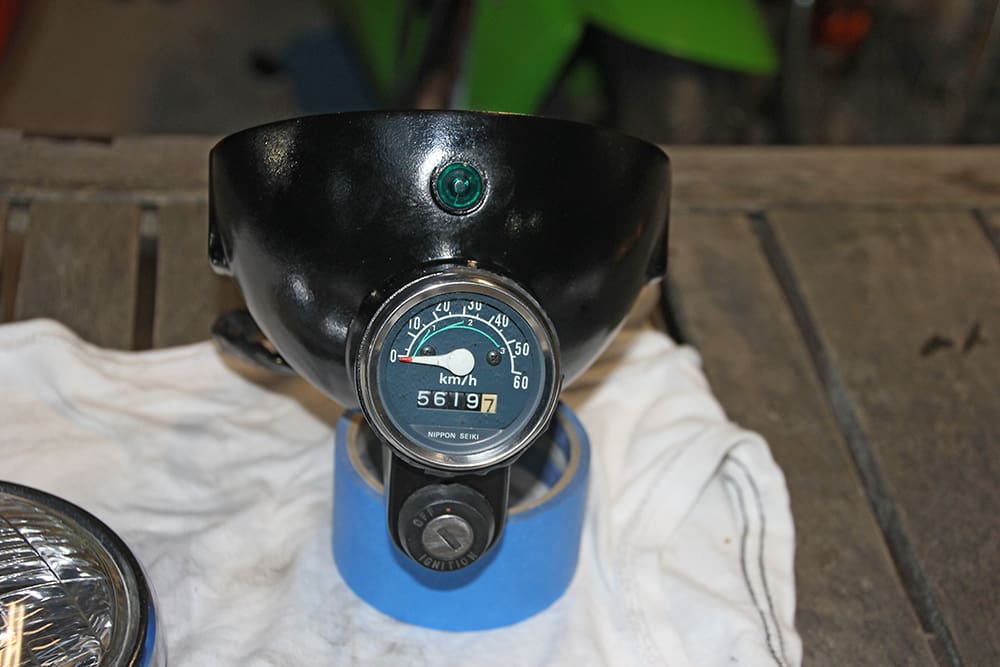
Whether cracked, worn, peeling or faded, a fresh coat of paint is a quick and easy way to freshen up tired pieces on your bike. When it comes to large pieces like fairings, we’d advise saving your pennies and getting the professionals to handle that for you – you’ll get a far more consistent finish, which is particularly important on large items and imperative for resale value. But when it comes to smaller items, such as this headlight bucket, it’s not difficult to achieve great results with a bit of know-how and patience.
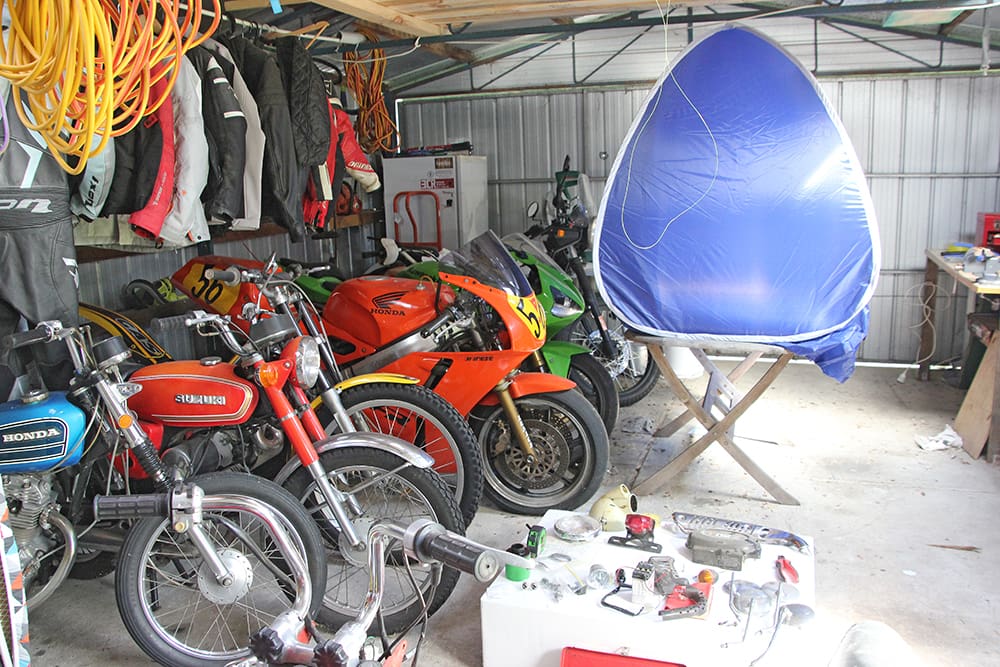
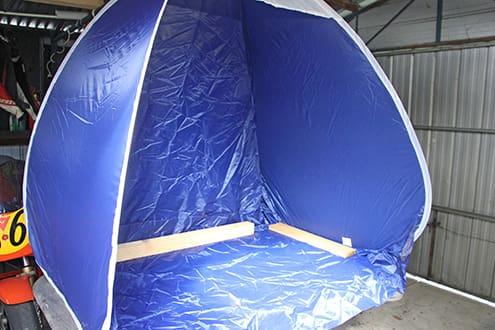
A pop-up beach shelter works well as an inexpensive ‘spray booth’
1
Prepare, prepare, prepare
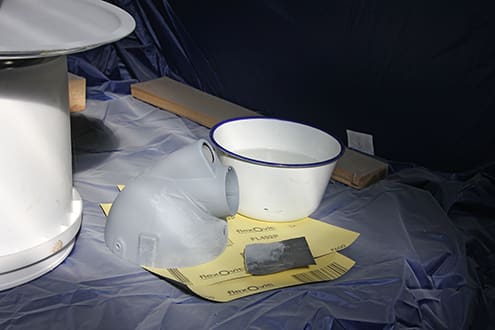
How successful your job is, and how long it will ultimately last, will come down to how well you prepare the surface before you start painting. One of the main differences between plastic and metal parts at this point in the process is, unless you know exactly what type of material your ‘plastic’ part is made from – be it polyurethane, polycarbonate or fibreglass, to name just a few – you’re better off opting for a bit of extra elbow grease and use sandpaper to remove the old paint, rather using a paint stripper, which could damage the part before you even start.
This headlight housing is off an early 1980s road trail machine. It’s rare and therefore expensive to replace, so we opted for three different grits of sandpaper to prepare the surface instead of risking damage with corrosive paint strippers. We started with a coarse grit to remove the paint – though not so coarse so as to damage the surface – moving to a finer grit to achieve a smooth surface before finishing with a superfine paper to finish.
Once you’re satisfied with the finish, you need to ensure the surface is completely free of dust, oil (even from your skin) or grease. You can buy products specifically for this, but we found a contact cleaner worked well for this purpose.

2
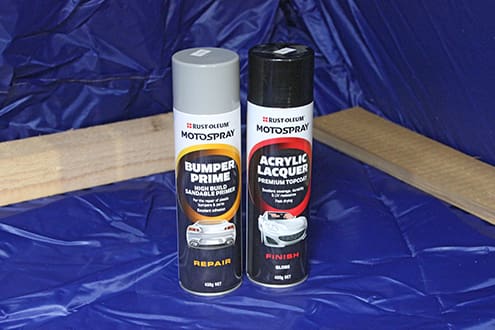
What you’ll need
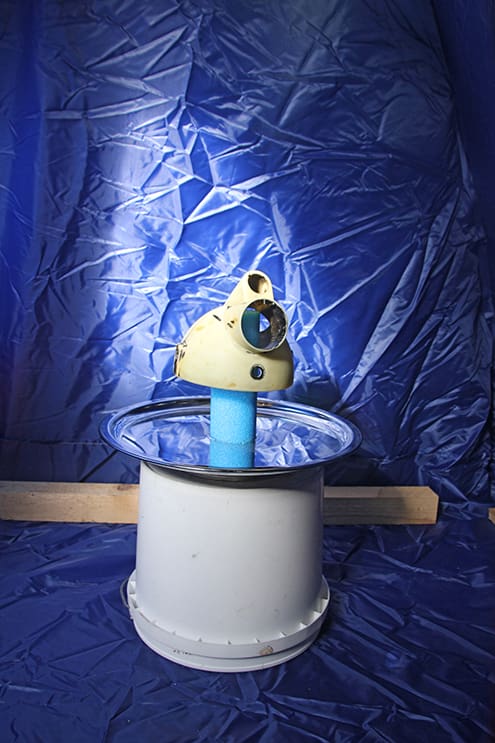
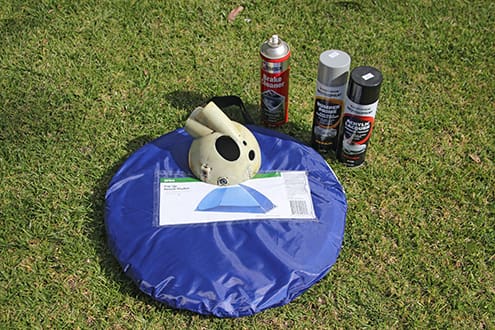
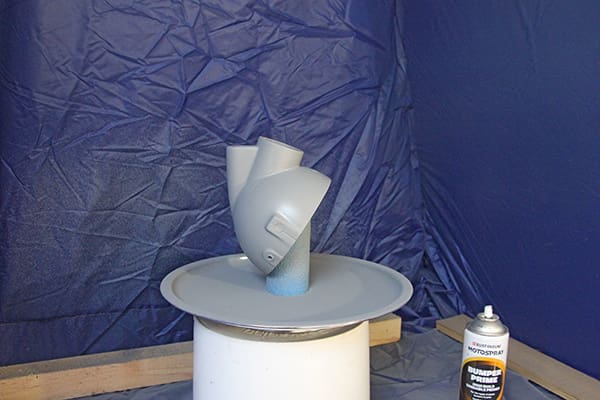
Though not necessary, we’ve learnt that there’s a couple of unconventional items that can make painting small parts quicker, cleaner and more effective. A pop-up beach shelter works perfectly as an inexpensive painting booth and, in our case, protected other bikes and items in the shed from overspray. But because the shelter has a single opening, it prevents you from being able to work your way around the part you’re painting – we solved the problem with a secondhand lazy susan from the op-shop. A piece of pool noodle was then glued to the spinning tray, which meant we could reach and apply paint to all sides of the headlight housing evenly and consistently. As far as the more conventional items required, these include primer and paint.
The other important difference between plastic and metals is that quite often the plastic will need to flex slightly, and therefore so will the paint. Any old paint or primer from your hardware store will simply crack and flake off, so be sure to use paint specifically developed for plastic automotive parts, as they’ll contain agents that allow the paint to flex with the part it has been applied to. It’s also a good idea to use a high-build and sandable primer, which will help cover any blemishes in the surface. Before you apply the primer, be sure to mask or cover any bolt threads or holes. We cut adhesive labels to size because that’s what we had handy, but any regular masking tape will work well, too.
3
Prime time
The ambient air temperature and humidity is
also an important factor to consider, and most paint manufacturers will advise waiting for a more appropriate day if the temperature is greater than 32ºC or lower than 10ºC
or if the humidity is higher than 65 percent.
Once the primer has been mixed, hold the can upright approximately 25cm from the surface and apply in a steady back-and-forth motion, slightly overlapping each stroke. Ensure the can stays the same distance from the surface as you move around it, keep the can moving as you’re spraying and shake can during use to ensure the primer stays well mixed.
Apply two or three coats, allowing 10 or 15 minutes of drying time between them, and allow at least one hour drying time before moving on to the next step. Using a fine-grit paper, sand as required before applying your top coat. Do this as many times as necessary for best results. Allow two hours for full drying time. The best way to clean the tip of the aerosol is to invert the can and spray until paint no longer sprays from the tip, only air.
4
Read the instructions
We’ve all used spray paints countless times, but even so, it’s really important to follow the instructions printed on the can in terms of mixing the paint in the can before application and the manufacturer’s recommendations on how to apply it. And depending on where and how the can has been stored, grit or dust can be present in the tip of the aerosol can which will lead to spurting or drips on the surface you’ve spent a couple of hours preparing, so we like to make sure the paint is spraying evenly by testing it on a piece of paper first.
Following the same method as applying the primer, apply three or four light coats of paint, allowing 15 minutes drying time between coats. As long as you don’t rub through the primer, you can sand and reapply as many times as you like, assuming the surface is completely dry and free of dust before reapplying. Depending on the part being painted and the finish required, a third clear coat can be applied to the part, but it’s not essential.
We allowed a full 24 hours drying time before reassembling the unit.

Words & Photography Kellie Buckley