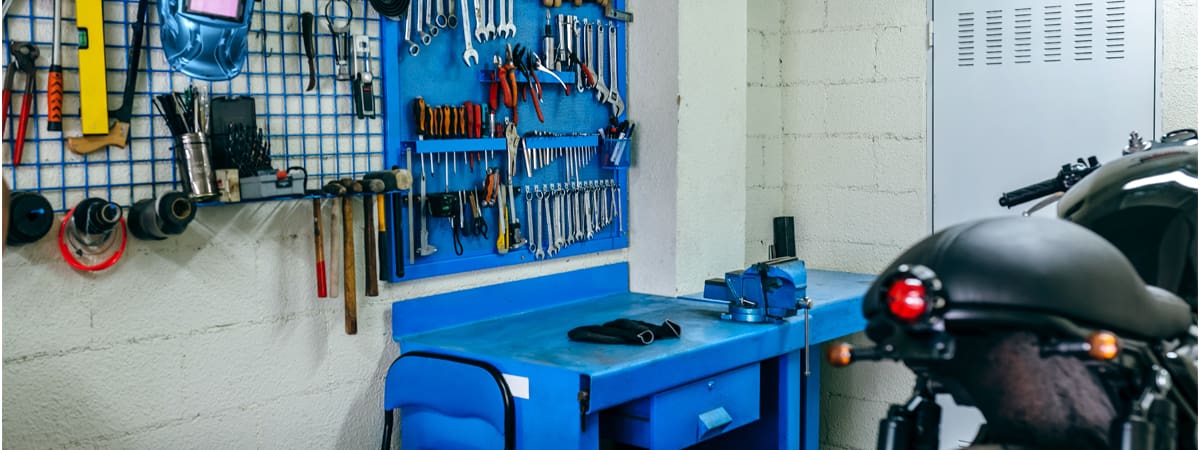
The braking system on your motorcycle contains some of the hardest working components, as well as the most important. To avoid poor braking performance, it’s well worth establishing a good preventative maintenance routine. We recommend this includes a regular clean and inspection of the brake calipers.
1
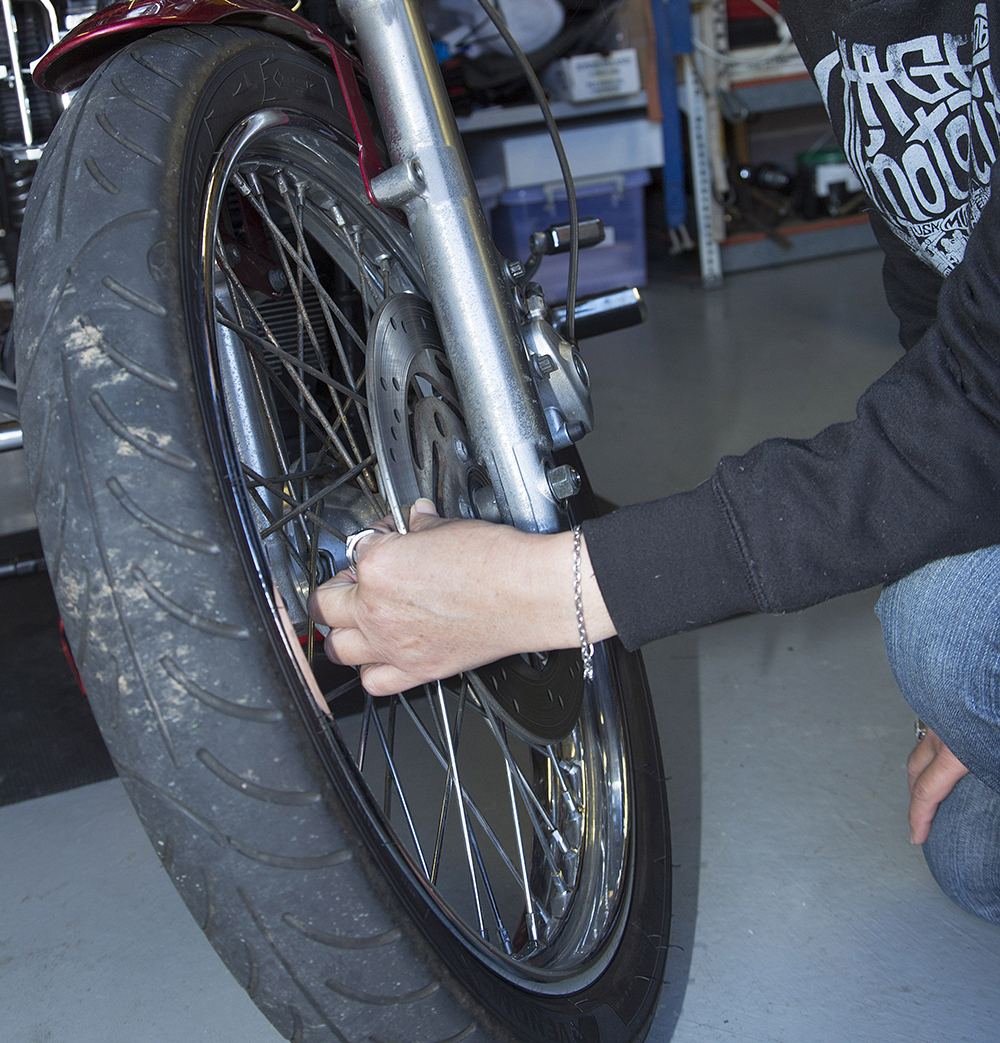
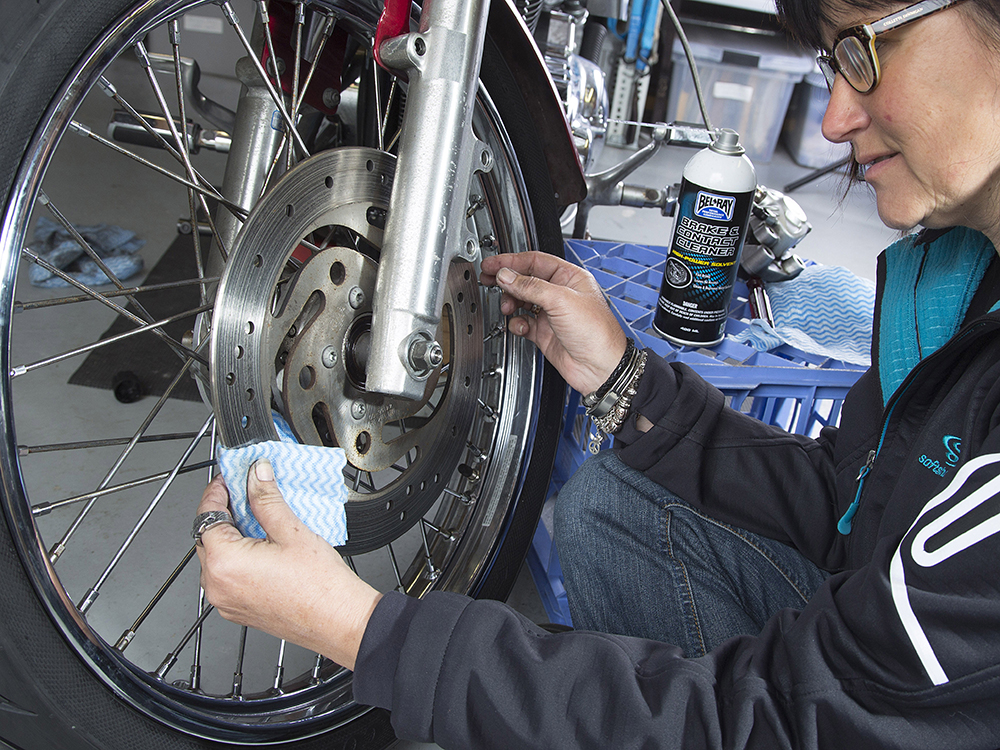
The brake rotor is the easiest part to check. As well as a visual inspection, run your thumb and forefinger along the rotor surface to check for any signs of undue wear.
2
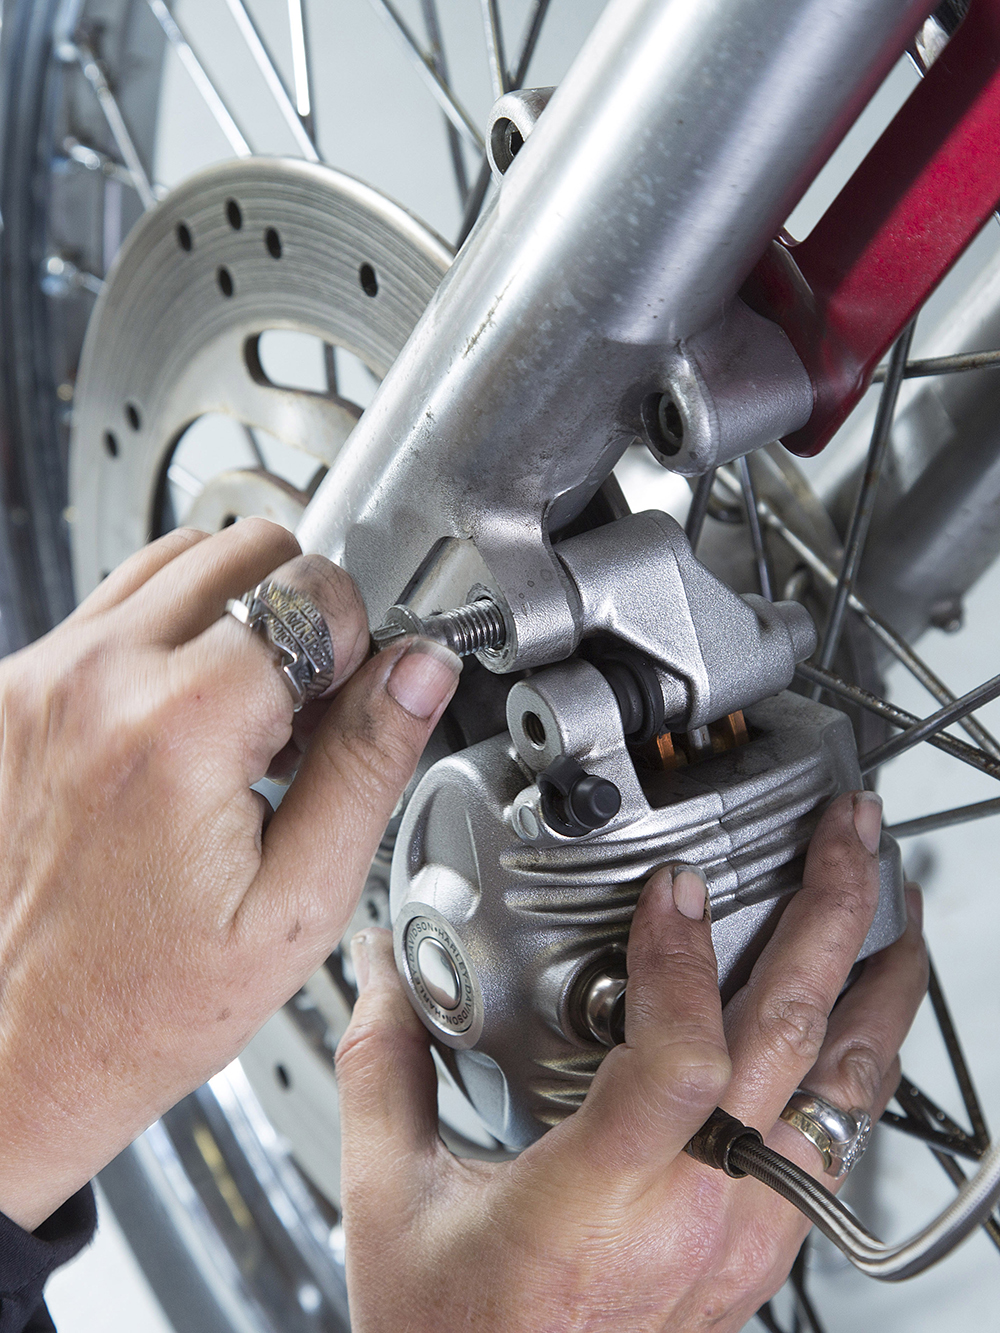
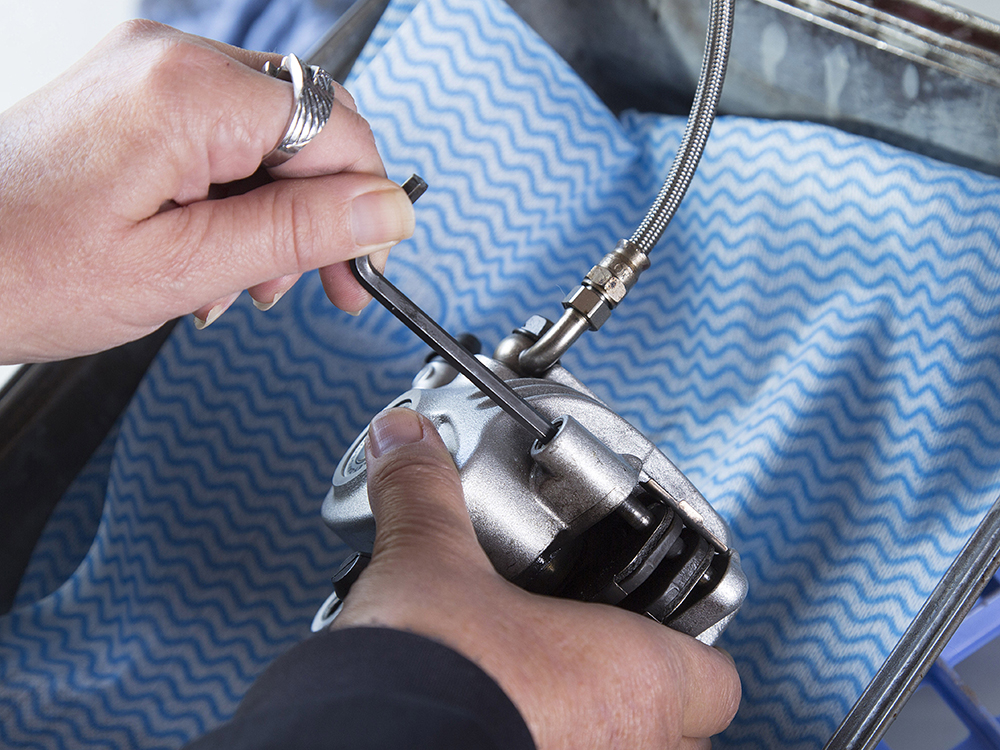
Remove the caliper mounting bolts.
3
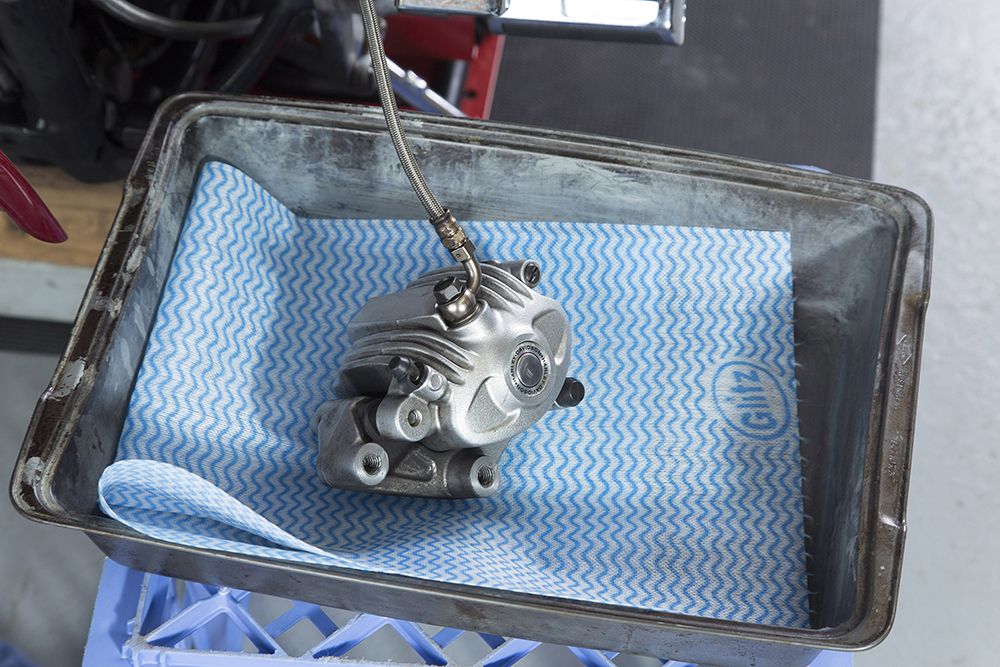
The cleaning process can get messy – so we used an old baking tray underneath the caliper to keep the area clean.
4
Remove the pin securing the brake pads in the caliper.
5
Remove the old brake pads from the caliper – taking note of the fitting direction of the anti-rattle clips in the caliper.
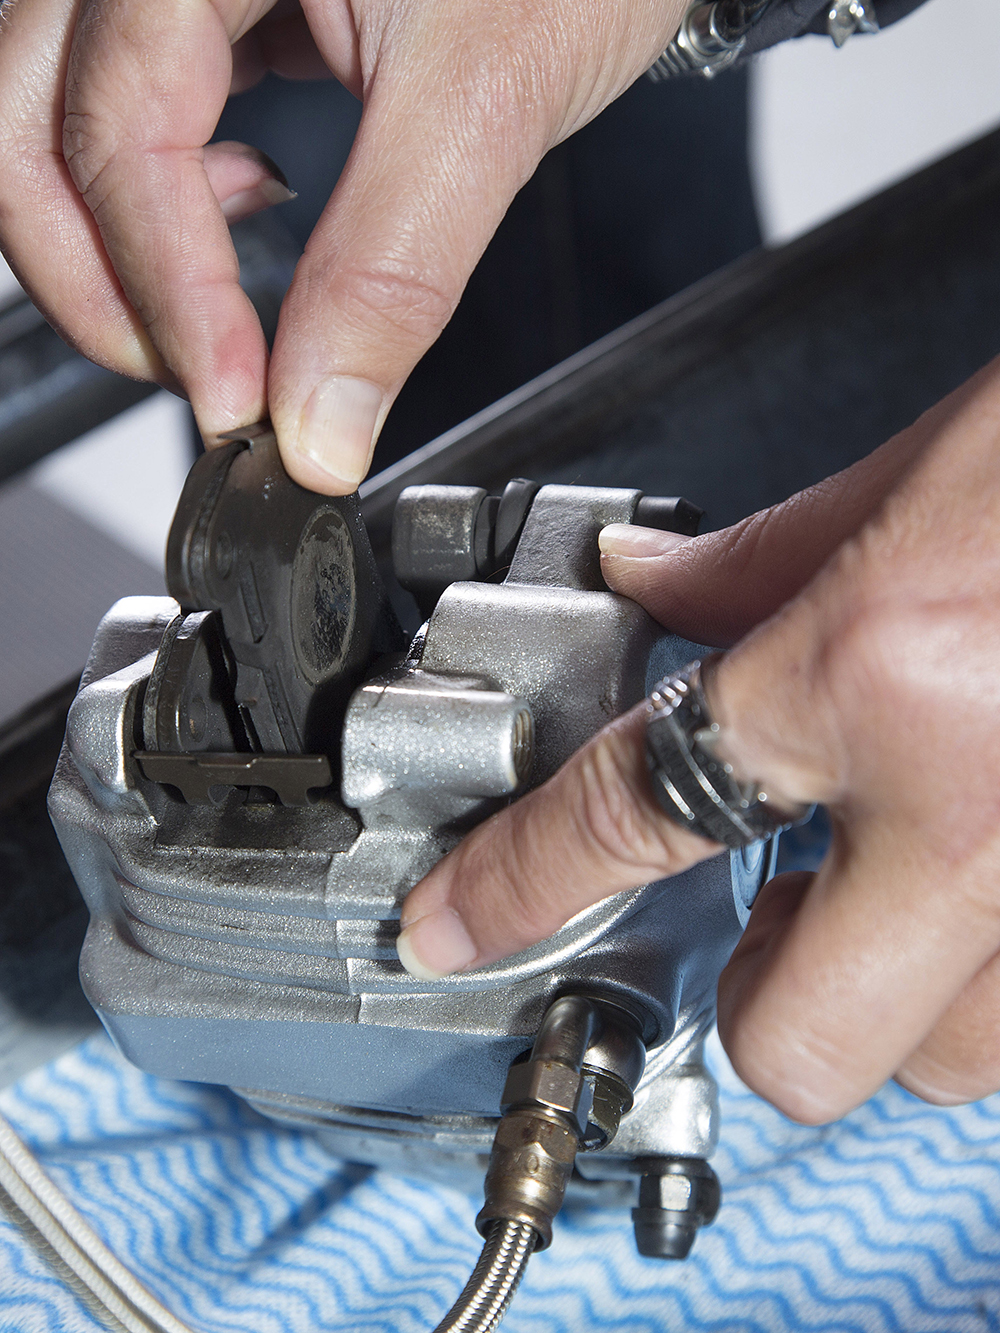
6
Give the brake lever a couple of pumps to extend the piston cylinders in the caliper – so they can be cleaned more thoroughly.
7
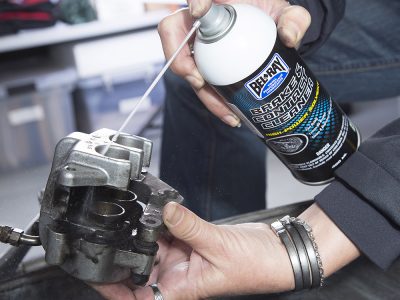
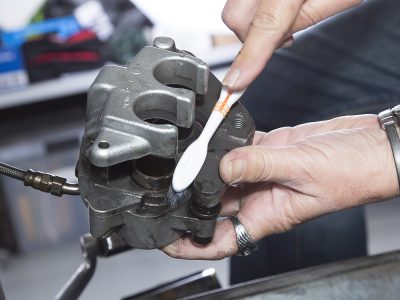
Use a good brake cleaning solvent like this BelRay product to remove the worst of the built-up dirt and grime. Scrub with an old toothbrush for hard to reach spots. Finish the cleaning by squirting the caliper with some WD40. Wipe clean with a rag.
8
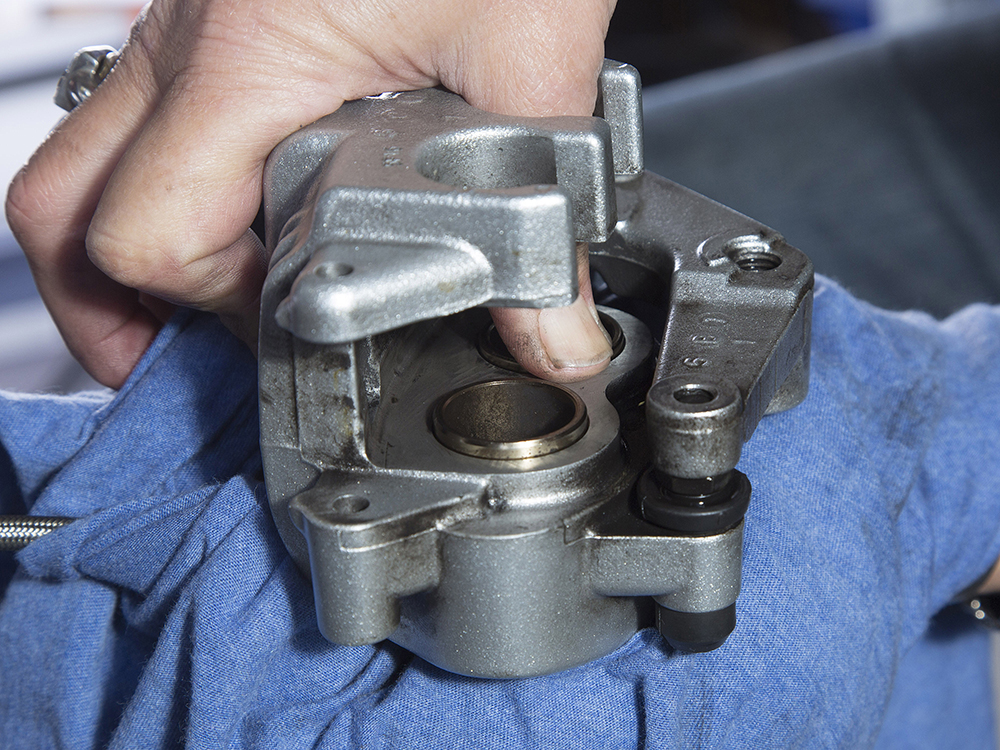
You should be able to push the cylinders back in with a reasonable amount of force (to check they are all moving freely). One of these cylinders in the caliper was very sticky and had to be worked back and forth repeatedly before it would operate smoothly.
9
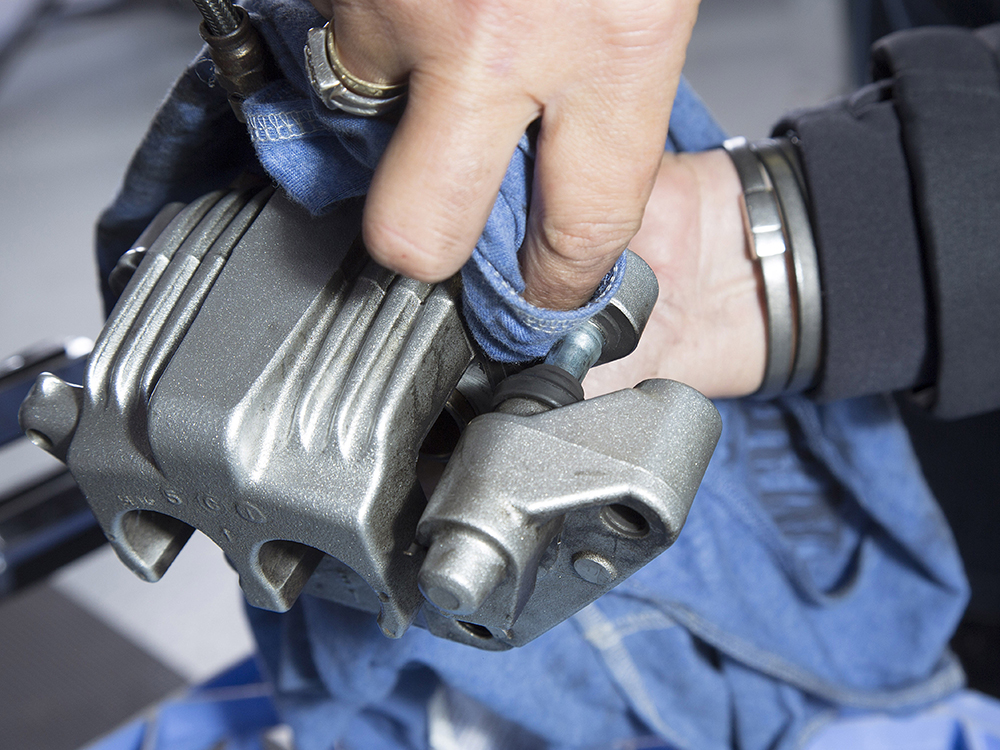
Make sure you clean and lubricate the pin between the two moving halves of the caliper.
10
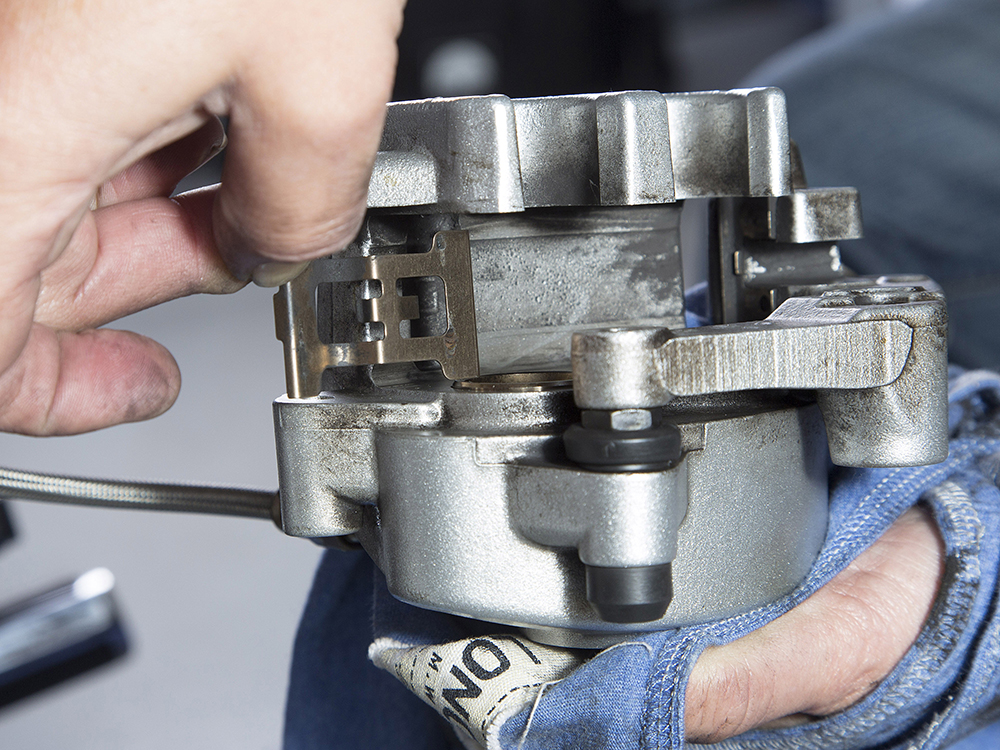
When you are happy with the state of the caliper, you can refit the anti-rattle clips and brake pads. If you are not fitting new pads, make sure you clean the surface of the old ones with a light emery paper.
11
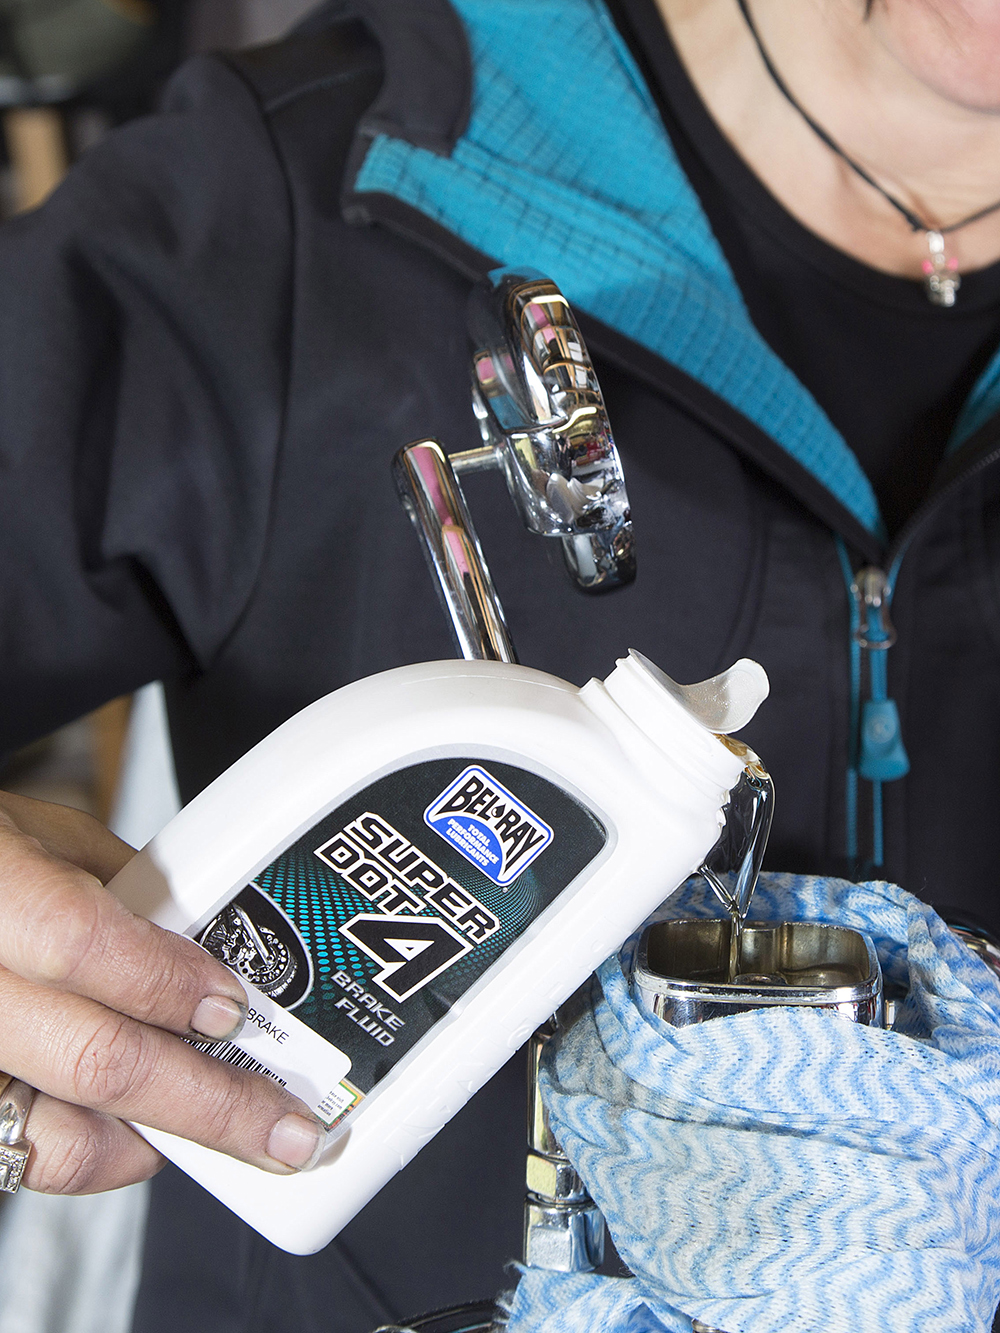
With the caliper refitted to the rotor and correctly retightened, open the master cylinder reservoir and check the fluid level as it’s possible it might have changed. If fitting new pads, the fluid level will often be higher than before, but we like to bleed out some of the old fluid and add new (so we can inspect the quality of the fluid in the system).
12
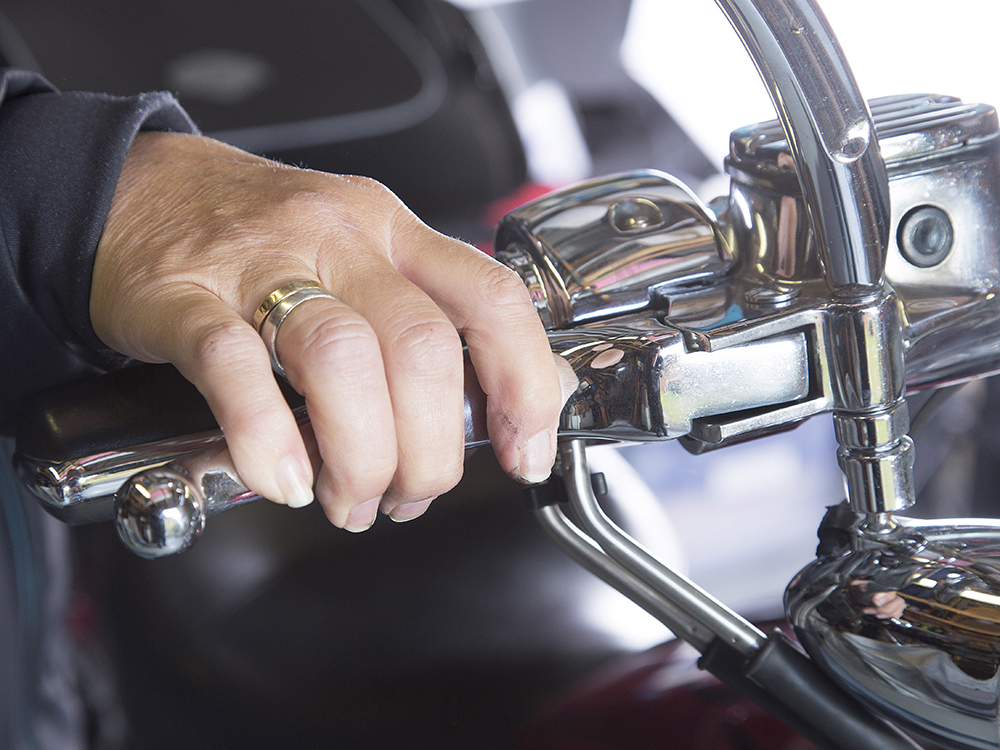
Remove residue grease/fluid from the brake rotor and pump the brake lever a few times to make sure the pads are in position.
Notes
Whenever you’re working with brake pads, make sure you don’t transfer grease or fluids from your fingers onto the surface – as that could severely affect braking performance.
When bleeding the brake to finish this job, we noticed small particles in the fluid at the caliper. We investigated further by draining the brake fluid in the master cylinder. It turned out there was a large build up of sludge at the bottom of the reservoir – so we cleaned it out and flushed the system with fresh brake fluid.
Disclaimer
If you have a serious braking problem, we recommend you have a more thorough caliper service or rebuild completed by a qualified mechanic. The procedure listed here is a
semi-regular maintenance suggestion you can undertake yourself if you have some mechanical aptitude.
WORDS & PHOTOGRAPHY Tim Munro