We sorted out the fuel, air, and electrical systems in earlier issues, so now we have everything to test if the bike will actually run – but there’s something else to do first. We need to fit the petrol tank back onto the bike to run it, but to get to the front end (which clearly need attention), we will leave the tank off and get to work on the front end. The big moment of truth will just have to wait a bit longer!
While inspecting the front end, we discovered it falls heavily to one side from the steering head, and the fork tube on one side looks out of shape, so we will remove the Telelever assembly to get a closer look.
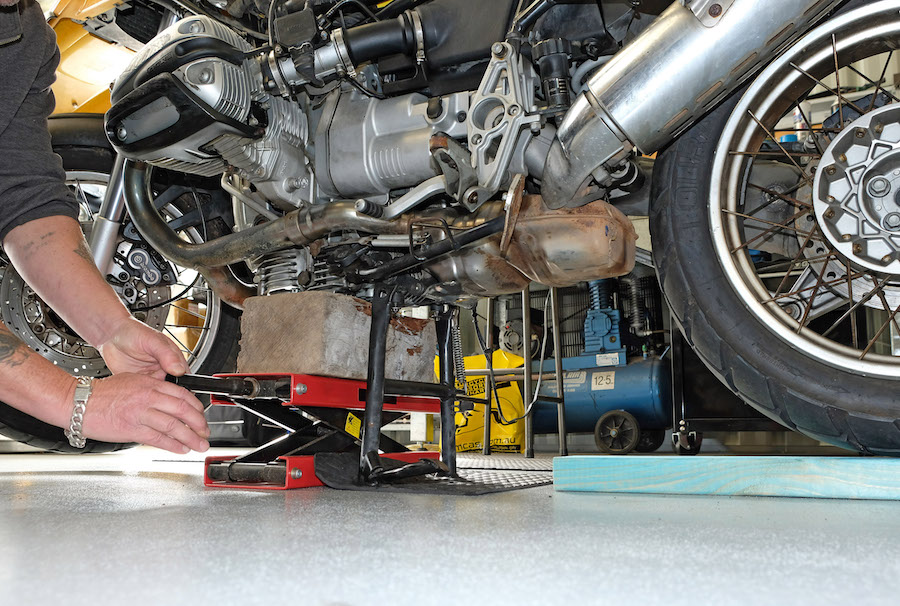
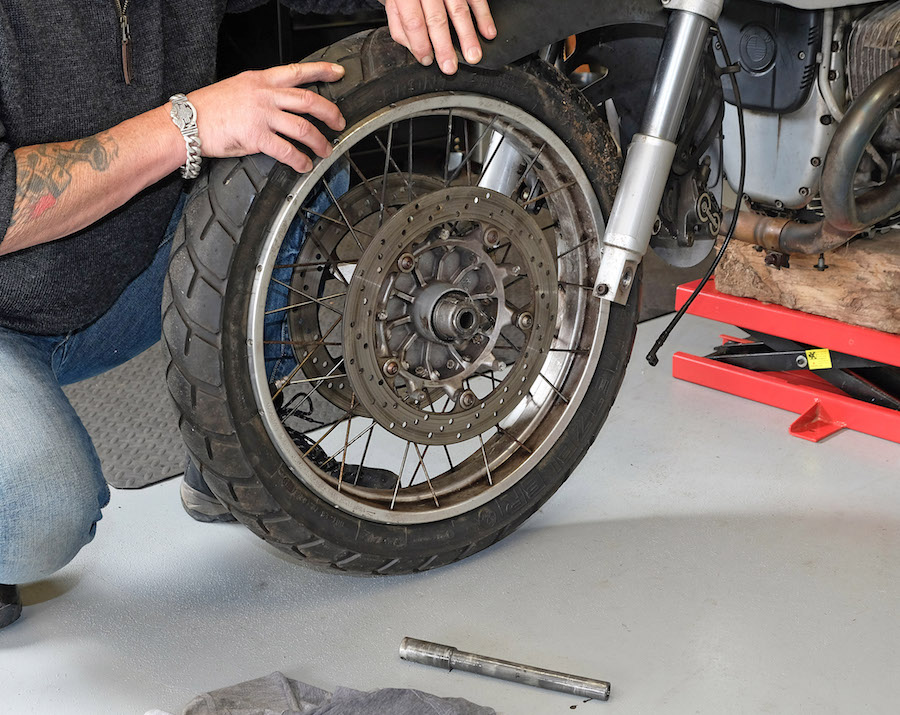
Step 1 Start by jacking the front wheel off the ground, using a solid scissor jack and support.
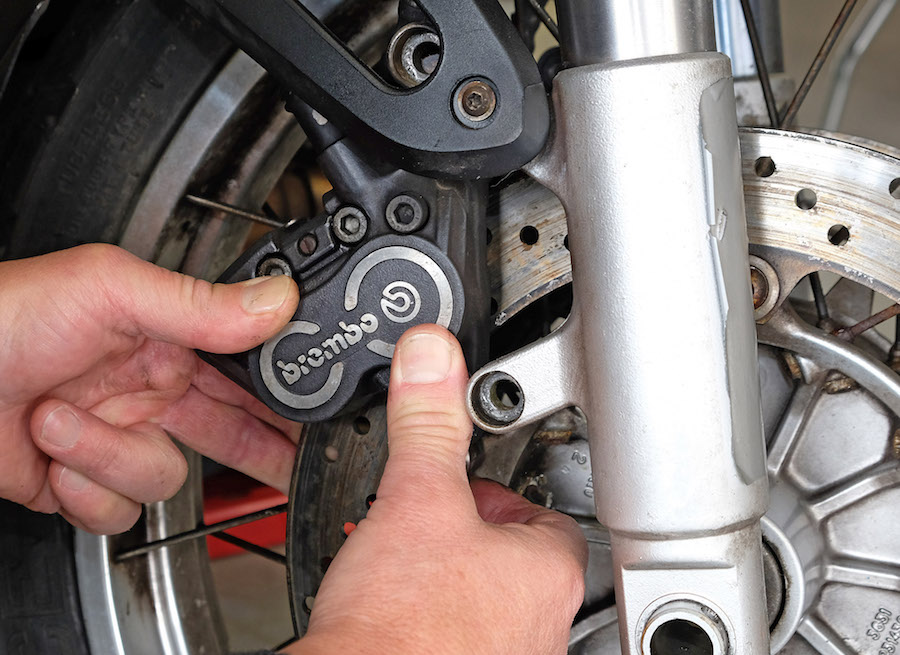
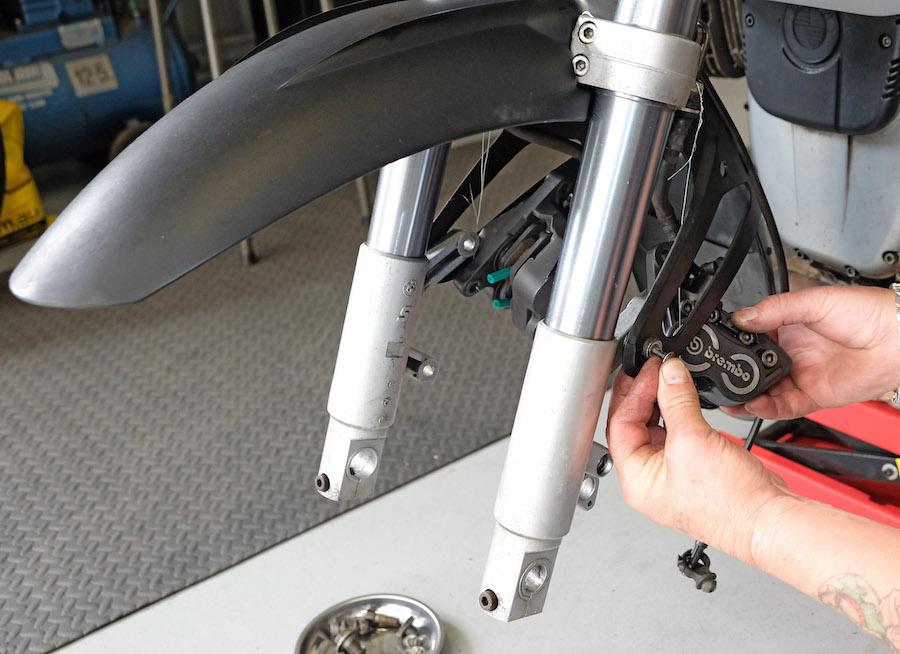
Step 2 – Remove the front brake calipers
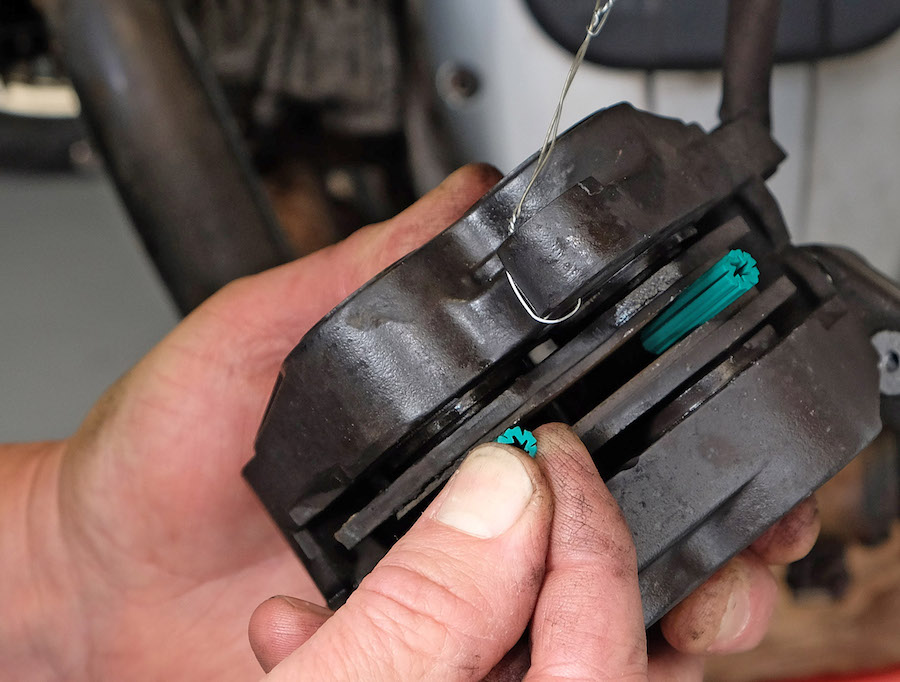
Step 3 – Place spacers between the brake pads, to prevent the pistons in the calipers popping out, should someone squeeze the brake lever. This is a must if you have kids and/or a well-meaning neighbour. Suspend the calipers with wire (a coathanger is fine) so as not to put pressure on the brake lines or fittings.
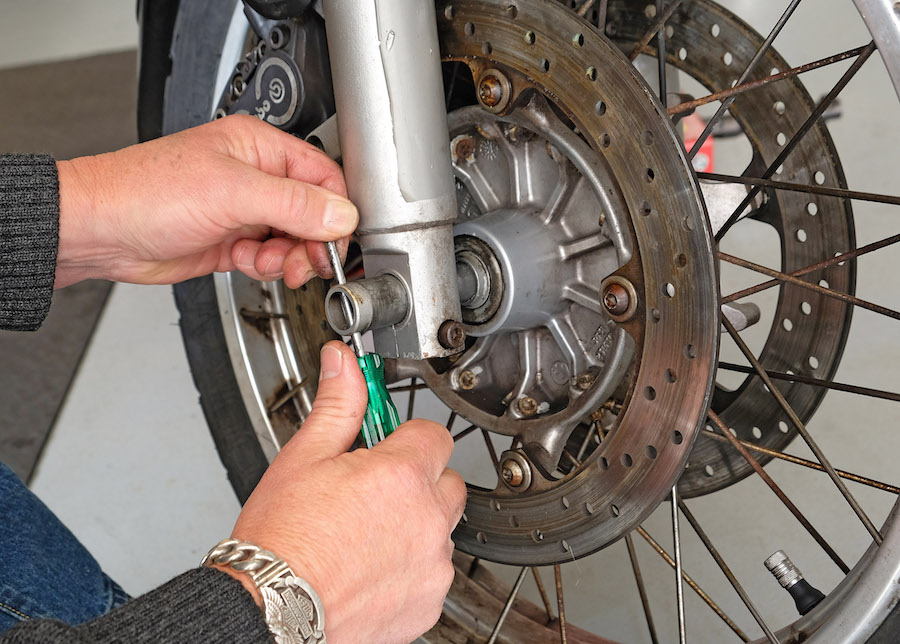
Step 4 – Undo the axle nut and remove the axle. This one has bound itself to the wheel bearings tightly over the years and took some gentle working and lubrication to remove.
Step 5 – Remove the wheel.
Step 6 – Remove the mudguard to allow separation of the forks
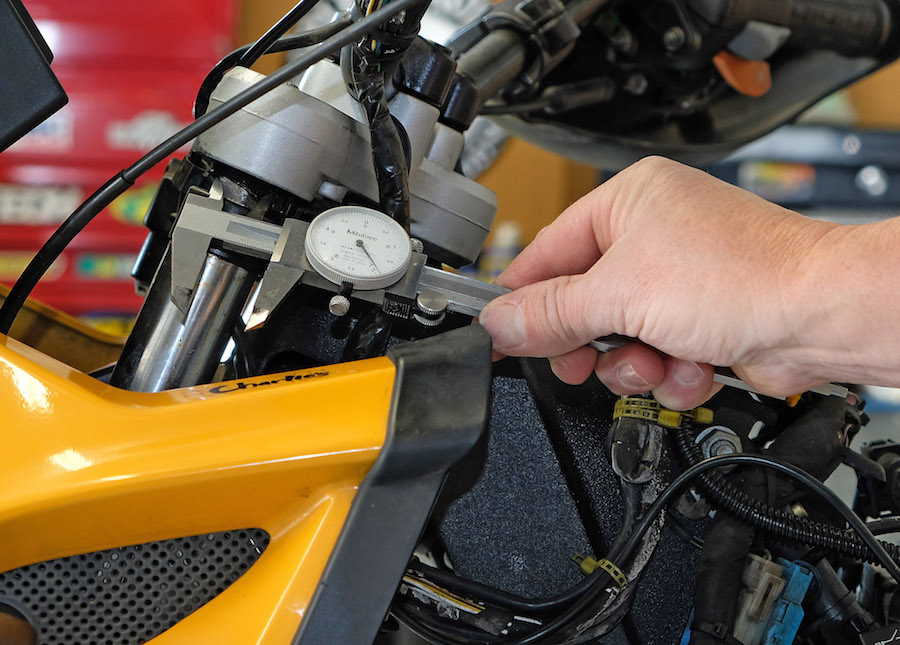
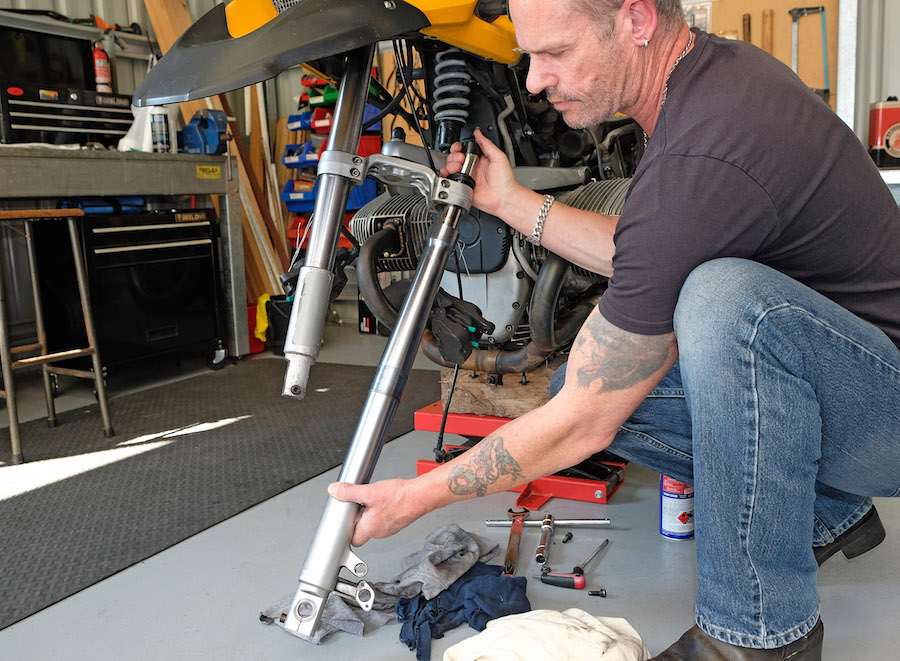
Step 7 – This BMW has the unusual Telelever front end, which works differently to a conventional fork setup. The top clamp has a nut under it, which must be held as the top nut is loosened. We don’t have the right-sized open ended spanner, so have utilised a vernier caliper tool to measure it.
Step 8 – A quick trip to Bunnings yielded the 22mm spanner required to undo the fork tube top mount through the triple clamp.
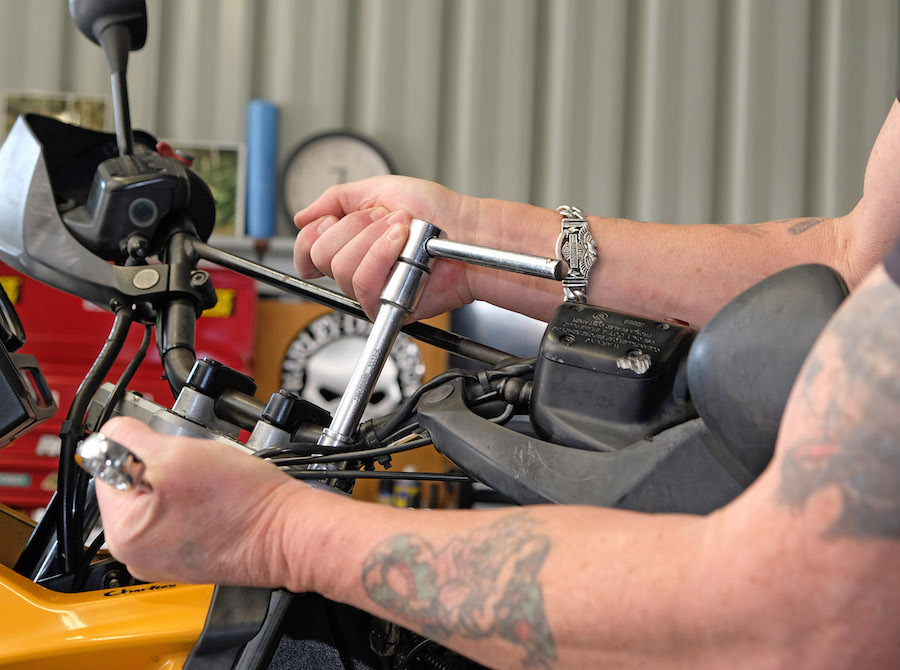
Step 9 – One of the unusual aspects of the Telelever set up is that there is no mechanical connection between the fork leg and the fork tube, so we have to be careful removing them in one piece to avoid pulling the tube out of the leg, spilling oil everywhere.
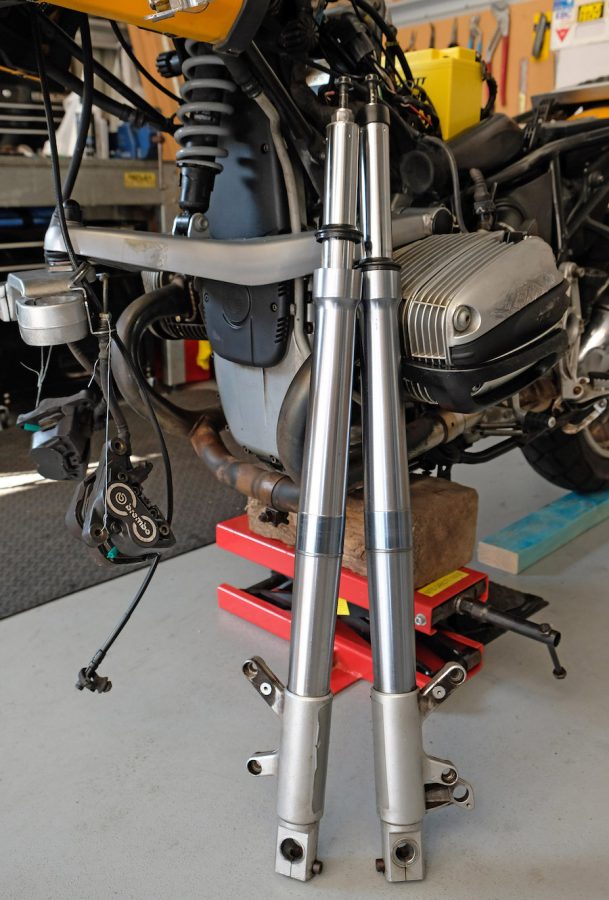
Step 10 – Without even putting a straight edge against the fork tube it is obvious that it is has been damaged in the crash and needs straightening – pictured on the left. We need expert help at this point to more accurately assess the damage and look at our options. Finding a major issue is a recurring resurrection nightmare…
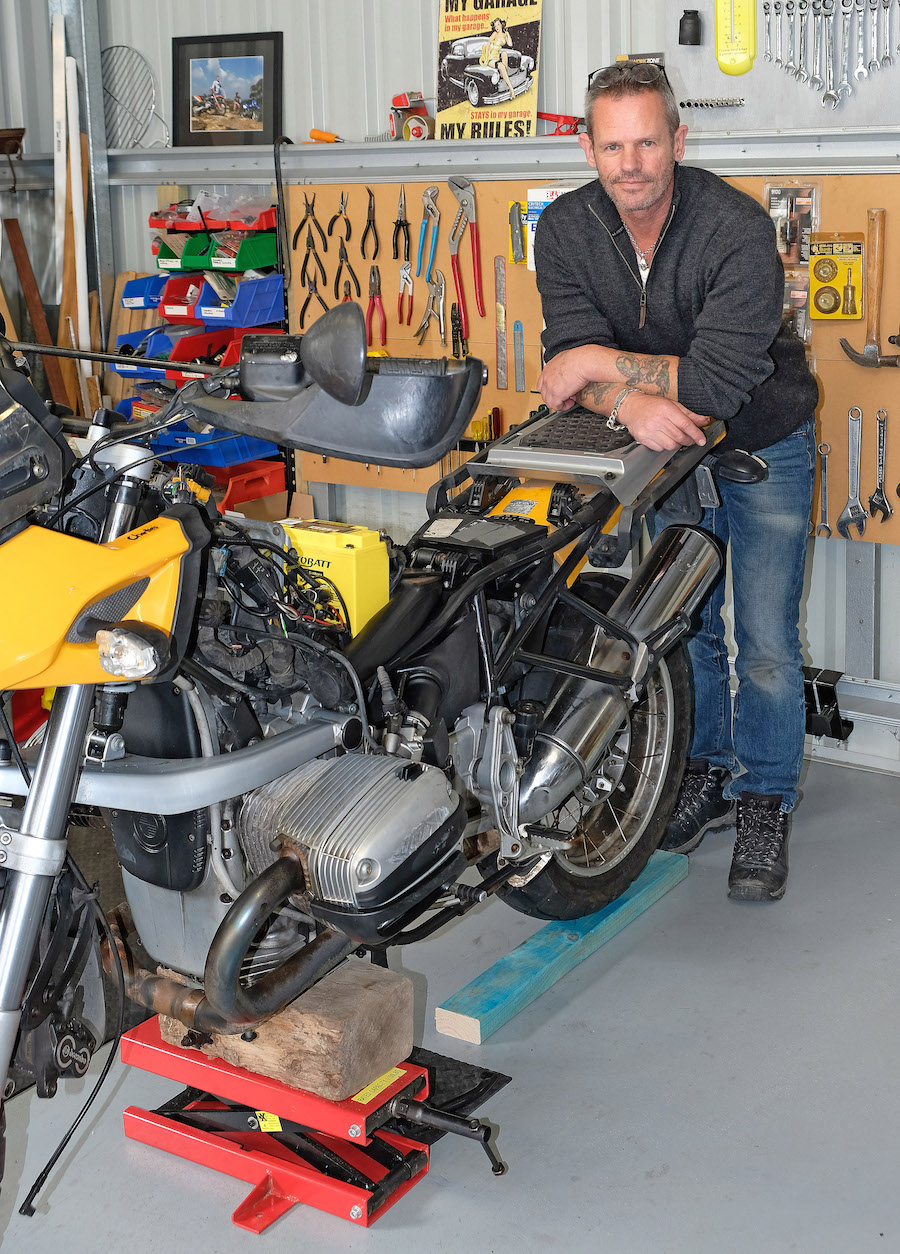
Tip – With work that might see the bike without a front end for a while, we have taken the precaution of putting a block under the back wheel and jacking the front up until it just makes contact. Now when our mates drop in and lean on the bike while having a beer, it won’t unweight the jack and lead to a potential disaster in the shed. And a lot of swearing.
WORDS AND PHOTOS TIM MUNRO