Many bikes still have inner tubes inside the tyres; if you get a flat on a spoked-wheel adventure bike or off-roader, chances are the tube will be damaged. If you’re lucky, you might get away with products like Tyre Slime or True Blue Goo, or a tyre repair spray that can be used on both tubed and tubeless tyres, but sooner or later you’ll need to change that damaged tube.
This is where real rage can set in – there are few things worse than pinching a fresh tube, but with a little preparation, the correct tools, the right technique and a little practice, you’ll be back on the road in no time.
1
What tools do I need?
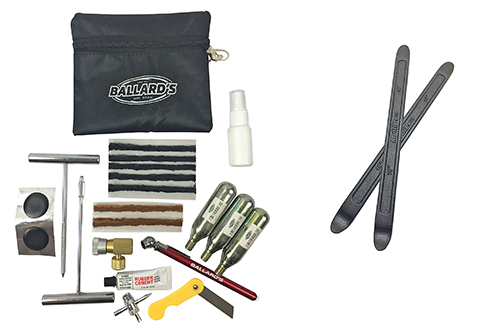
When I stopped at my local bike shop for some advice, Hawko suggested the handy Ballards repair kit at $44.95 which includes Co2 inflators, lube, patches, plugs for tubeless tyres and a valve removal tool. They also have a range of tyre levers that start at $16.95.
You can always improvise with screw drivers or other random metal objects, but they increase the pinch risk. Having tools and skills organised before you ride will save stacks of time and maybe a long walk.
2
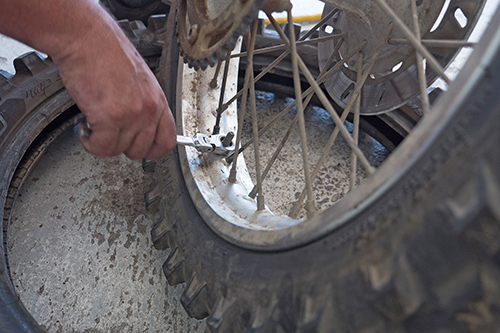
Loosen the rim lock
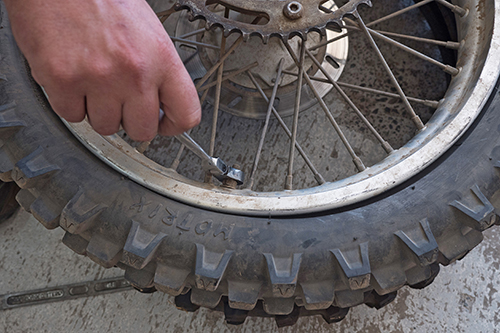
Loosen off the rim lock nut with the appropriate spanner. The rim lock clamps both sides of the bead to the rim, and you should be able to feel when it is loose.
3
Break the bead
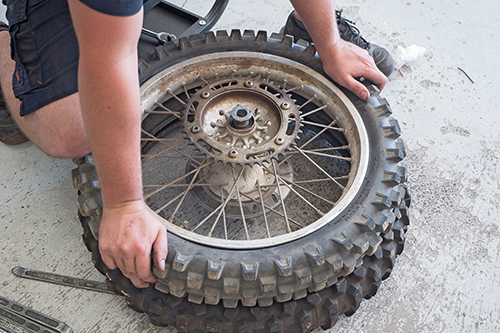
It helps to brace your flat on another tyre or something similar. Push down with even pressure so the tyre bead is unstuck from the rim. The sidestand of another bike can be used here. No other tyre and twin discs? Dig a hole so the disc isn’t on the ground. At this point you can also remove the valve core, being careful not to lose it. If you don’t have a valve removal tool, a small flat-tipped screwdriver will do the trick.
4
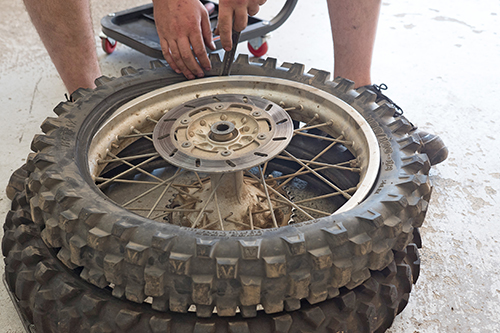
Lever the tyre from the rim
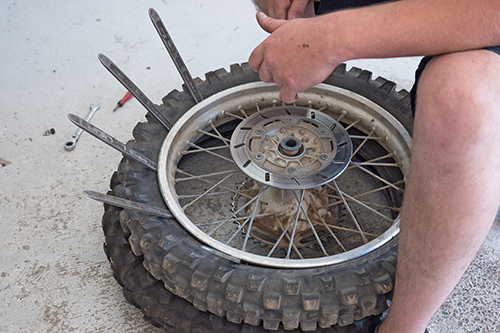
Simply place the levers in between the rim and tyre and find tension on the leverage point. Off road tyres can be especially tight on the rim so Hawko’s tip here is to use up to five tyre levers. This gives you a shorter space between leverage points to make the job easier – and cause less stress on the tyre.
5
Don’t pinch it!
As you lever around the tyre, it will become easier to work with and require less levers.
As you’re doing this, don’t forget about your tube.
It pays not to go too crazy at this point because the tube may still be repairable.
When you place the lever, take care not to go too far and hit the tube – you should be able to feel for it. The same applies when fitting the new tube. Push the beads of the tyre inwards to where the spokes are, into the ‘well’ in the middle of the rim.
6
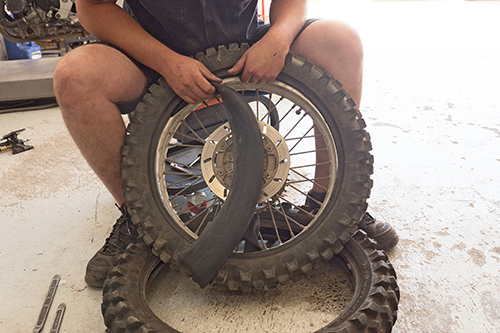
Remove the old tube
When removing the old tube, work back towards the valve. The valve stem will have a locking nut, which must be removed; then carefully remove the tube. Examine the tube and see where the damage is. A little hole can be repaired, but damage around the valve area means a replacement. Also check for damage from spokes, sharp objects protruding through the tyre, or debris inside.
7
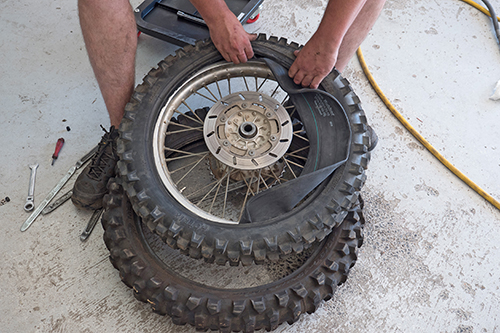
Fit the new tube
The cost isn’t particularly a problem, but this is where it pays to have spares on hand. Place a lever near the valve to create some space and lift up the sidewall to fit the new tube. Loosely place the locknut back on the valve. Working from the valve out, push the tube into the tyre, making sure there are no twists or folds. Just a little air pressure in the tube now will sort out any kinks or wrinkles.
8
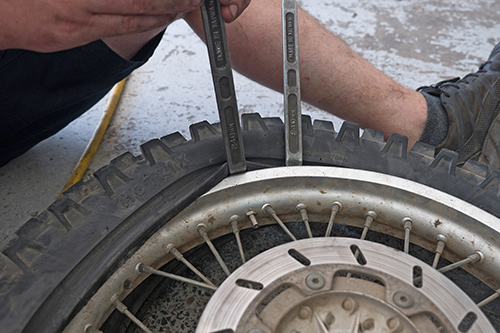
Lever the tyre back onto the rim
Make sure the tyre is pushed down into the well and slowly work around the tyre, levering it back over the rim. It is important not to push your lever in too far, onto the tube – this is where most pinches occur: over-reaching with the lever. Take little bites.
9
Tighten the rim lock
When levering the tyre back on the rim, tyre lube should always be used. Various types of lube will work, but oils may let the tyre move on the rim after fitting, or damage the tyre itself. Undiluted dish washing liquid is a good choice. Lastly, nip up the rim lock and the valve stem lock nut, being careful not to overtighten either.
10
Other handy tools
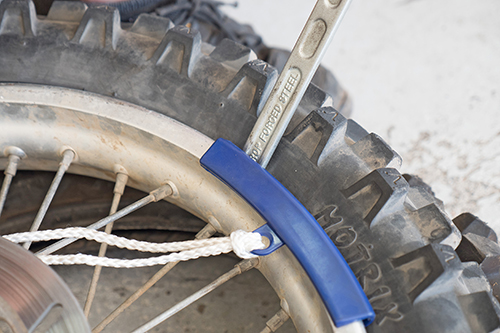
Reinsert the valve core and pump up the tyre. There are a few tools on the market to make the job easier – not the least being a compact electric compressor. For riders with fancy rims, plastic rim savers clip over the rim to avoid scratches from tools. When levering the tyre on or off, some people like to use a ‘bead buddy’ to hold the sidewall down in the well.
WORDS & PHOTOGRAPHY MATT O’CONNELL
