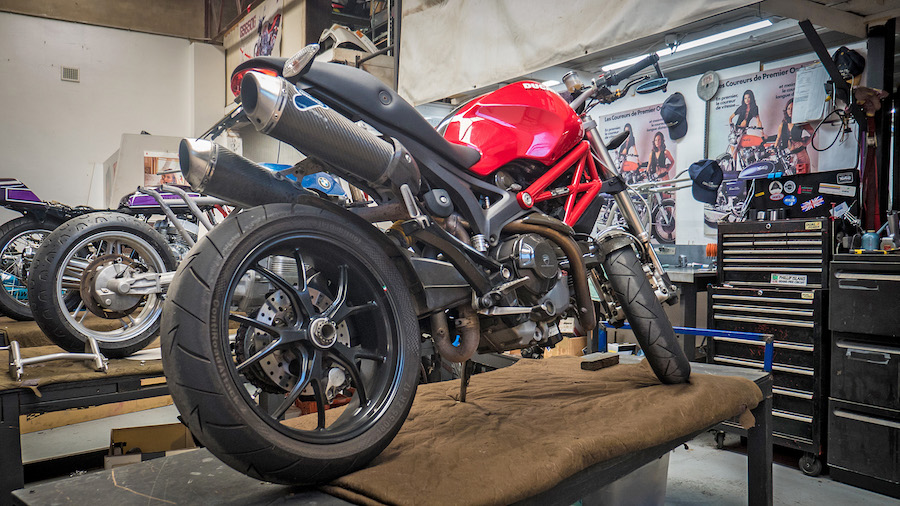
For guys like Steve Martin, a worn-out clutch would mean no more wheelies. Which would then mean tears. Thankfully, replacement is pretty straightforward. This article uses the trusty AMCN ‘How To’ muse, a 2011 Ducati Monster 1100. The main thing to note here is that the Monster is fitted with a dry clutch with hydraulic actuation.
These days most clutches are wet, meaning the working parts are surrounded by the oil of the engine, so the plate construction will be different to allow for that. Because wet clutches are covered in oil, they run cooler and are better lubricated, meaning longer life and ability to handle more abuse from the rider.
However, many manufacturers – including Ducati, BMW and Moto Guzzi – still use dry clutches. This “How To” focuses on those.
1 What parts do I buy?
Good question. We usually recommend using genuine parts, but for some jobs there are reputable aftermarket suppliers. I have used Barnett kits over the years and found them to be reliable and durable – and about half the price. Make sure you get the exact kit for your bike (Barnett has an online selection tool) and if possible purchase a set of replacement springs too.
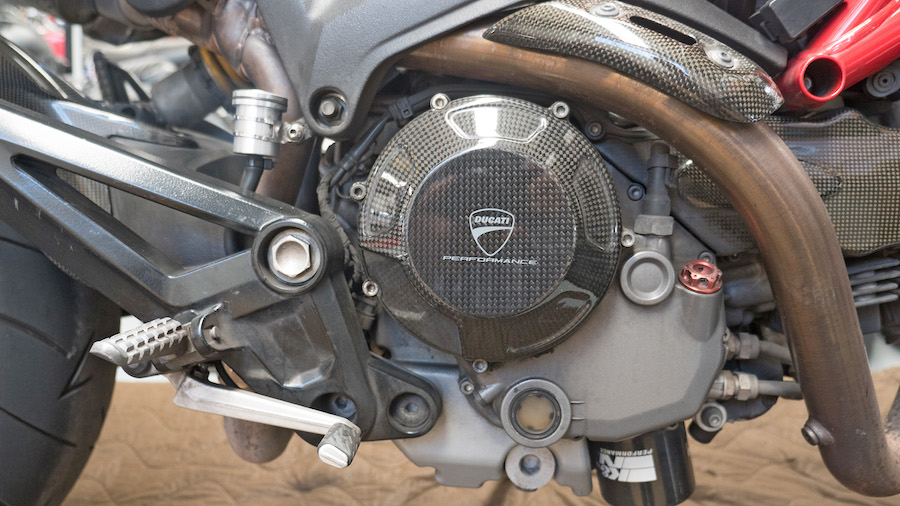
2 Remove the clutch cover
Important: if your bike has a wet clutch you need to drain the engine oil first and the process is slightly different – these same steps will not work. If your bike has a dry clutch like this you can go ahead and simply unscrew the allen head bolts.
3 Remove the pressure plate
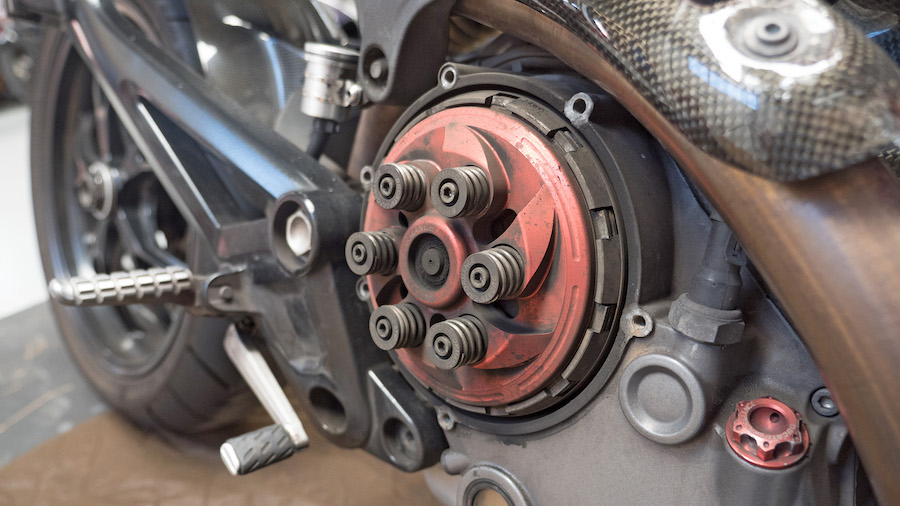
Unscrew the allen head bolts that retain the pressure plate. The bolts and springs will detach and the plate will slide out. The throw out bearing in the centre may also come out – just be careful to look for any alignment markings.
Note the dust that has accumulated around the working parts in this picture. In a dry clutch, this material is isolated from the engine. Also take note of the condition and length of the springs.
4 Remove the plates
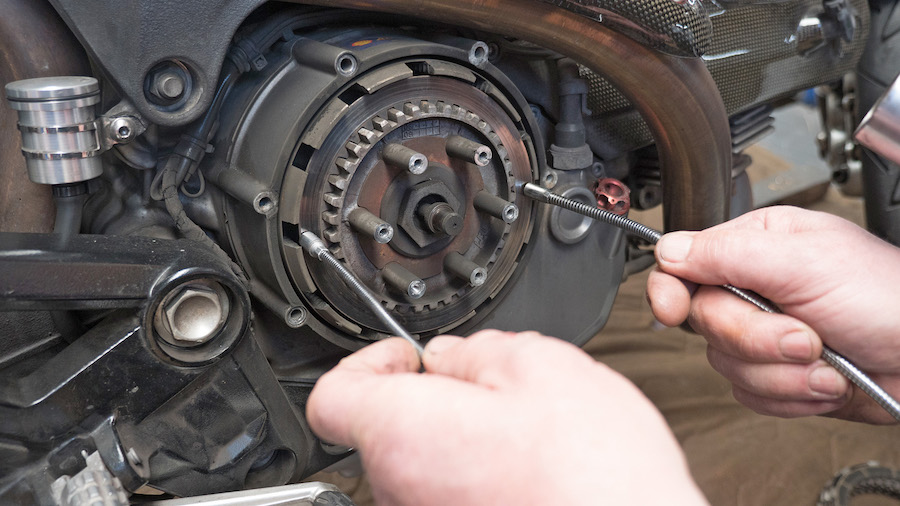
One by one, remove the plates. They will be stacked inside the basket, alternating between a fibre plate and a steel plate. I always place them on the bench in the same order they came out, so I have a reference when I’m fitting the new plates. If you’ve got fingernails that’s a bonus, otherwise a couple of magnets on a stick are handy.
5 Inspect the basket and hub
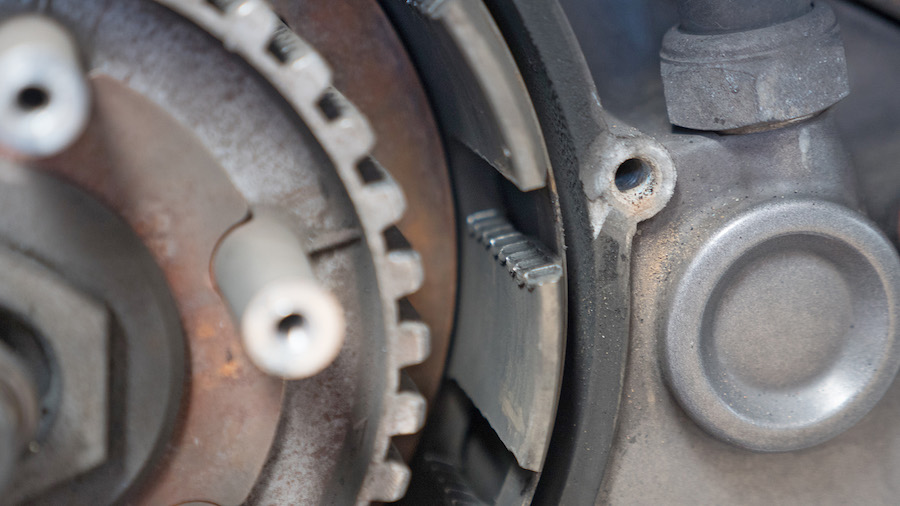
This could be painful – to your wallet.
If you see those marks on the basket, the plates are not going to operate correctly. They will sit in the grooves and cause a squealing noise or make it
difficult to engage a gear. In this case, you will also need to fit a new basket and hub – good aftermarket alternatives are available. The basket here has seen about 30,000km.
6 Inspect the old and new plates
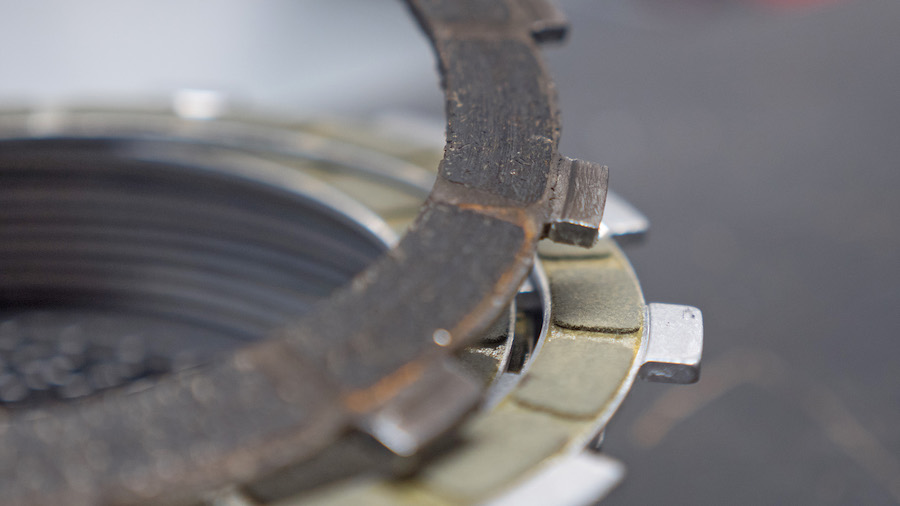
It can be interesting to see just how much wear your old clutch had. As the picture shows, the amount of fibre that binds the plates is not much! It’s remarkable they can last so long. Also check at this point that the old and new are a good match.
7 Check the steel plates
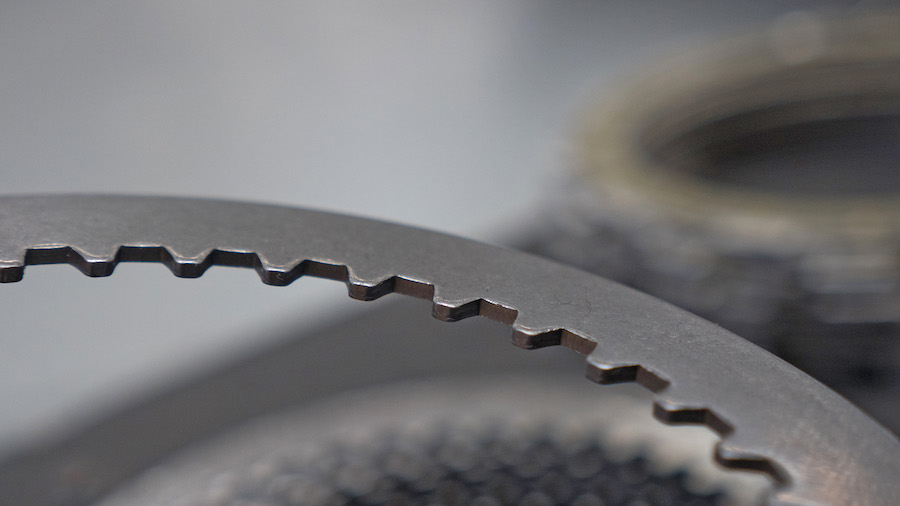
One side of the steel plates is flat, the other slightly rounded. Make sure they all go in the same way. Even though you may only notice minimal wear on the steel plates, it is still best to replace them.
8 Install the new kit
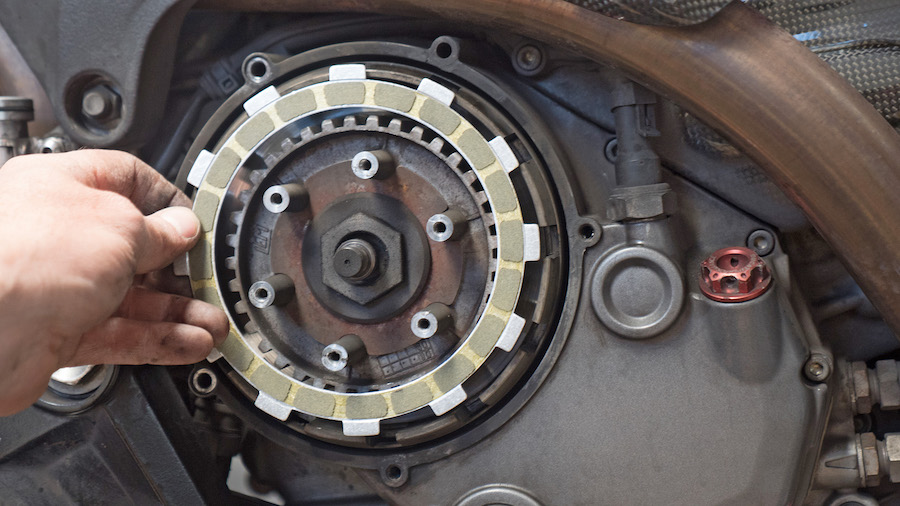
Replace the old with the new. Take note of the order the old ones came out in (this is where the stack comes in handy), as well as any alignment markings. If you have a worn basket and hub but only install new plates, be aware they could rattle more than usual and may not last as long.
9 Reattach the pressure plate
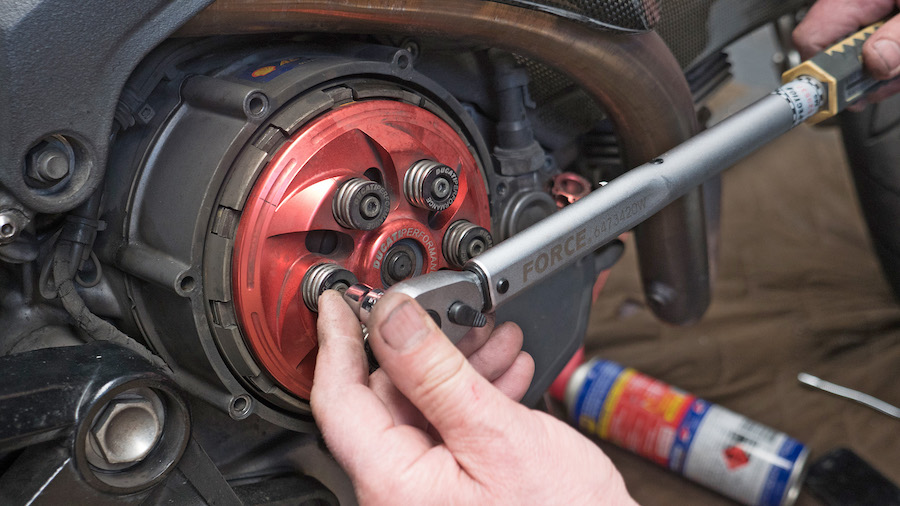
It’s recommended to install new springs because they also cop wear.
Place the pressure plate on the hub and basket – it will only fit back on one way.
Use a torque wrench when tightening the bolts on the pressure plate and consult a workshop manual for the correct tension. Replace the clutch cover.
10 Check your hydraulics or cable
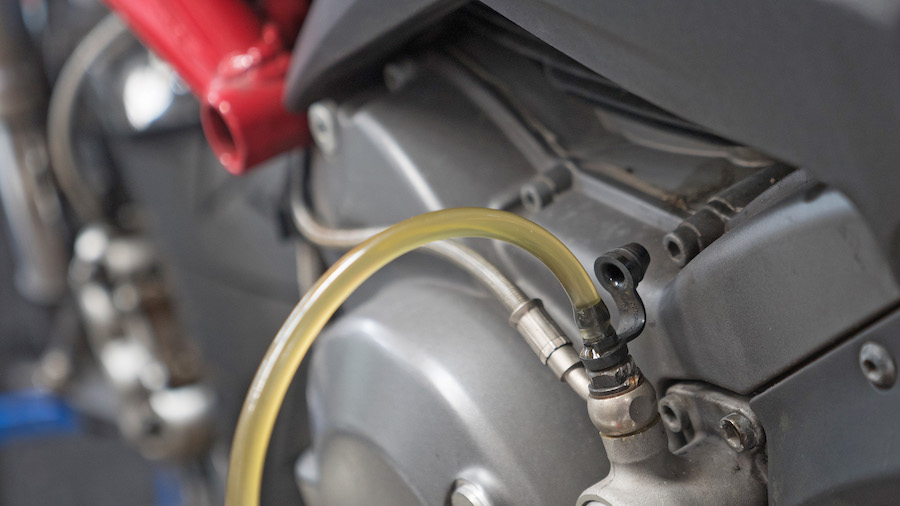
If you have a hydraulic clutch, take the opportunity to bleed the line.
For that you will need a piece of rubber tubing. Attach it to the bleeding nipple as shown, back off the locking nut and squeeze the lever until there are no air bubbles. Then tighten the nut. Repeat until you have good pressure, then top up the fluid.
Thanks to Trev, Weste and the crew at Surfside Motorcycle Garage
42 Winbourne Rd, Brookvale, NSW, 2100
(02) 9905 4755
