Fibreglass repairs for the financially embarrassed
The advantage of attempting a repairing job on your racebike fairing is it only needs to pass the 50/50 test: 50 meters at 50km/h.
Racebike fairing inevitably gets damaged, and if you are always looking at ways to pay for your next entry fee or afford a new set of tyres, you don’t want to be wasting precious dollars on fibreglass repairs if you can do it yourself.
Our Yamaha YZF-R3 Cup racebike was in need of repairs, and despite having no prior experience with fibreglassing we decided to have a crack at it.
The main area of concern was on the nosecone. A slide through the mud had cracked the fairing on both sides, and it was beginning to flap around at high speed. There were also a few cracks in the side panels and seat area that required attention.
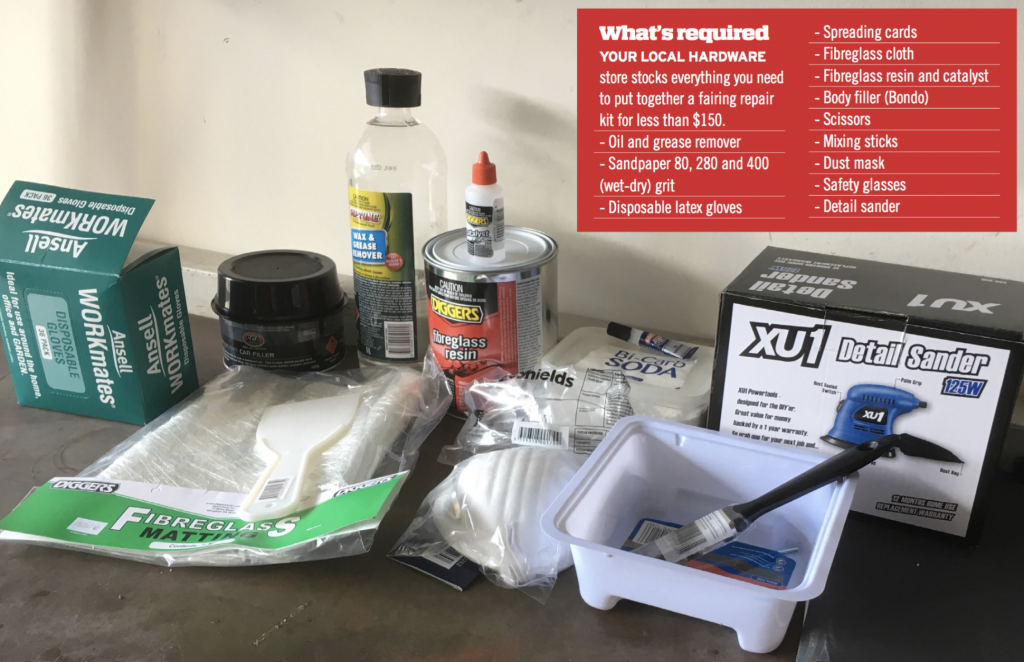
What’s required
1 Clean and inspect
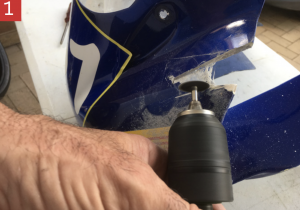
Thoroughly clean the damaged area, then use 280-grit sandpaper to remove the top layer of paint/gel-coat to get a better look at the damage.
Due to the seriousness of the crack in the nosecone, we decided to cut out the area around the crack and replace it with fiberglass a body filler. Make sure you wear your mask and safety glasses for this part.
2 Rough it up
Once cut, roughen the area around the repair zone with the sander, both internally and externally. Failure to roughen the surface may result in the fibreglass resin not binding correctly. When done, give the area another clean
3 Preparation is the key
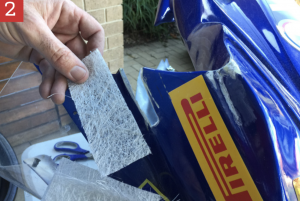
Fibreglass resin is sticky, smelly and messy – get prepared before mixing the resin to avoid agro. Measure and cut the sheets of fiberglass matting to the desired size. Allow plenty of overhang as you don’t want to be cutting two lots. This is the part where you should be wearing your safety glasses, mask and disposable gloves. If you hate having sticking fingers, slip on multiple pairs and peel them off like visor tear-offs.
4 The smelly bit.
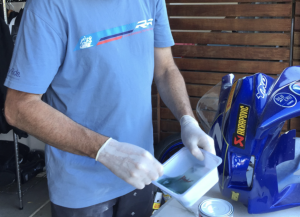
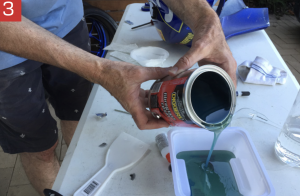
When mixing the resin, make sure you are in a well-ventilated area. Mix the fiberglass resin with the catalyst as per the instructions on the tin and stir vigorously. DO NOT be stingy with the catalyst, otherwise you will end up with a sticky mess that refused to harden.
5 Work quickly but don’t rush
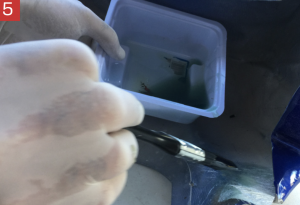
Once the resin and catalyst have joined forces, you’ll have about 20 minutes to work with the mixture before it begins to go hard. Use a paintbrush to apply a thin layer of resin all around the damaged area, working on the inside of the panel where possible. Once done, lay your first sheet of fiberglass and paint over it with the resin. Mould the cloth until it resembles the original shape of the fairing; this will save time further down the track.
Once the first layer has dried sufficiently, repeat the process. Layer on more fiberglass, and don’t worry if it looks a bit rough – think of the money you are saving.
6 Get ready to sand
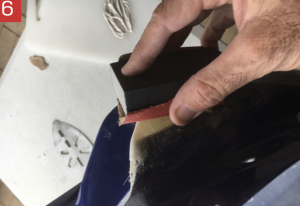
Once you have moved away from the area for a while and filled your lungs with clean air, it’s time to get back to it. When the repaired area has dried, use the grinder or 80-grit sandpaper to carefully sand down the excess fiberglass resin.
7 Filling the gaps
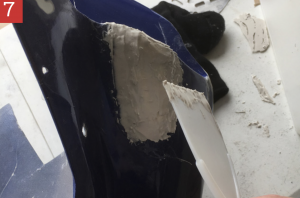
Body filler is like fibreglass resin – you need to mix it correctly for it to work. Mix the Bondo and use the spreading cards to feather the mixture onto the surrounding area so you do not have a rough edge around the repaired area. As with the fibreglass, do your best to make the filler resemble the original shape of the fairing.
8 Sand again
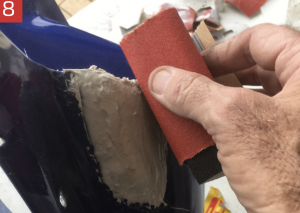
Once the body filler is hard, begin the sanding process with 80-grit sandpaper. The number of times you apply body filler and sand it down to the desired shape will depend on how fussy you are. For me, once was enough. When you’re happy, sand with the 280-grit and then wet-sand it with 400-grit wet/dry sandpaper.
9 As good as new – almost
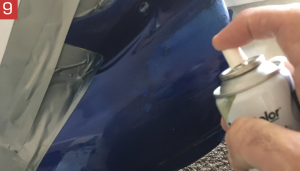
To finish off, give the area a shot of primer, wet-sand it with the 400-grit, clean and dry the area then apply the paint.
10 When in doubt – hide it.
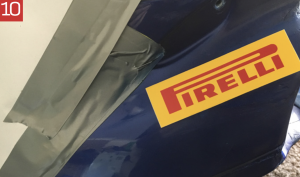
If you are 100 per cent happy with the strength of the repair, but not so keen on the look, cover it with a sponsor’s sticker.
11 Go racing

WORDS & PHOTOGRAPHY CHRIS DOBIE